
How To Build a DIY Wall Easel
Who doesn’t want one of those sleek wall easels you see on Pinterest?
If you’d rather watch a video on this process: Youtube

These wall easels utilize vertical space to hold your canvases to paint on vs. traditional easels which basically have a triangular shape which takes up A LOT of floor space. Wall easels are great for small spaces because they’re space saving and they’re also great for a multitude of size boards and canvases. I particularly like to paint super big …
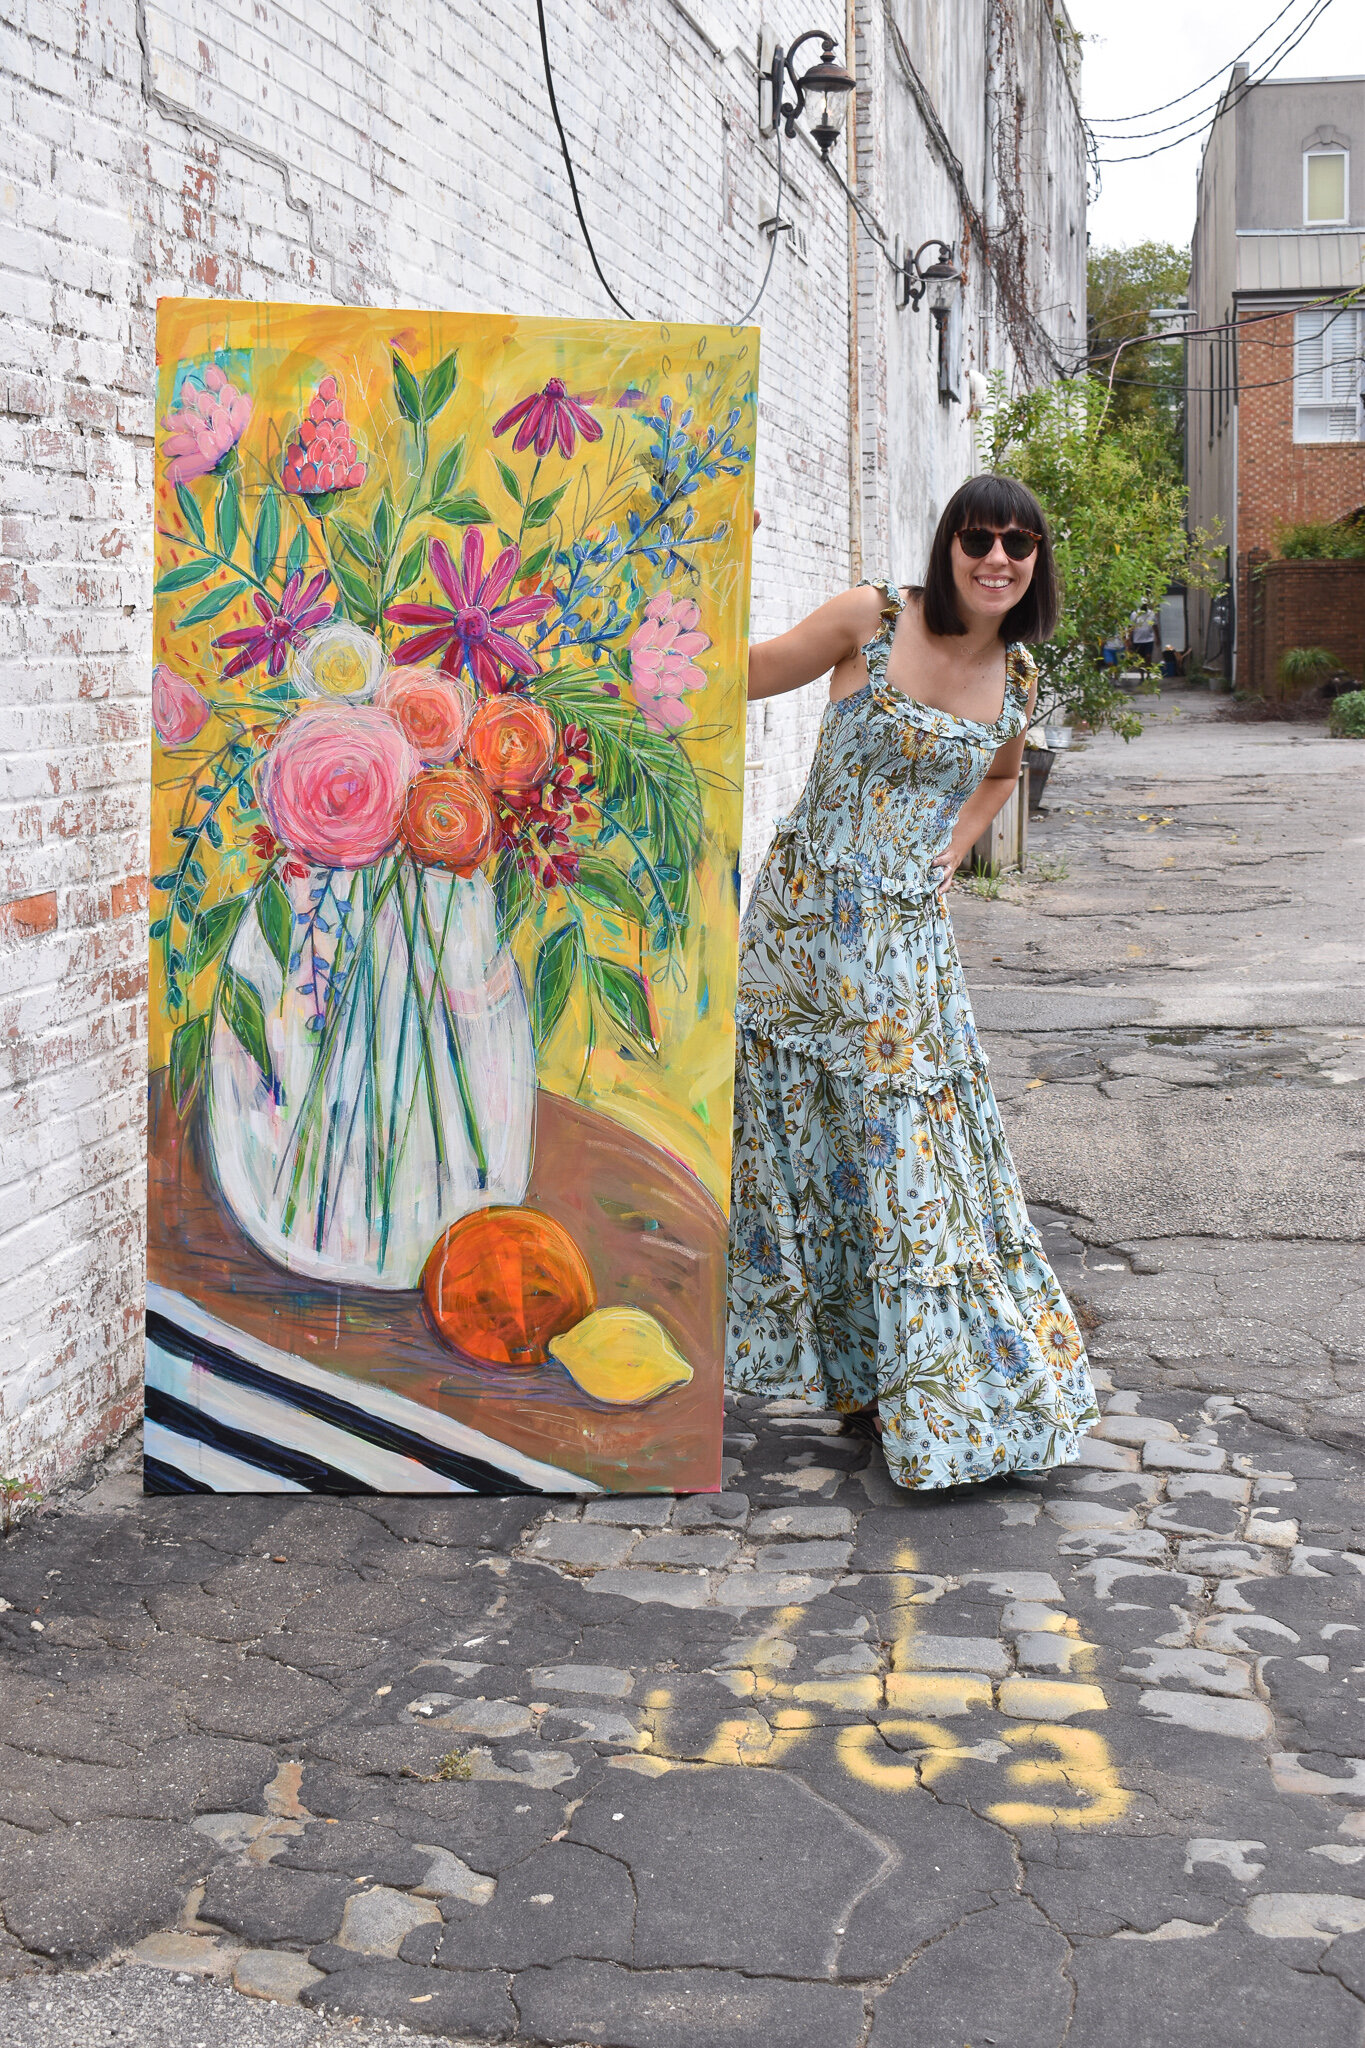
…and painting something really large on my traditional easel was a little tricky so I was happy to convert.
My first wall easel was basically just slats with peg holes and pegs…

…but what I found when I was painting on it was that the canvas would hang on the pegs really nicely but when I pressed down on the canvas with repeated rapid strokes the canvas would bounce around. My fix to this at the time was adding little foam bumpers behind the bottom of the canvas so at least it wouldn’t make a banging noise. That worked to mitigate the sound problem but it’s not ideal to have your painting jumping around as you paint (as I’m sure you can imagine) so when I got my new studio I was going to try to upgrade the wall easel and come up with a better plan (queue lots of Google searches).
Both times of building the wall easel I enlisted my husband who is better at handling power tools than I am. We researched Youtube videos but didn’t find anything ideal so we decided to combine a few ideas and add our own touch.
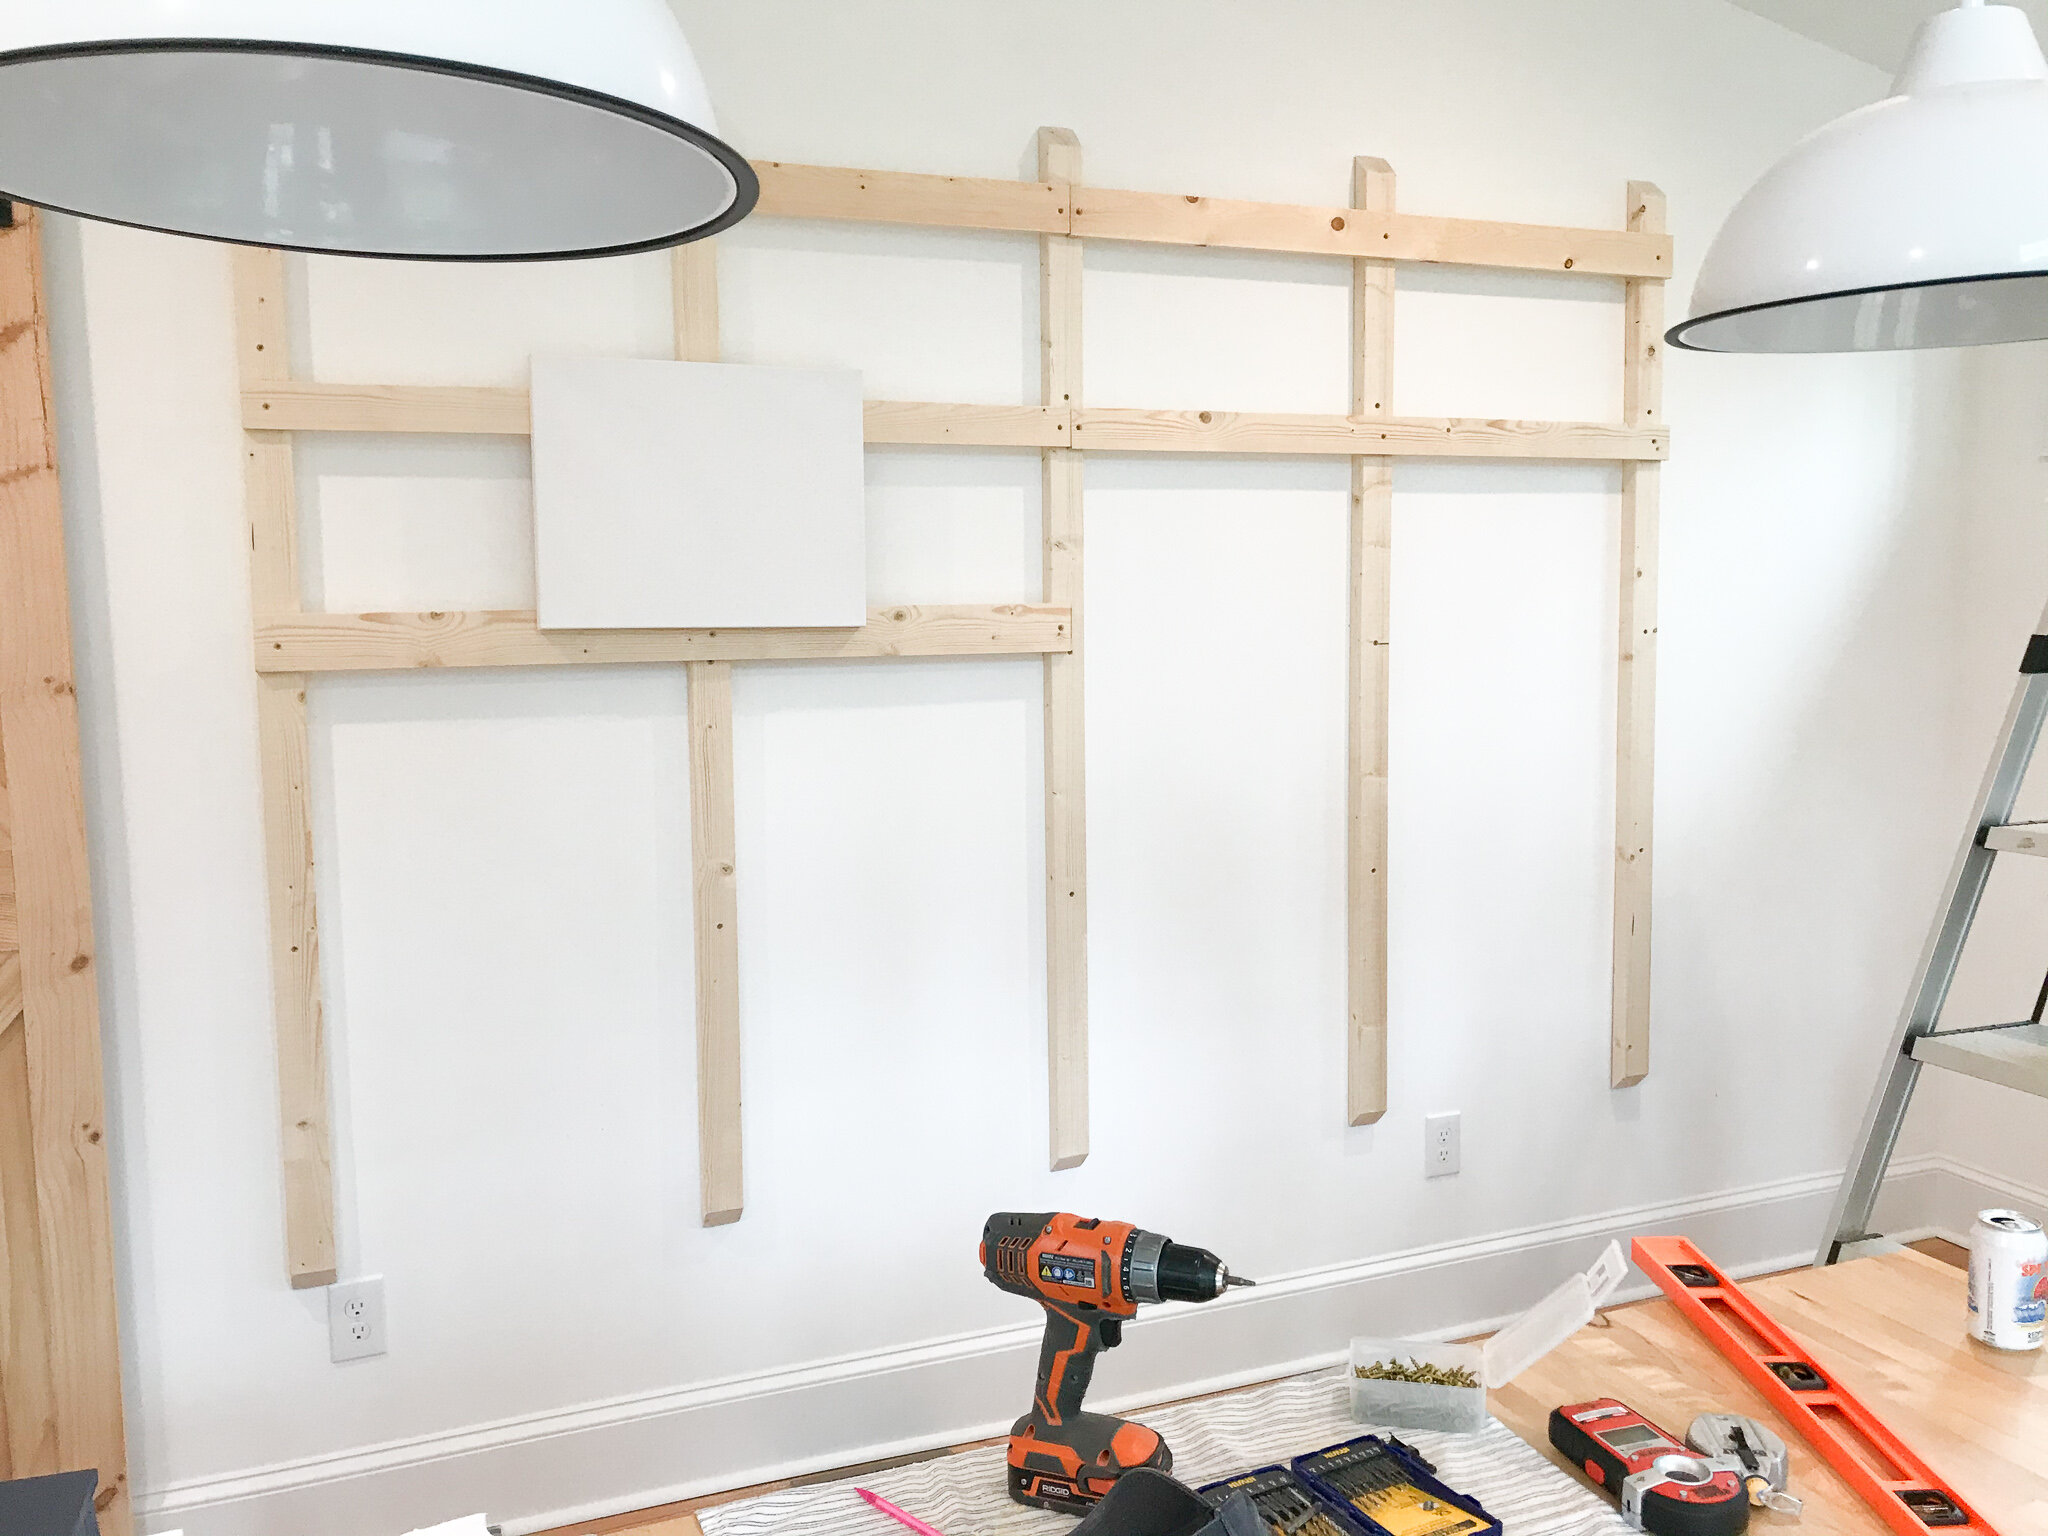
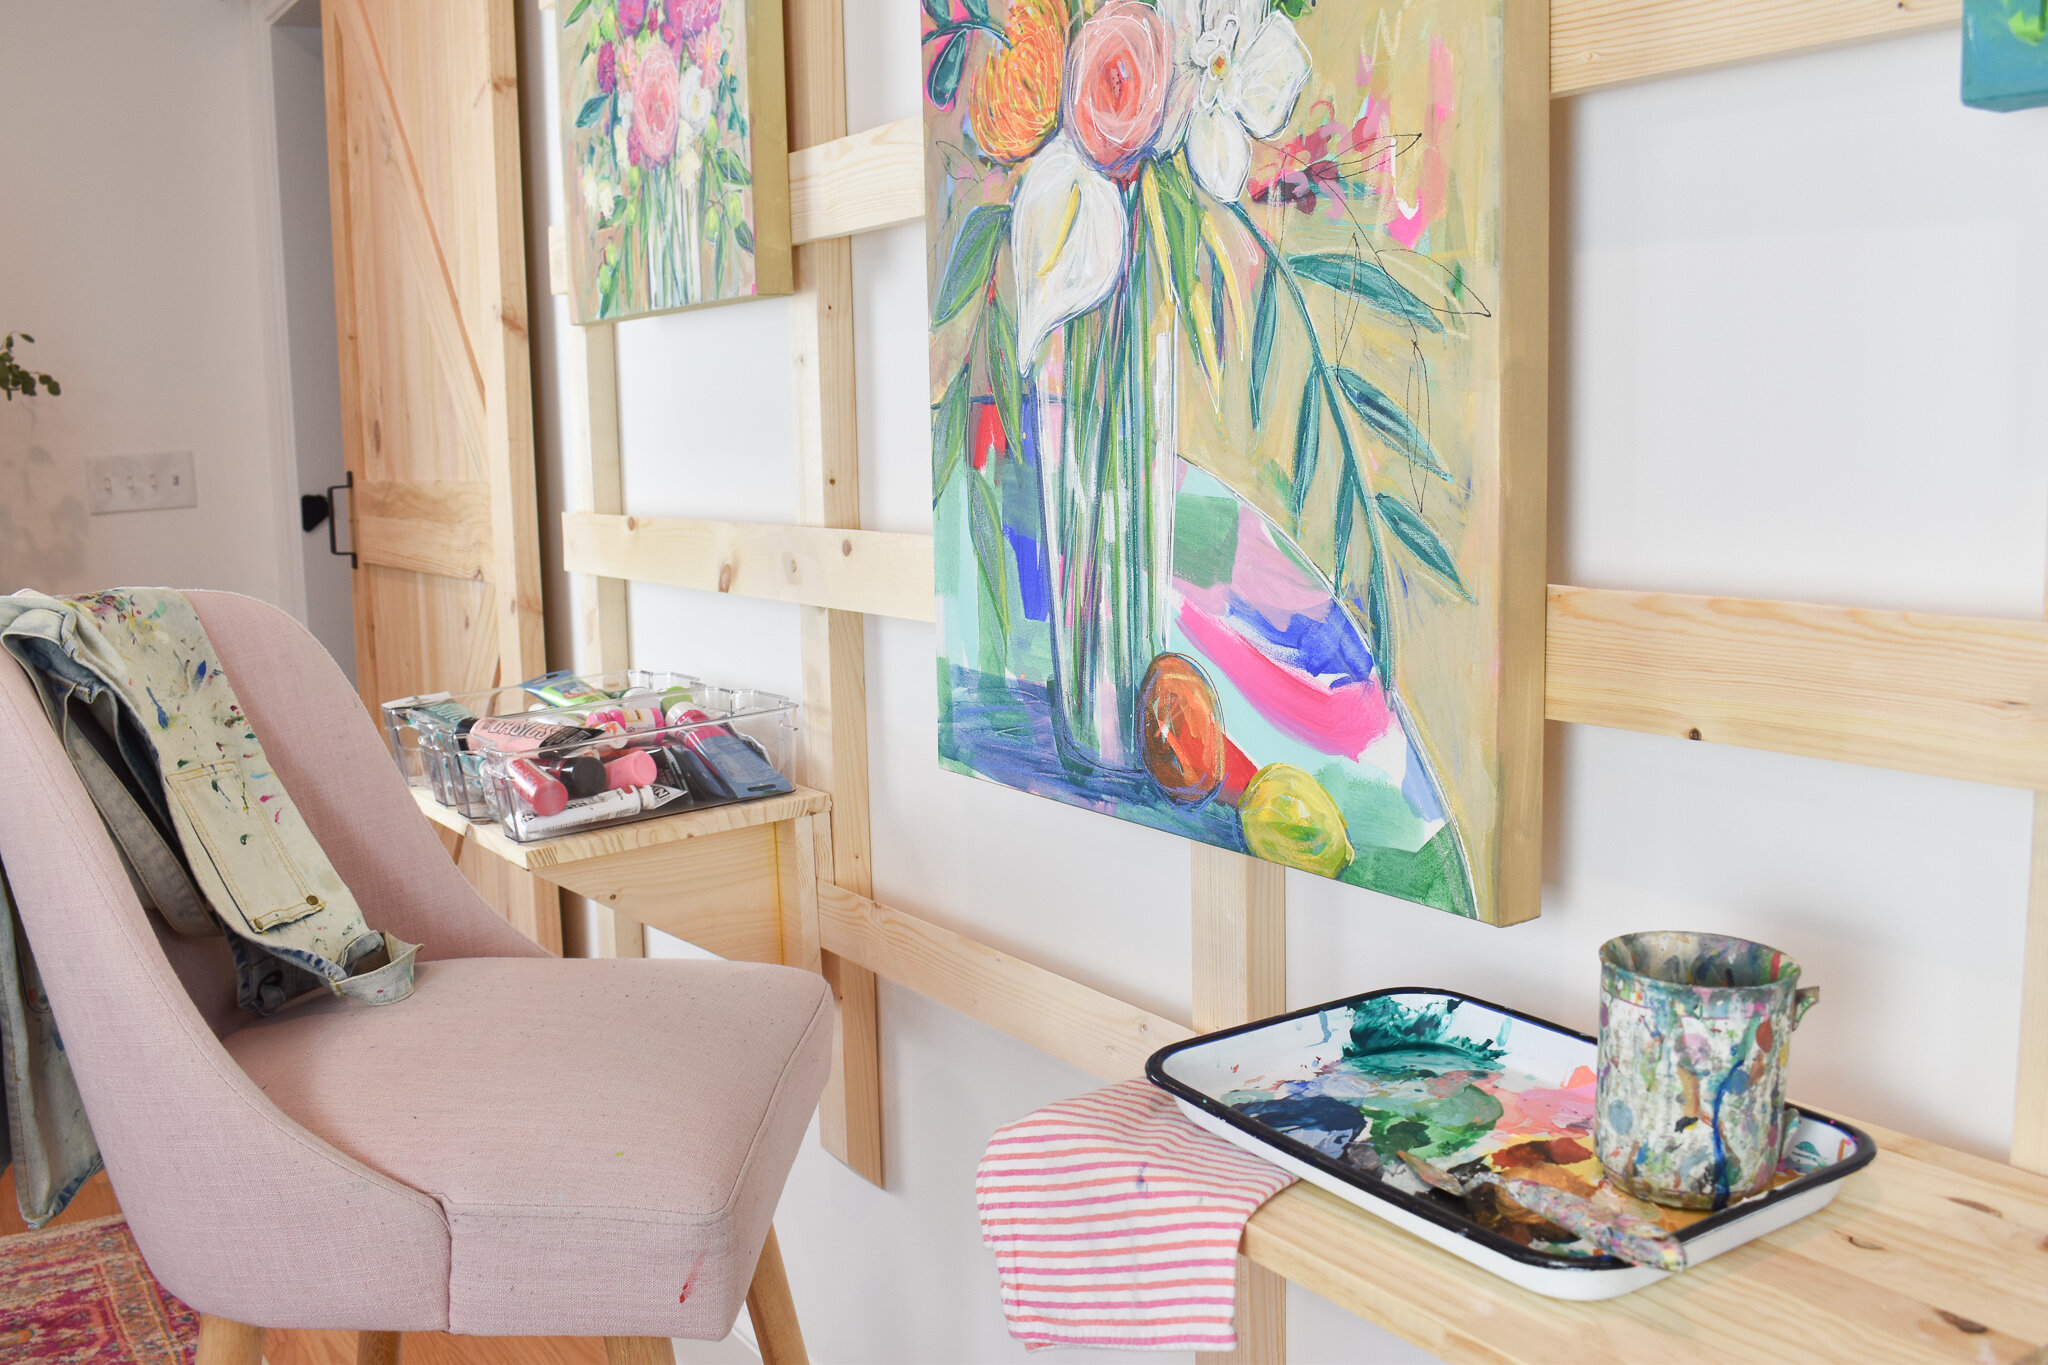
Here’s the finished easel. Tada!
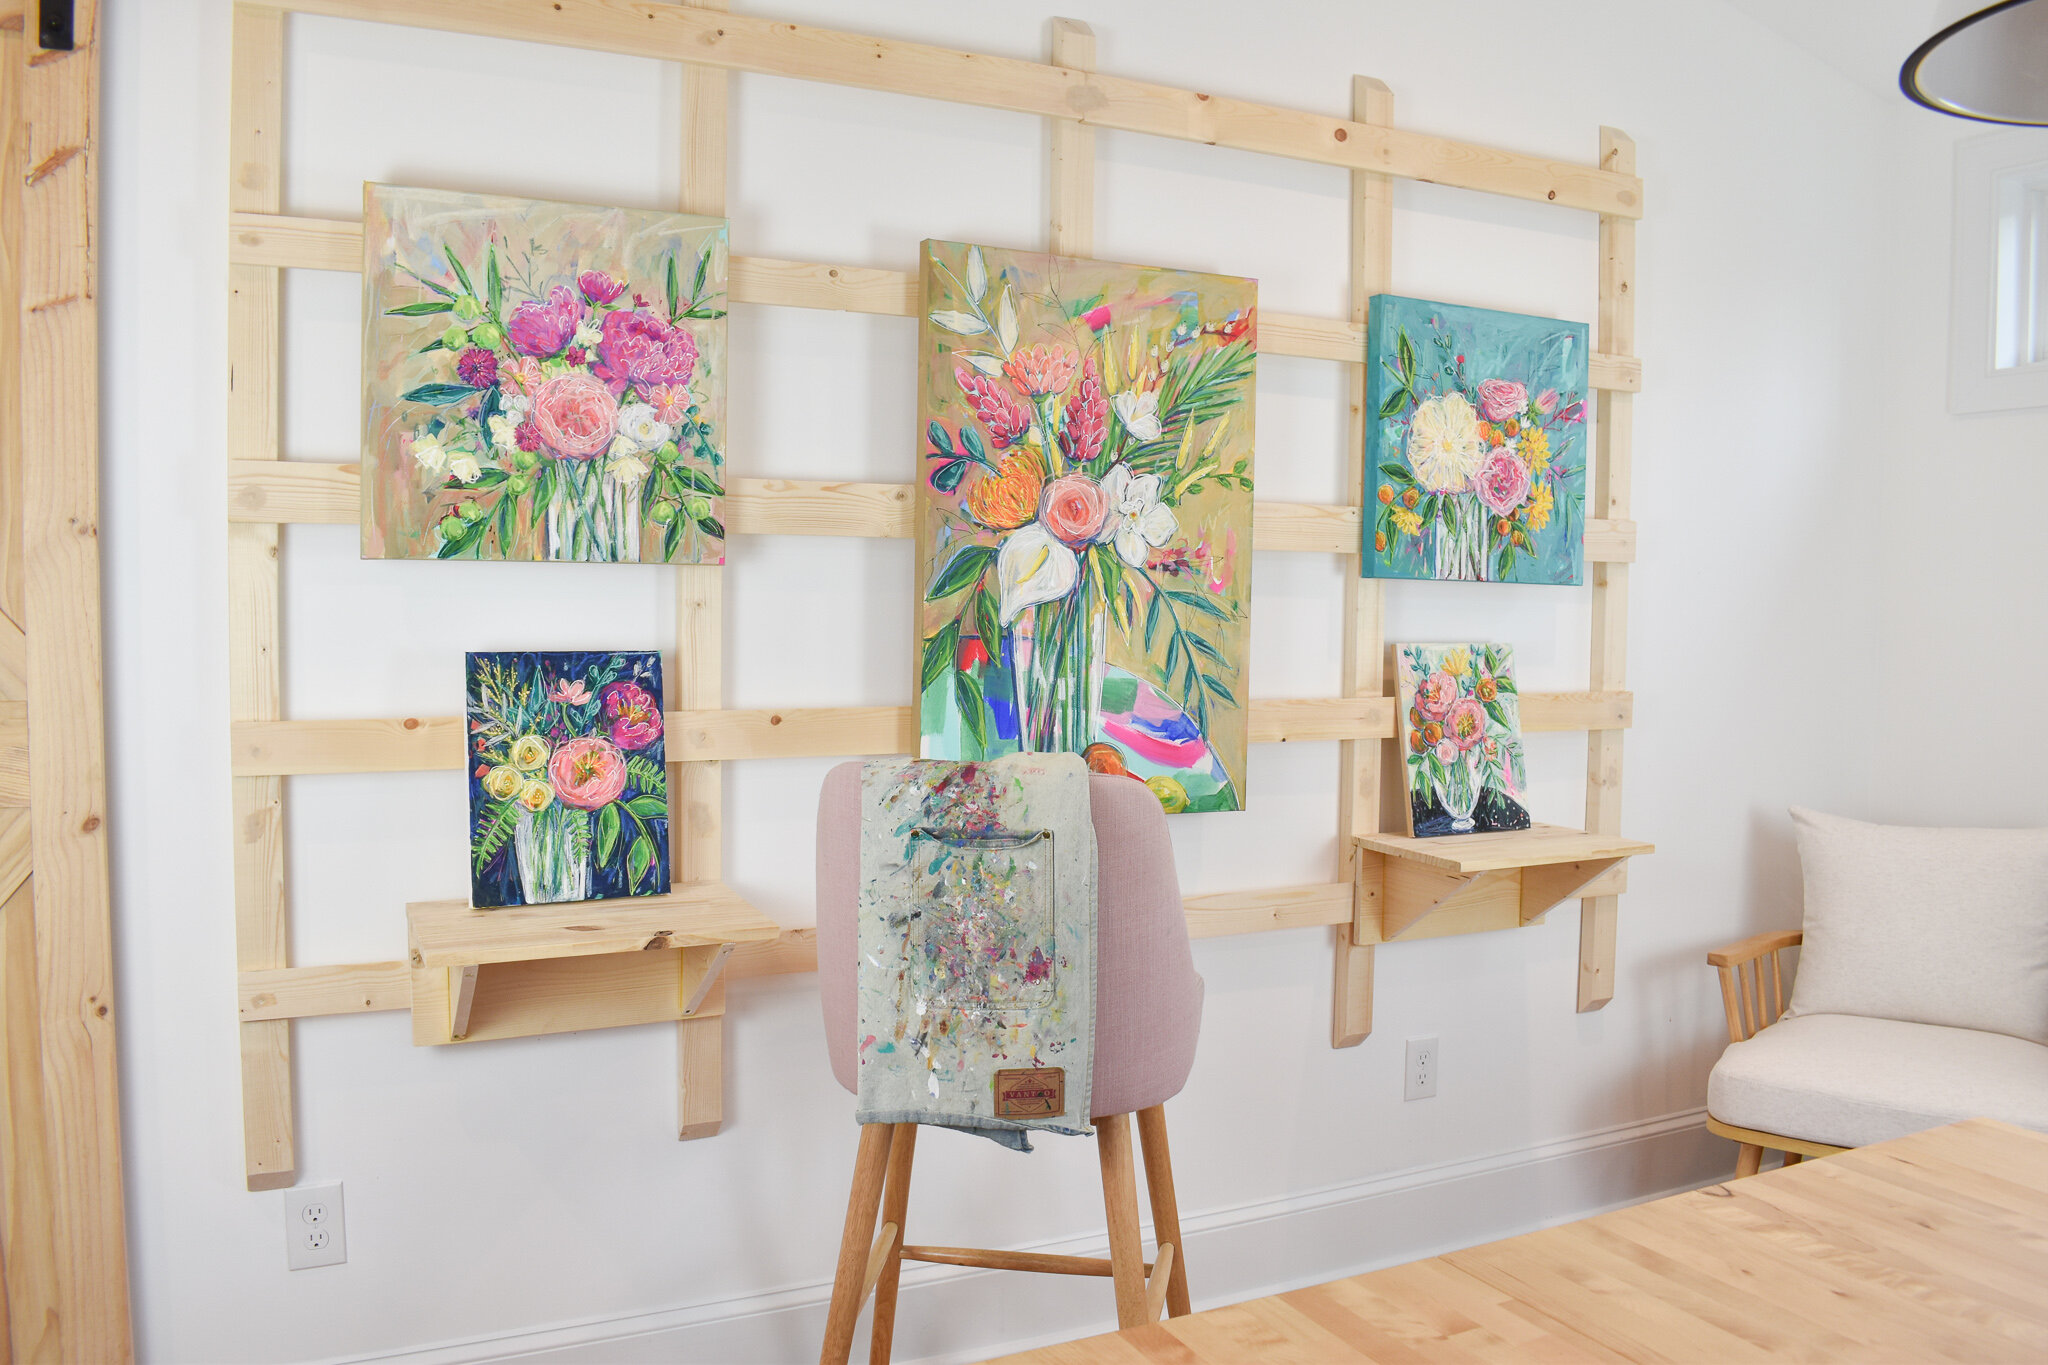
Now if you’re anything like me you’re wondering, “How’d they do that?” So let me take you through the process.

Figure out how big you want your wall easel to be. I was working with quite a large wall and I knew I wanted to fit an 8 foot horizontal canvas if needed. We also designed based on where the studs were and how tall I am and what my specific requirements while taking into account common canvas sizes I paint on regularly, my stool height, my standing height etc...
Think about: how small is the smallest canvas you’re going to want to paint? And largest? You want the horizontal cross bars to be placed where your smallest canvas will still be supported on top and bottom (so no bumping will occur). We went with about 10 1/2” between each cross bar (but we will get to that in Step 2).
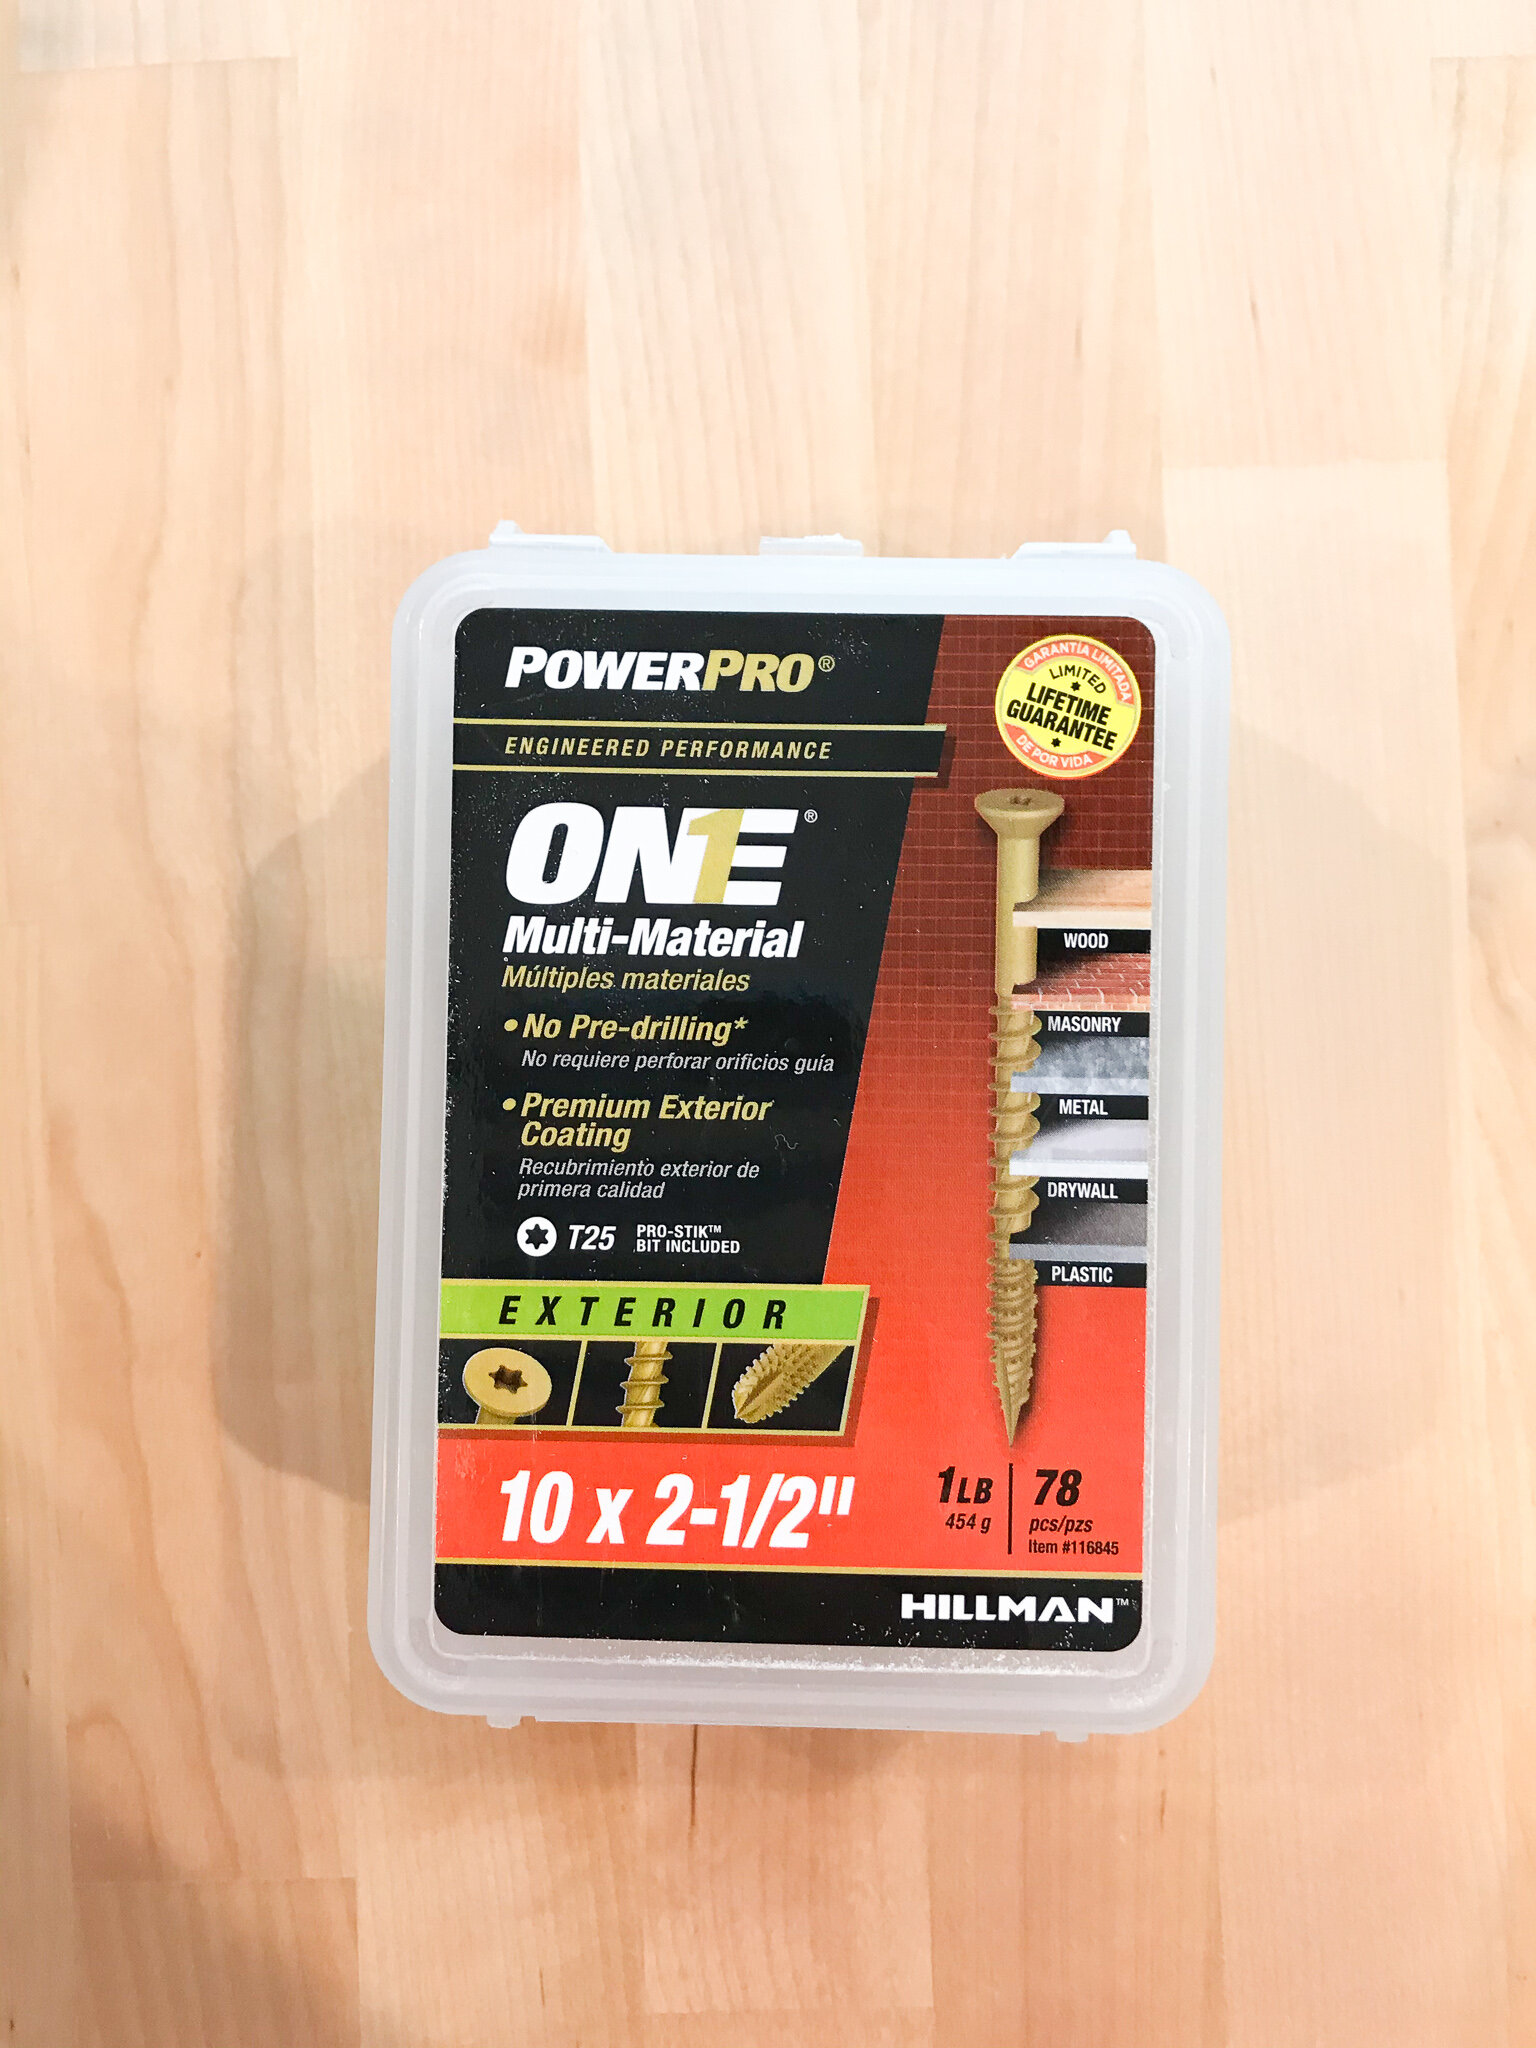
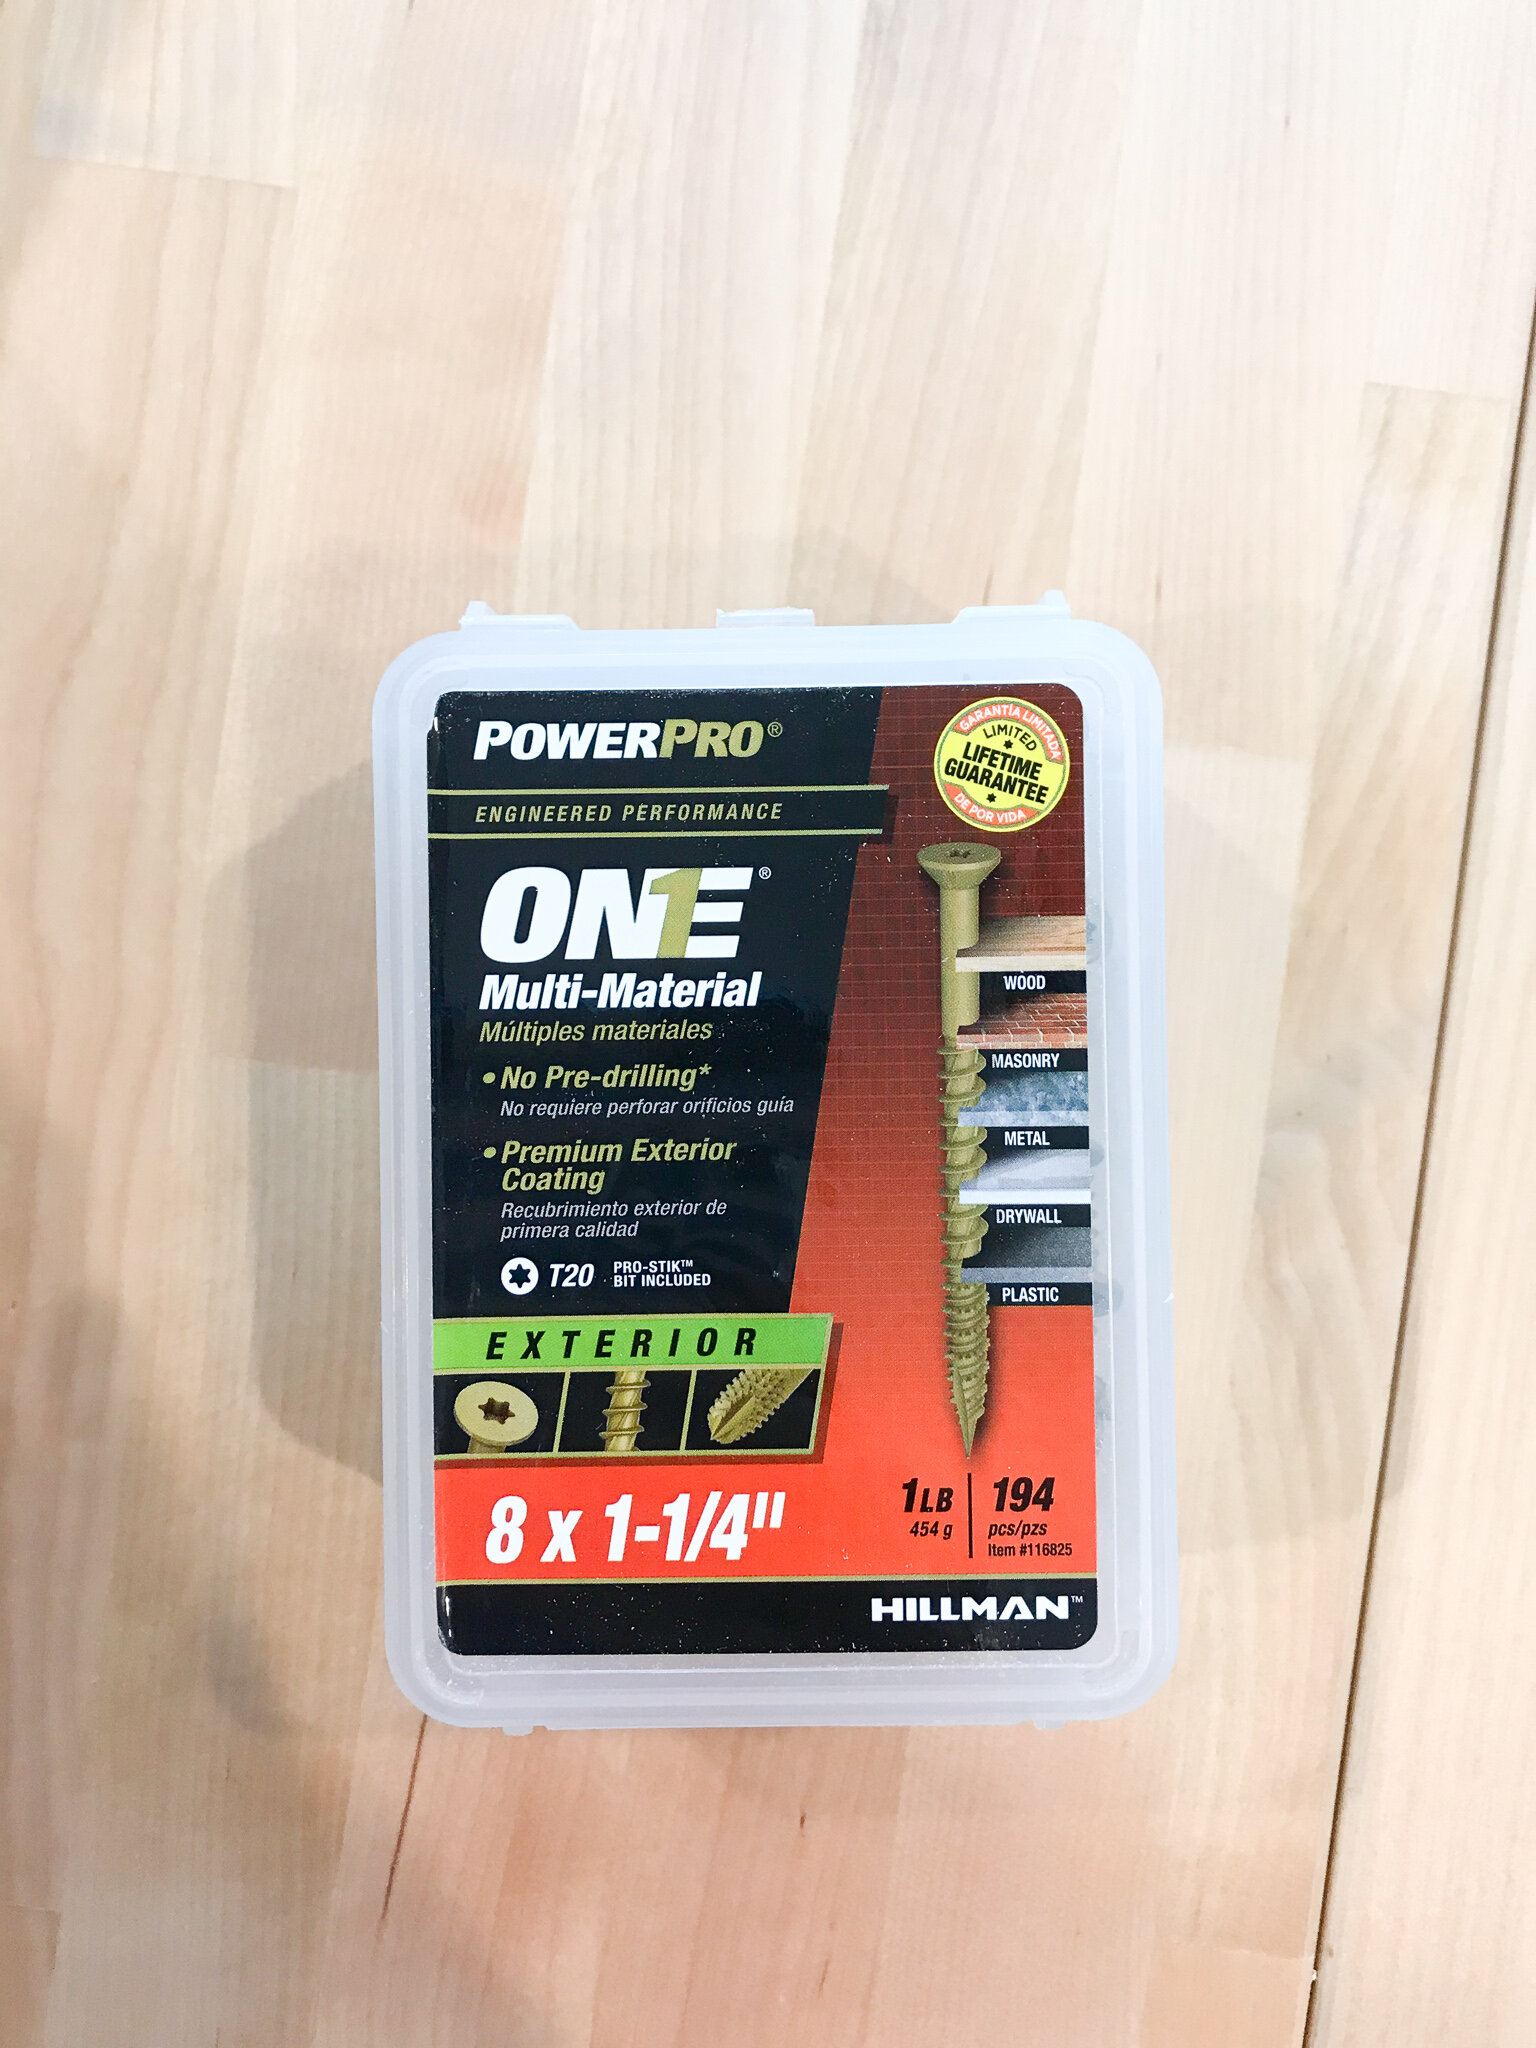
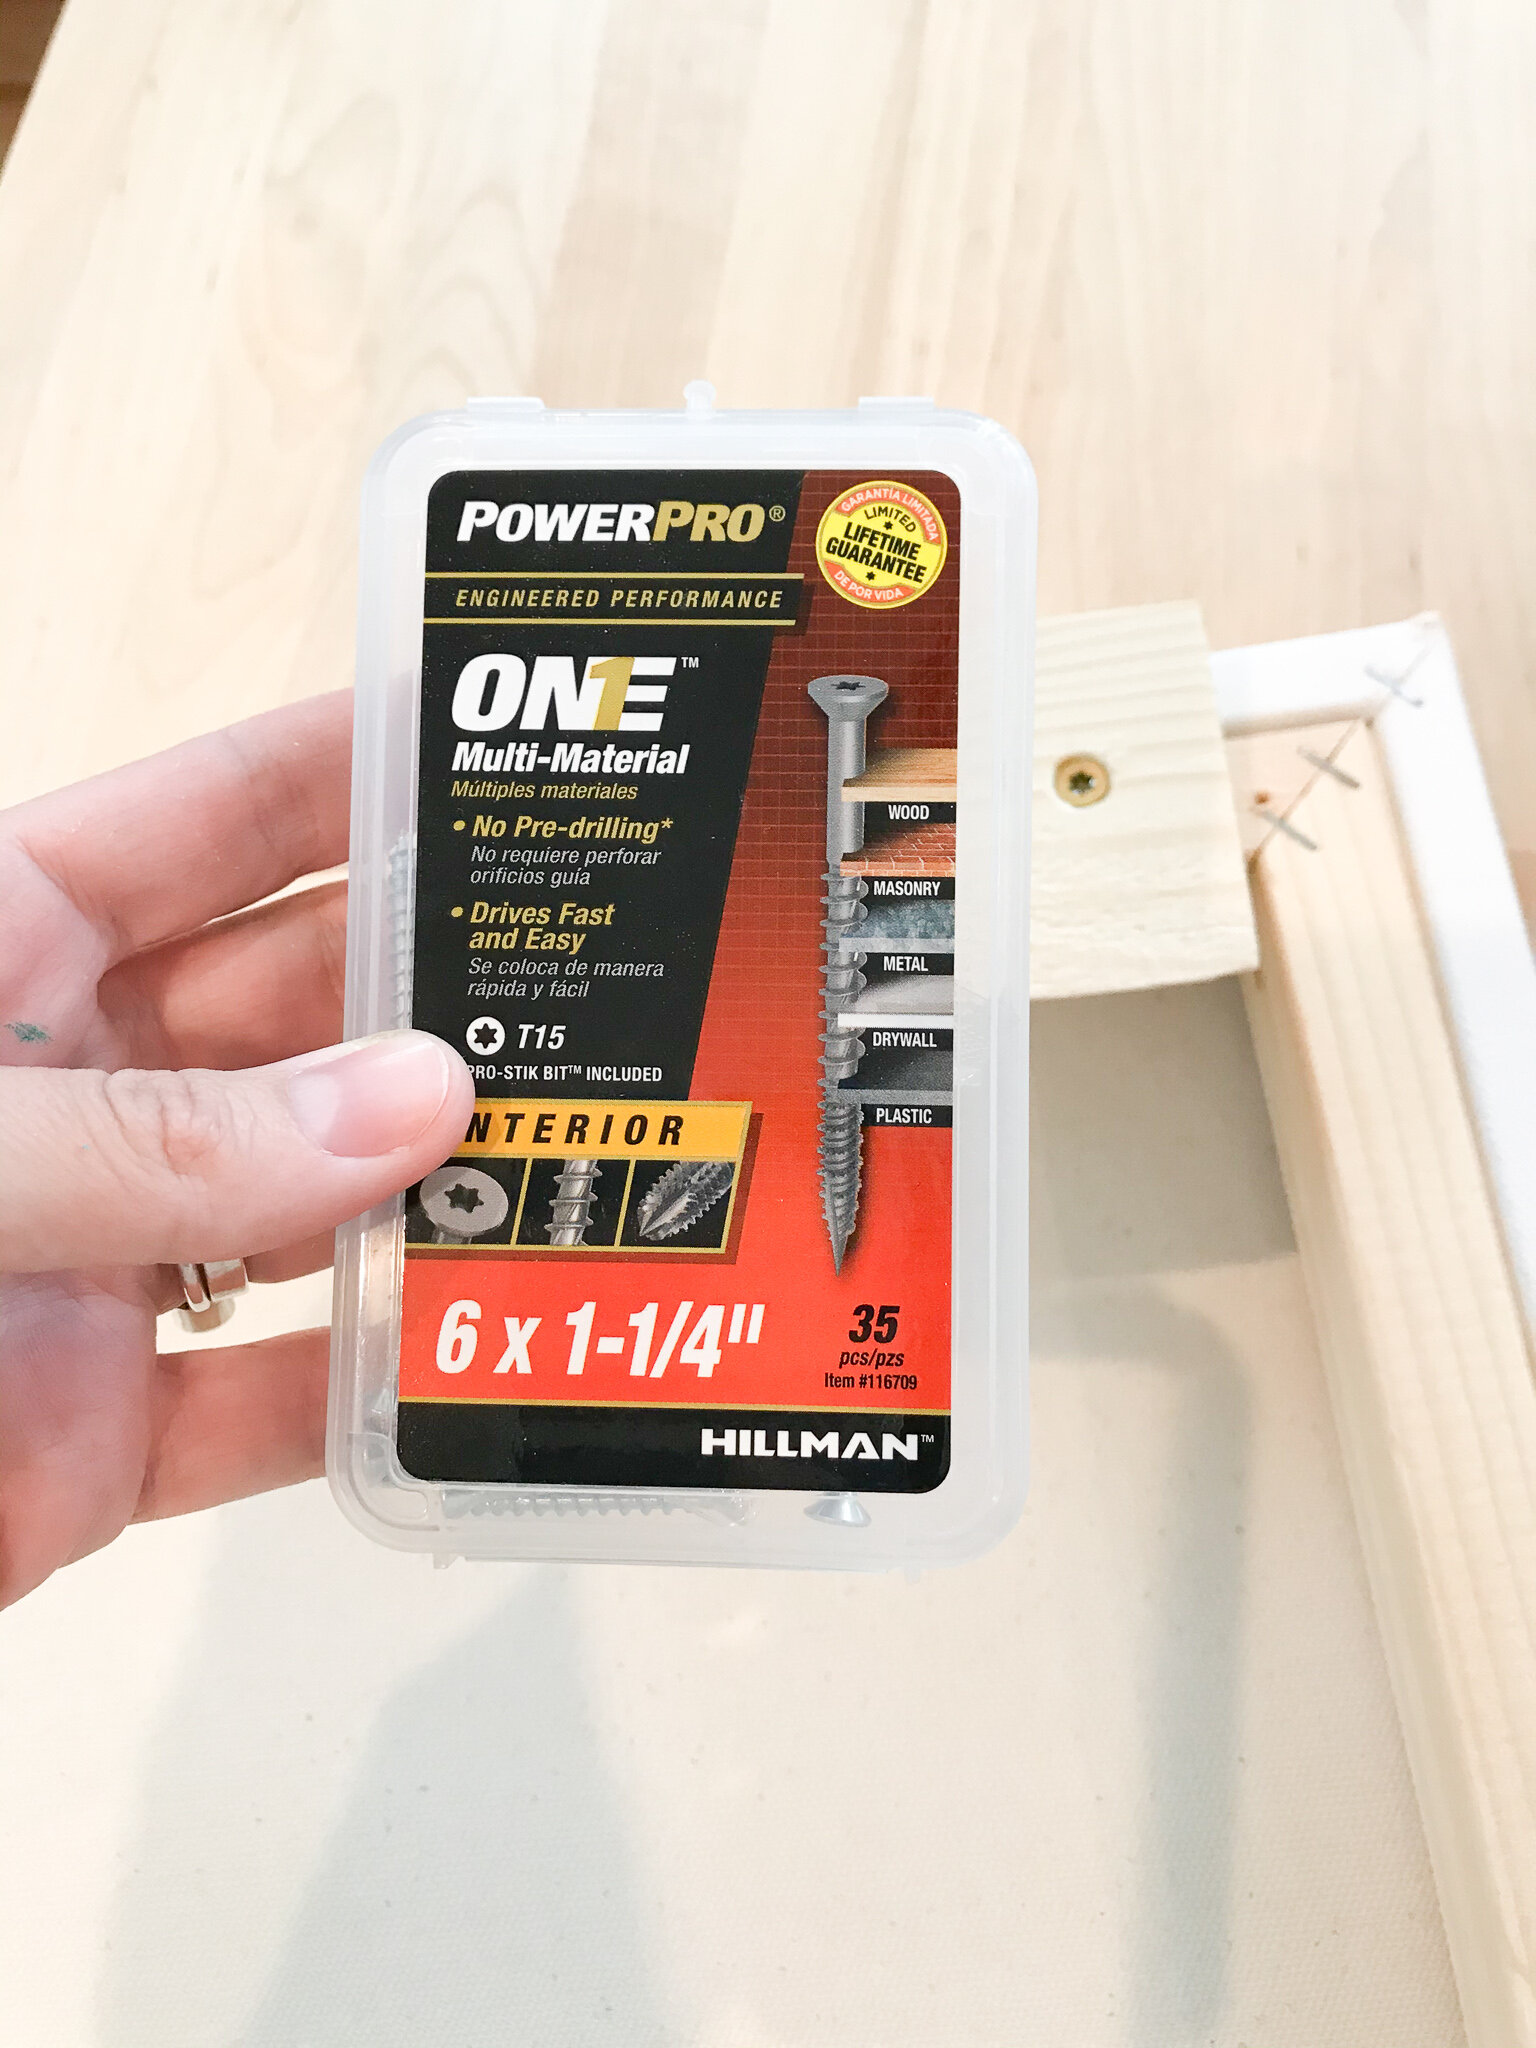
Oh… I should talk about tools. My husband has a pretty good amount of tools but nothing crazy. This project would have been easier with a table saw but we didn’t have one. He used a circular saw to do all the cuts but we’d recommend borrowing a table saw if you can get your hands on one because cutting angles on a circular saw was pretty difficult for long stretches of wood because you’re just guiding it by hand. He also used a drill, clamps, sand paper, heavy duty screws, chalk line and saw horses. We used 2x3s for the vertical struts (they were on sale) but you could also use 2x4s. My husband picked the 10x2 1/2” exterior screws (see photo) because they’re super sturdy and long enough to go through the wood and still have enough to grab onto the stud or wall. We used 1x6s for the horizontal crossbars with the 8x1 1/4” screws (see photo) for these.
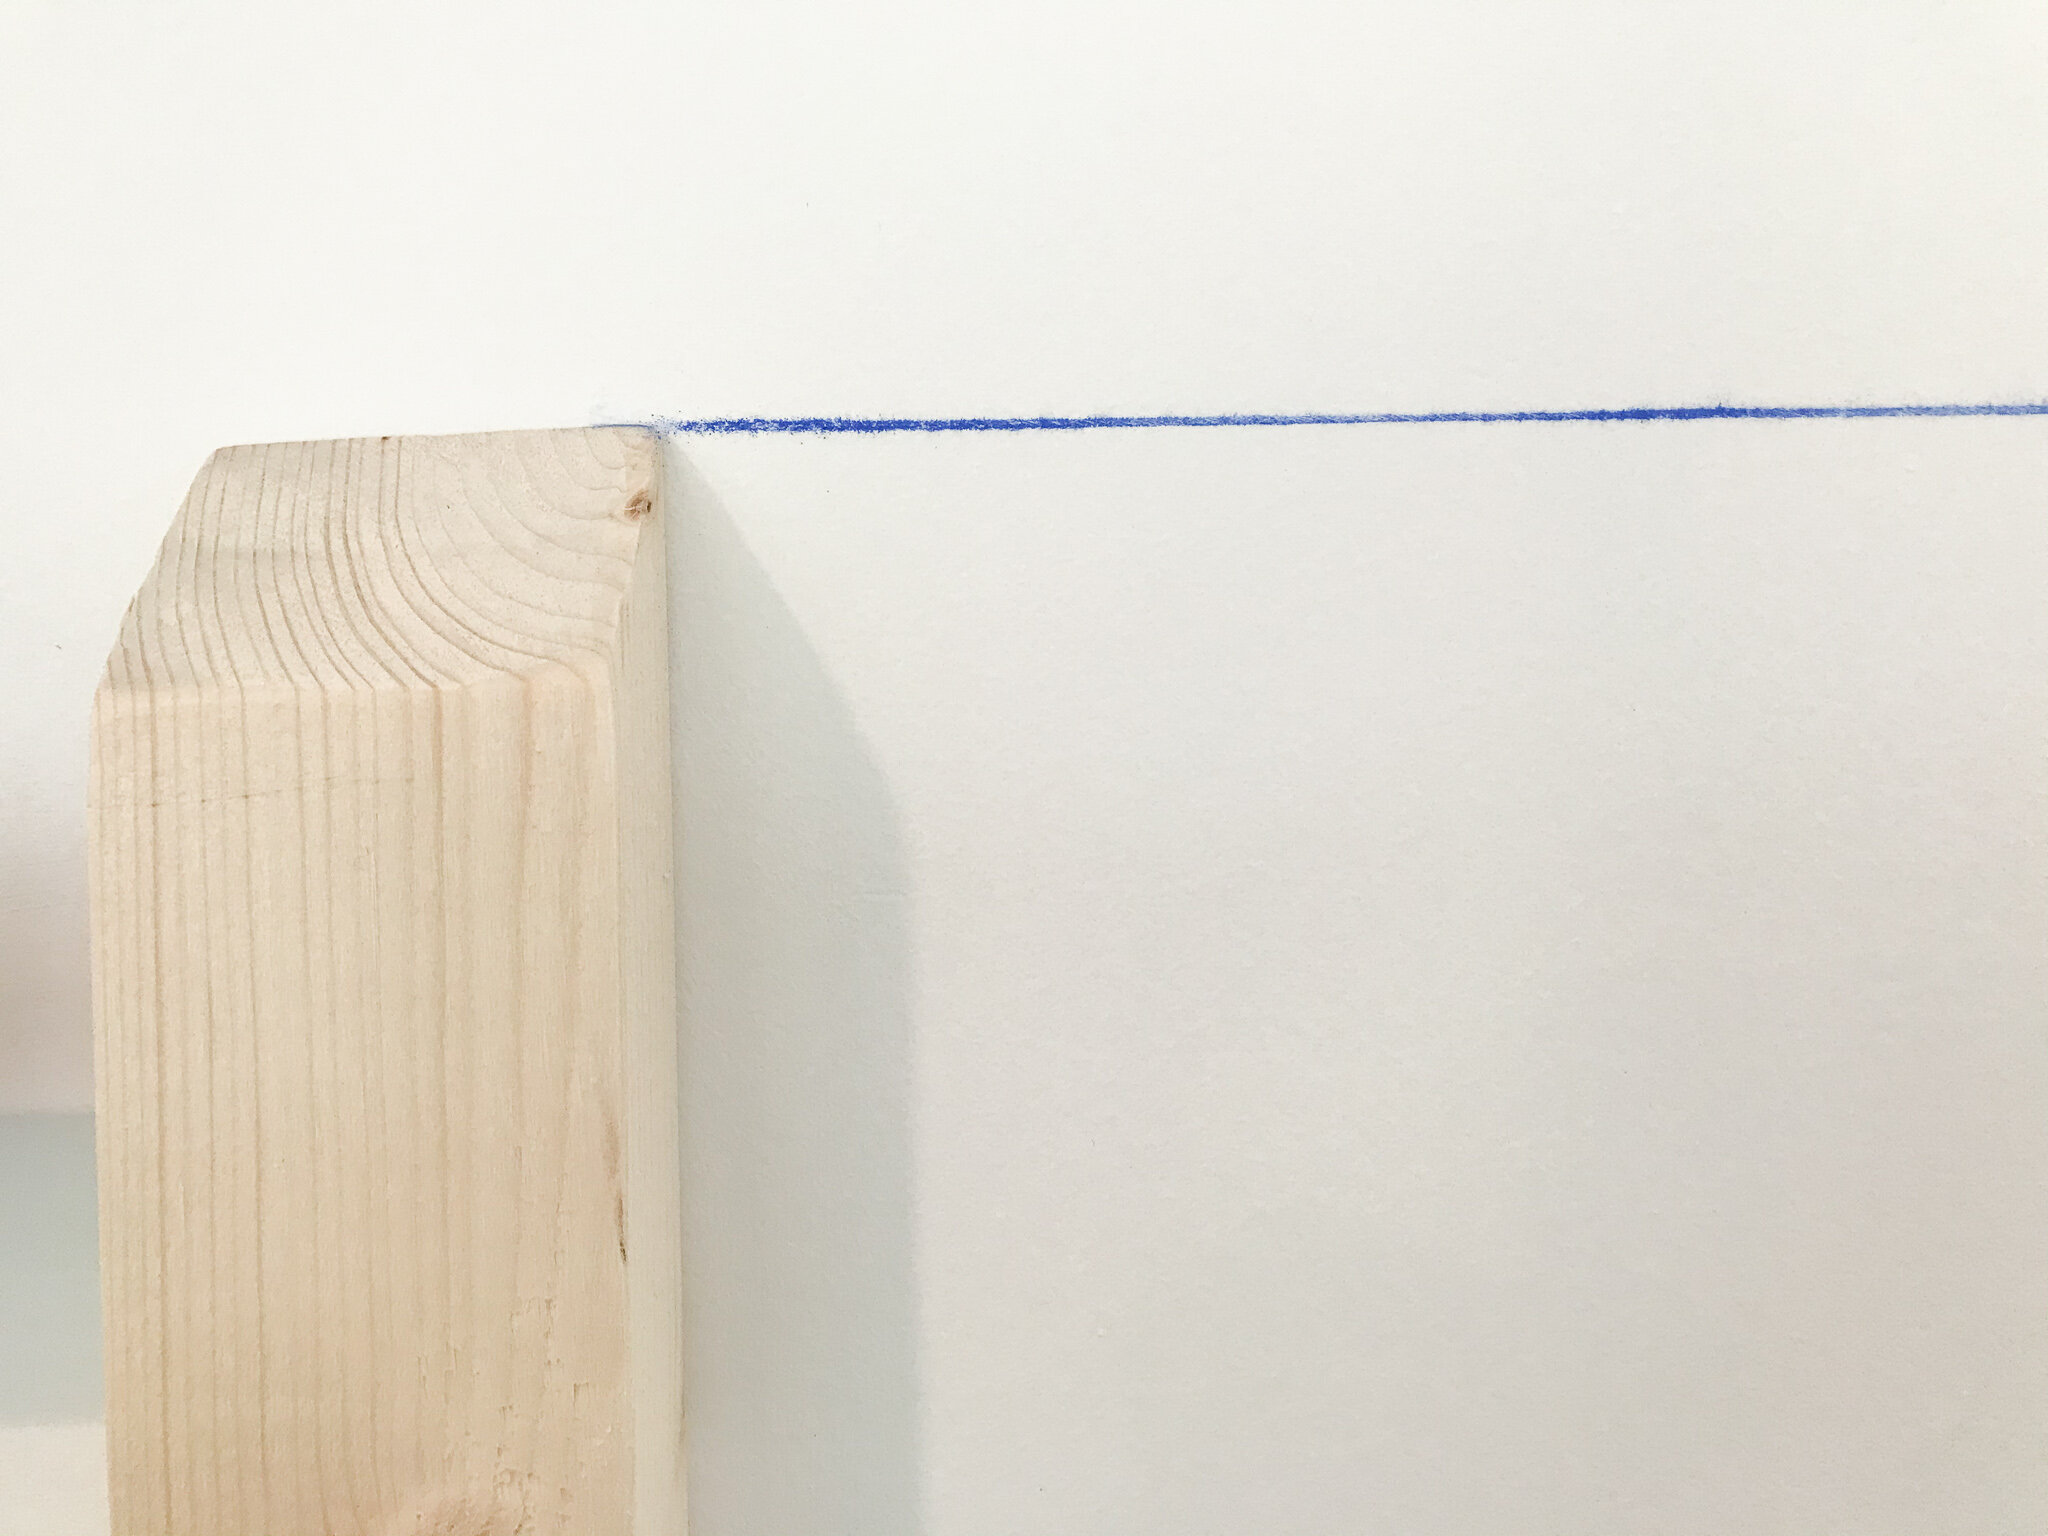
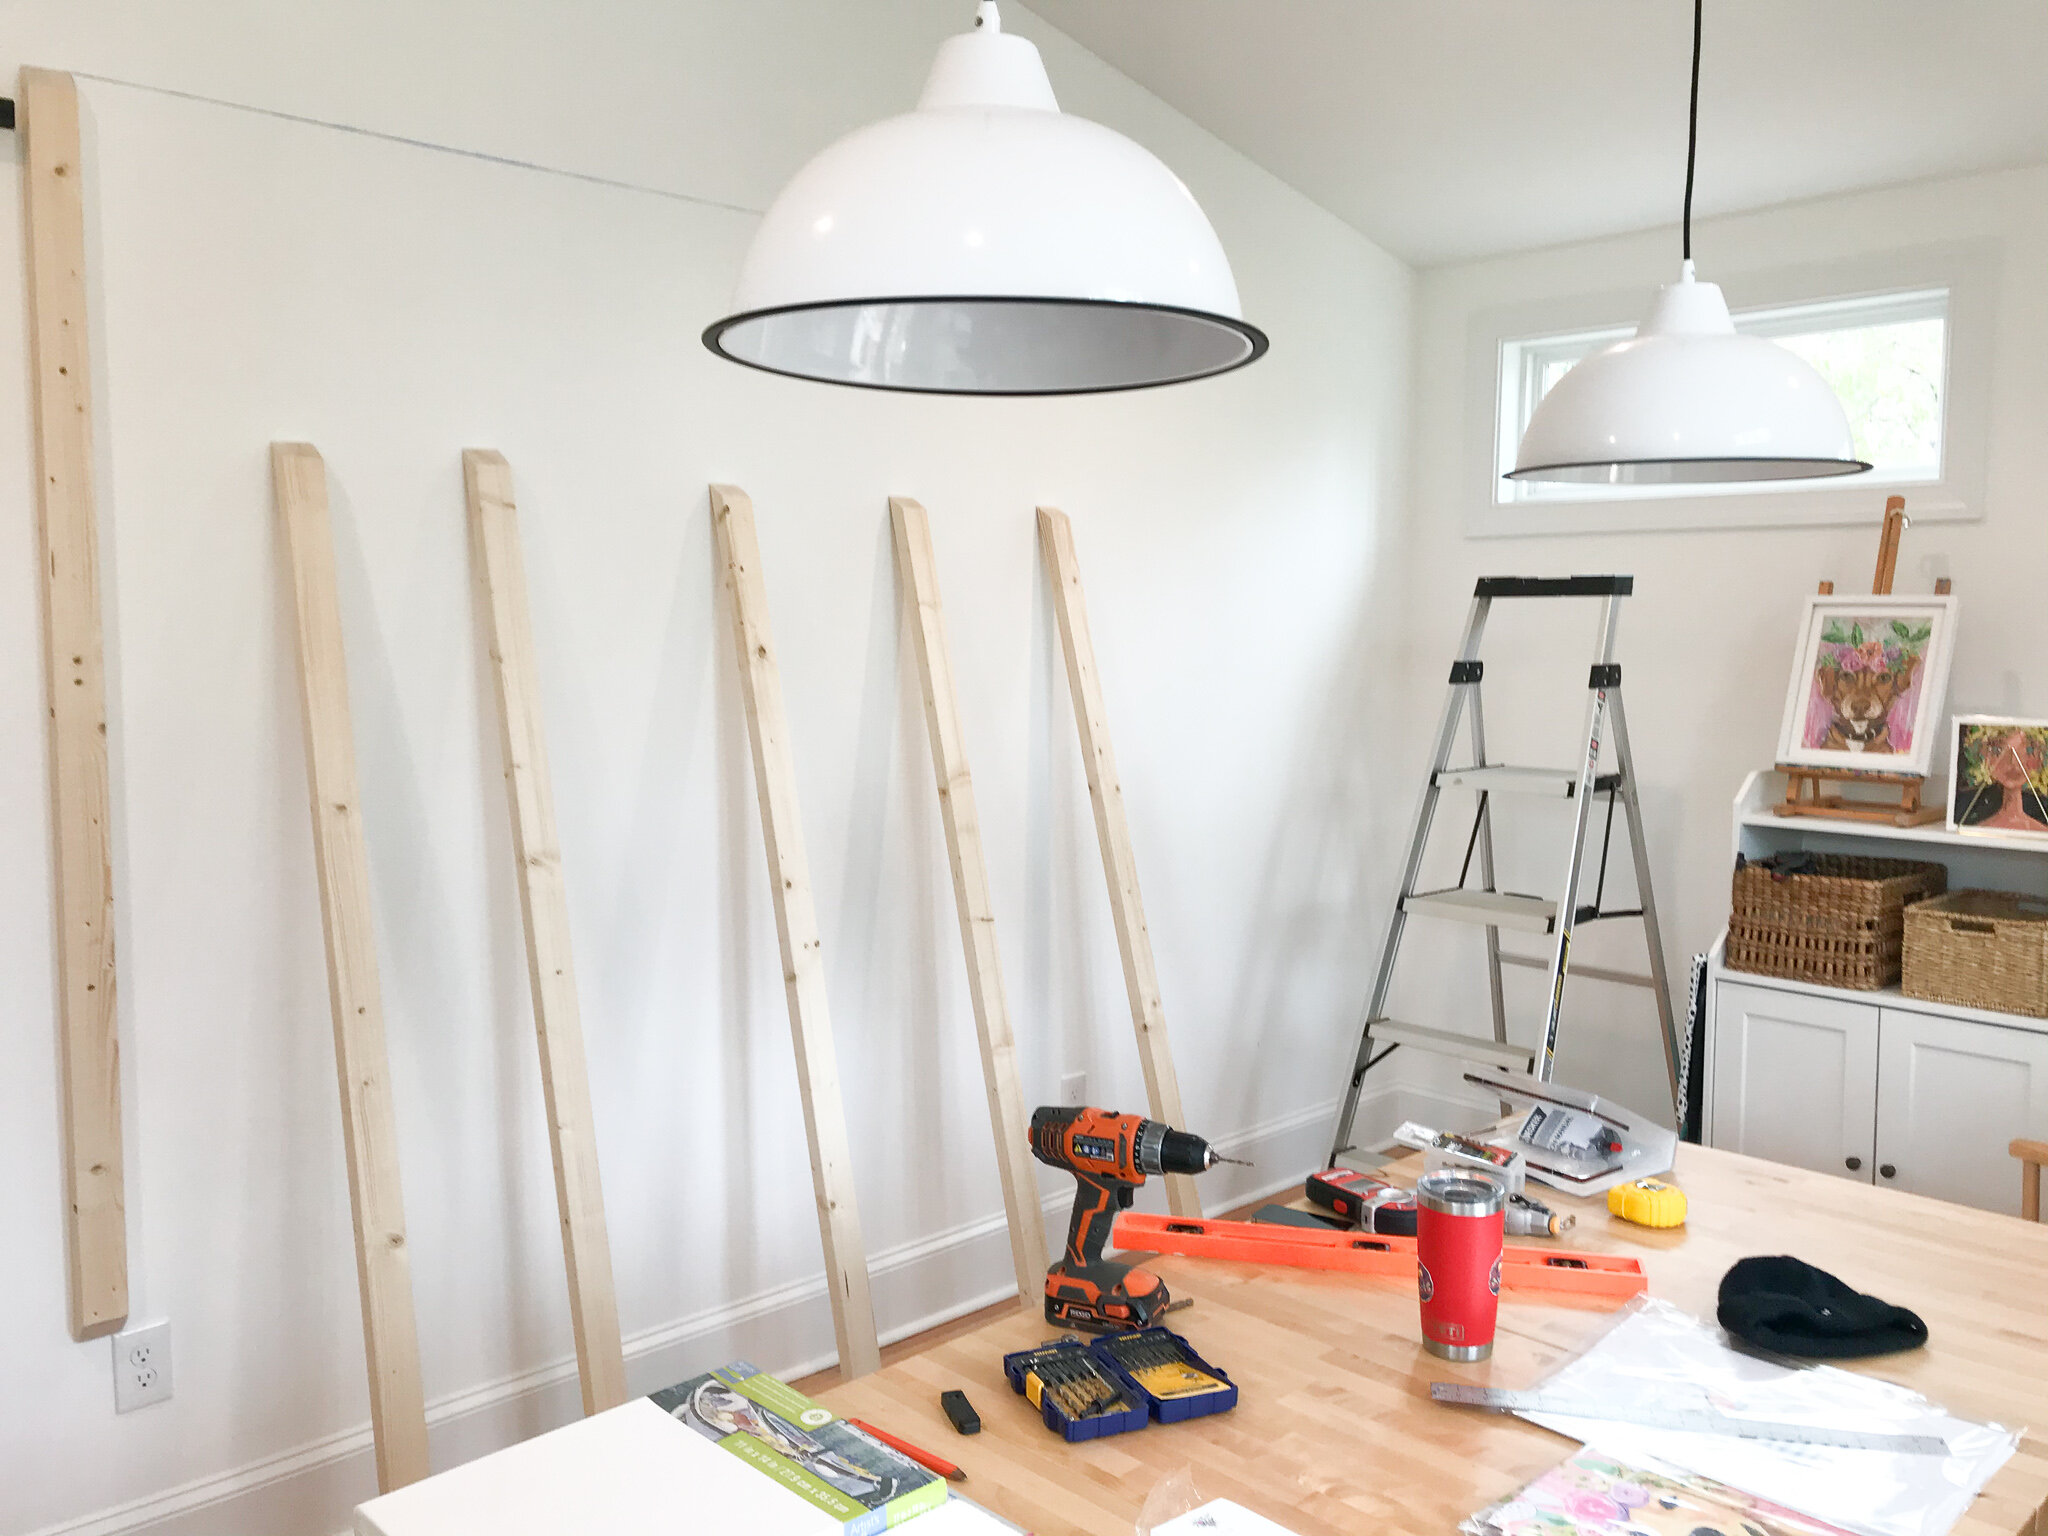
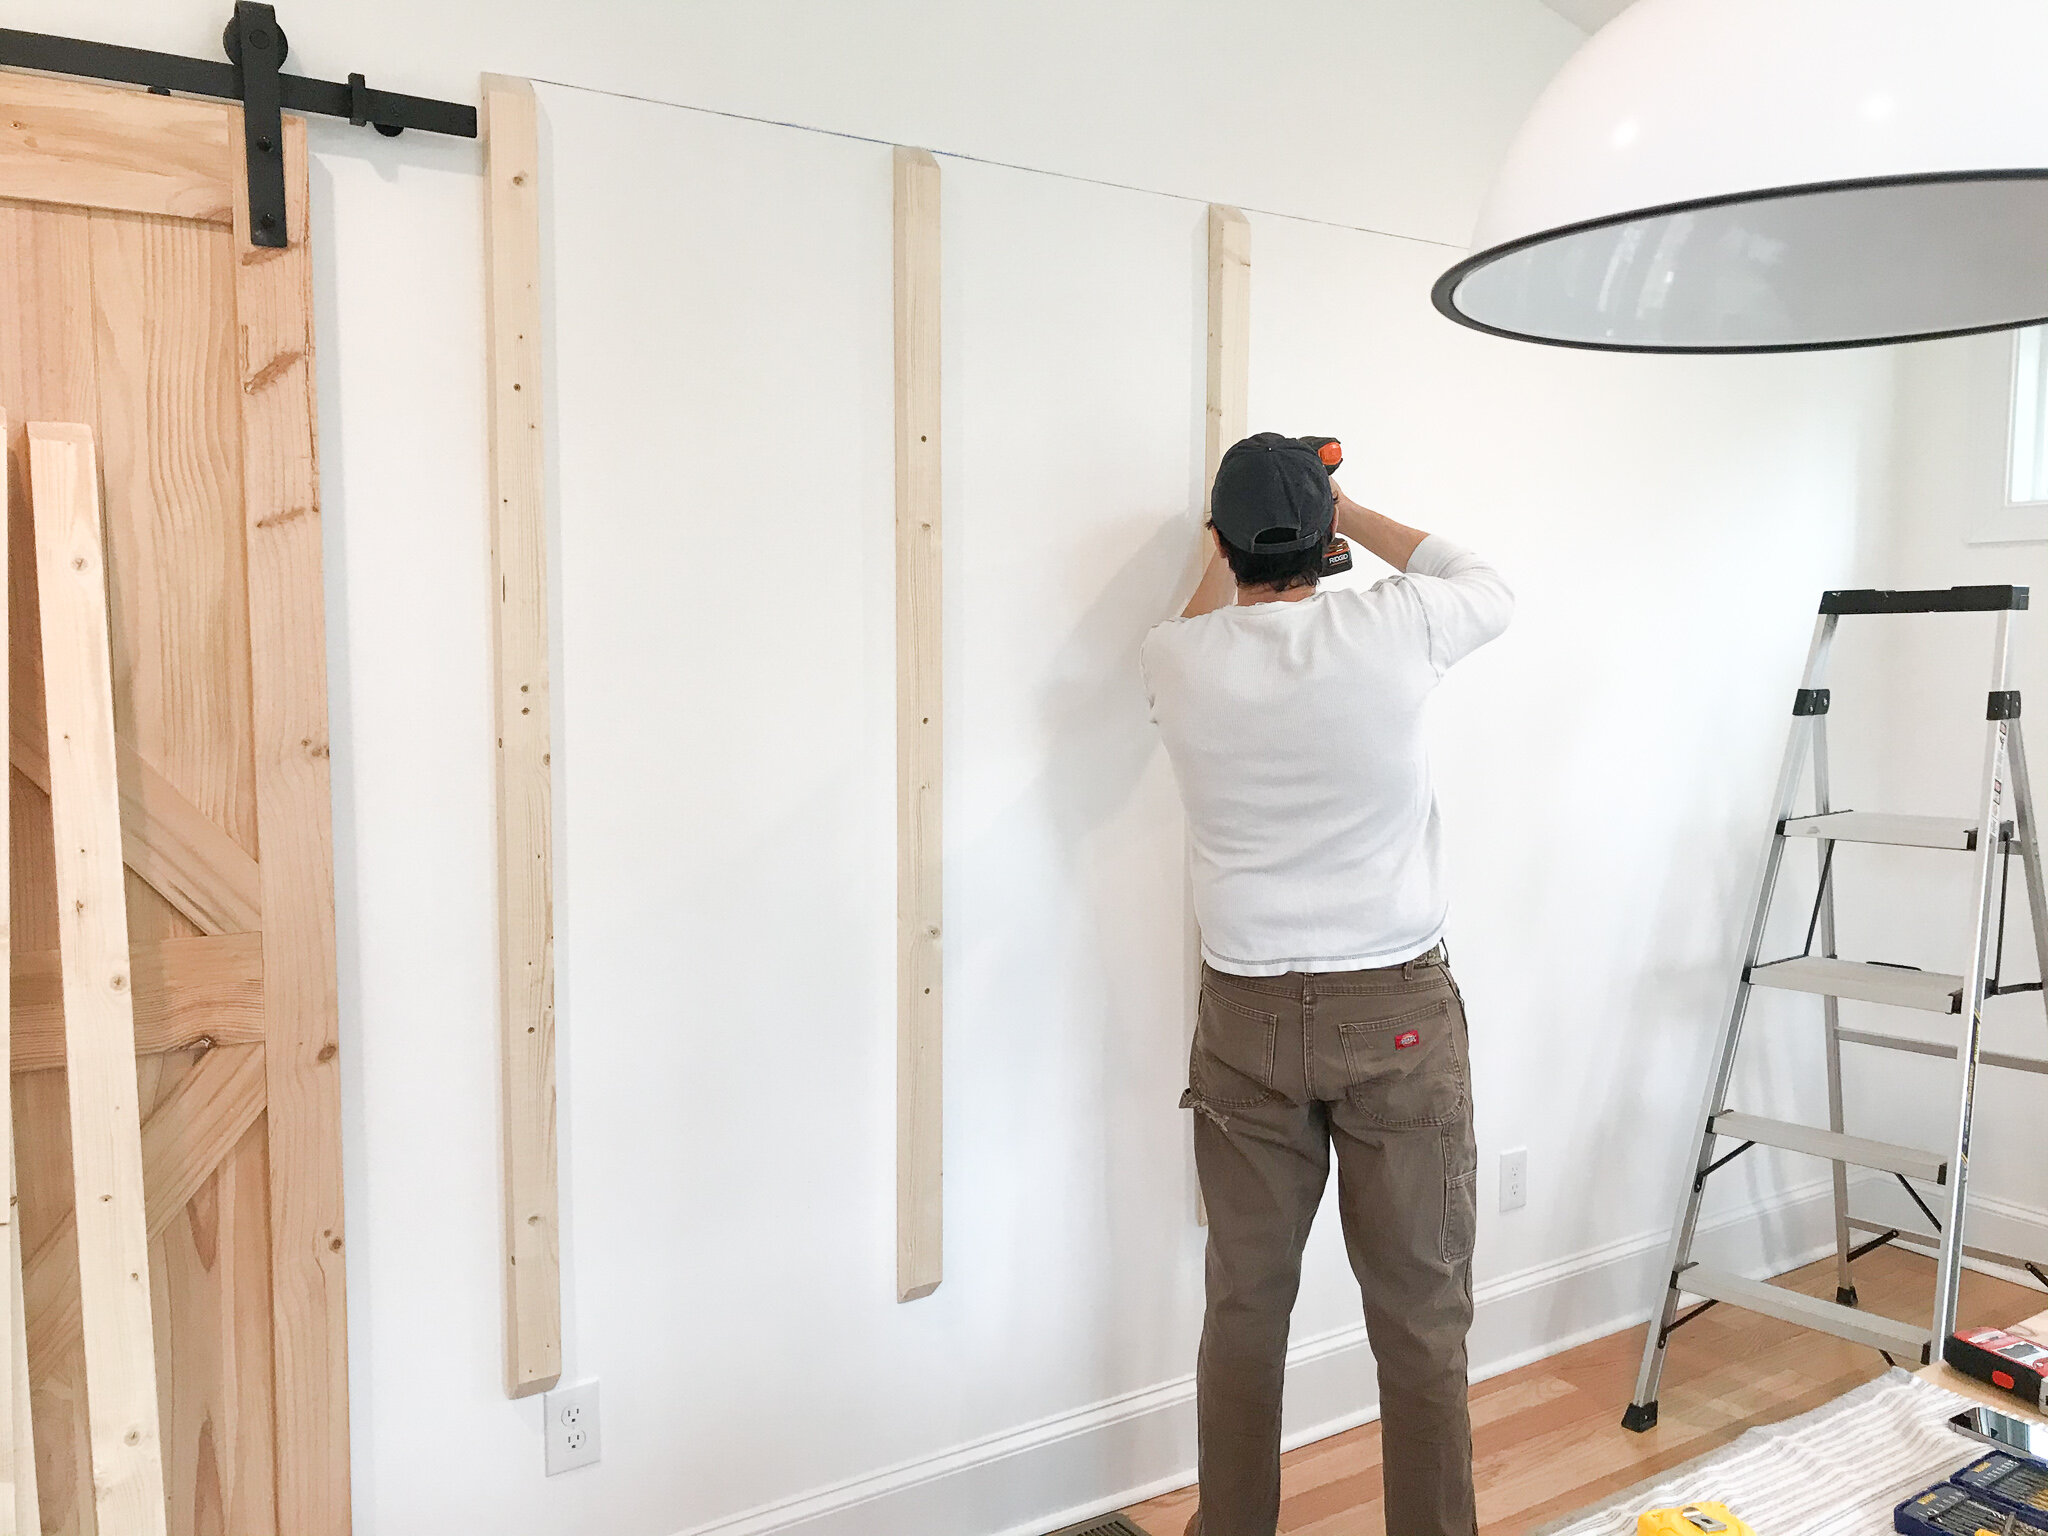
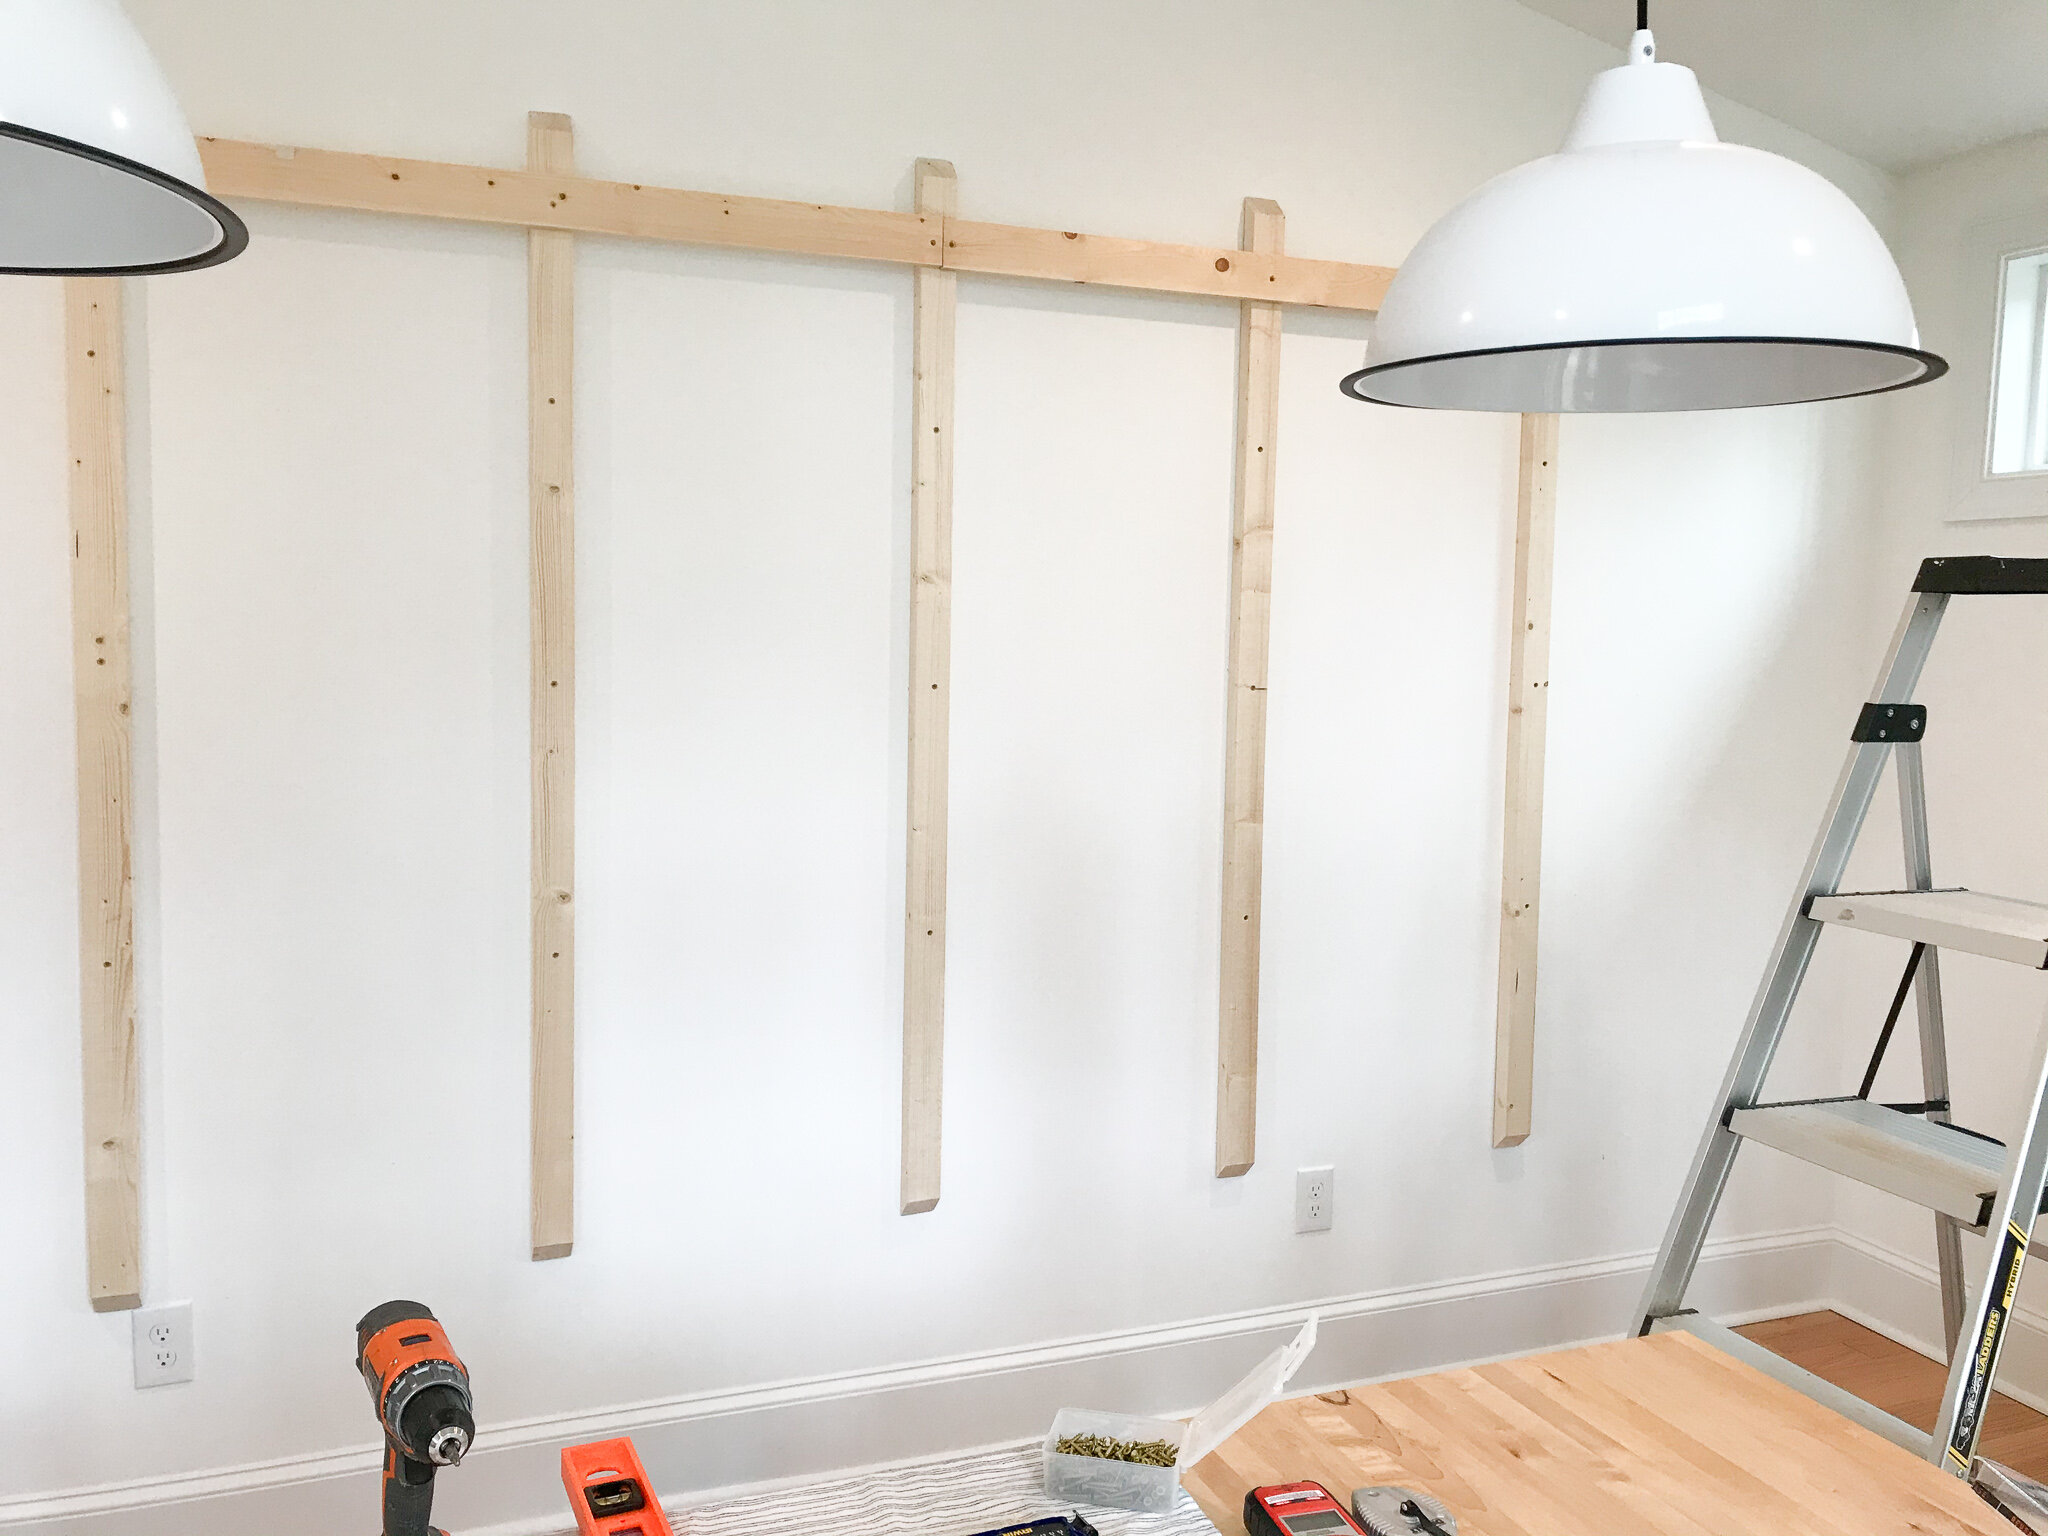
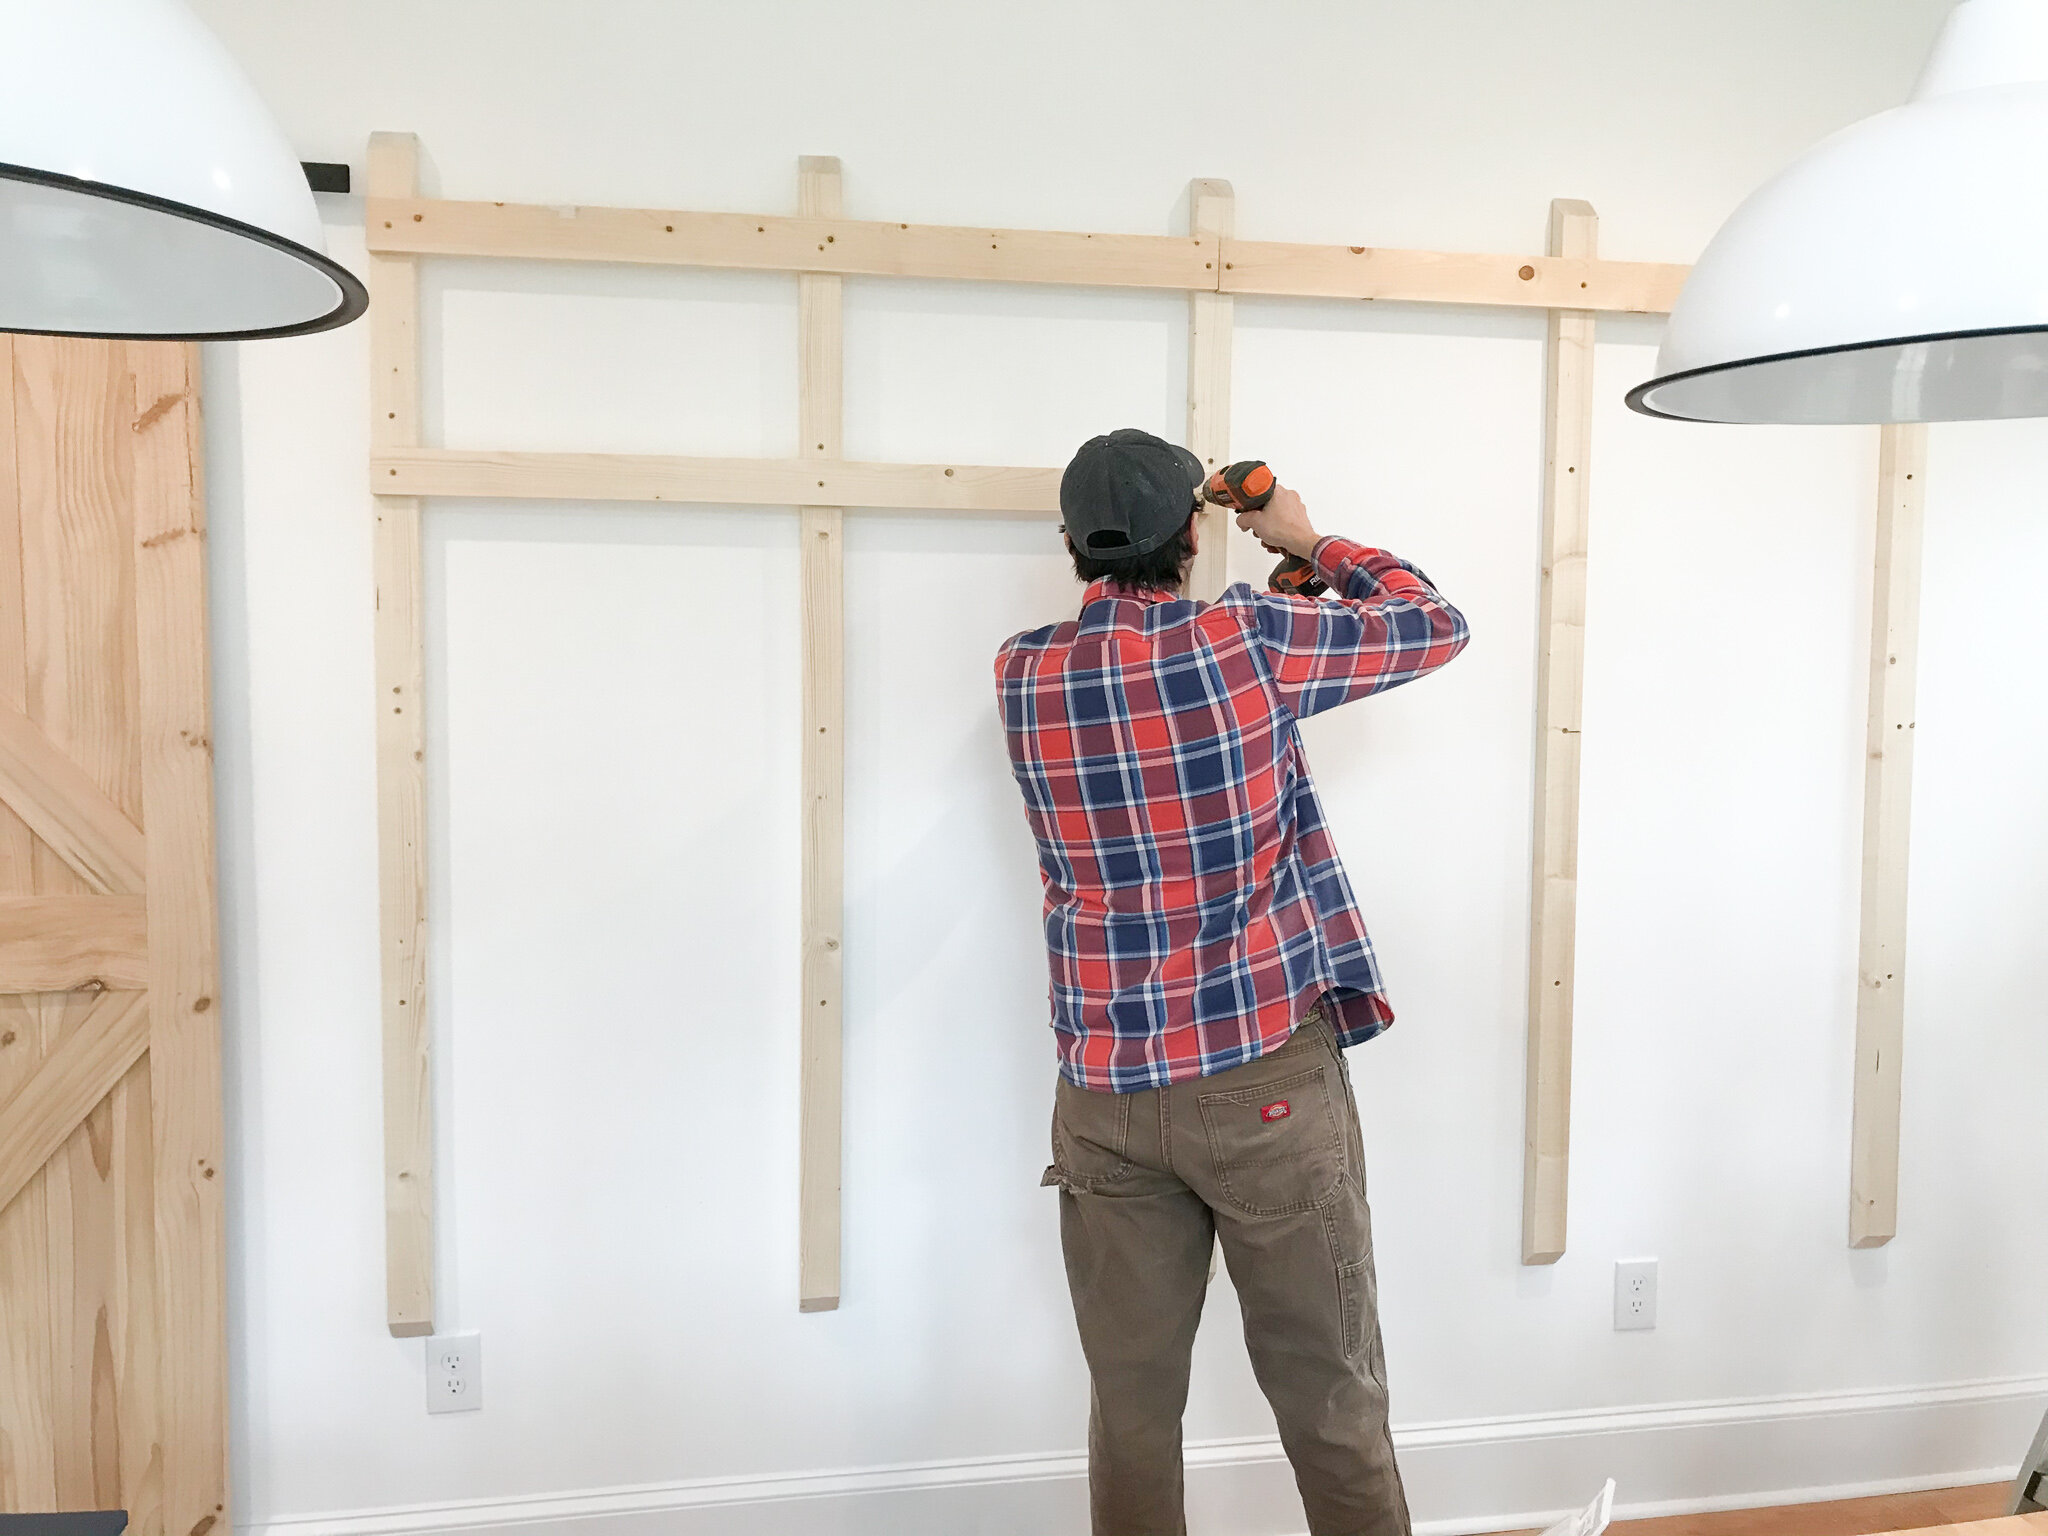
STEP 1: Creating the vertical struts. My husband decided to angle the ends to make it look nicer. Again he used his circular saw for the angles. He also counter-sank the screw holes to make it look prettier. We made a chalk line at the top so that we had a starting point for all the vertical struts (so they’d be level). He attached these to the walls using strong, long screws and kept checking everything was straight with a level. He used 3 screws per vertical strut. We tried to go just with where the spacing of the studs were but even with a stud finder (do those ever work?) it was hard to find the studs and they weren’t really lining up where we wanted them to be so we connected to as many studs as possible (2 or 3) and the rest just left up to chance but it feels very secure.
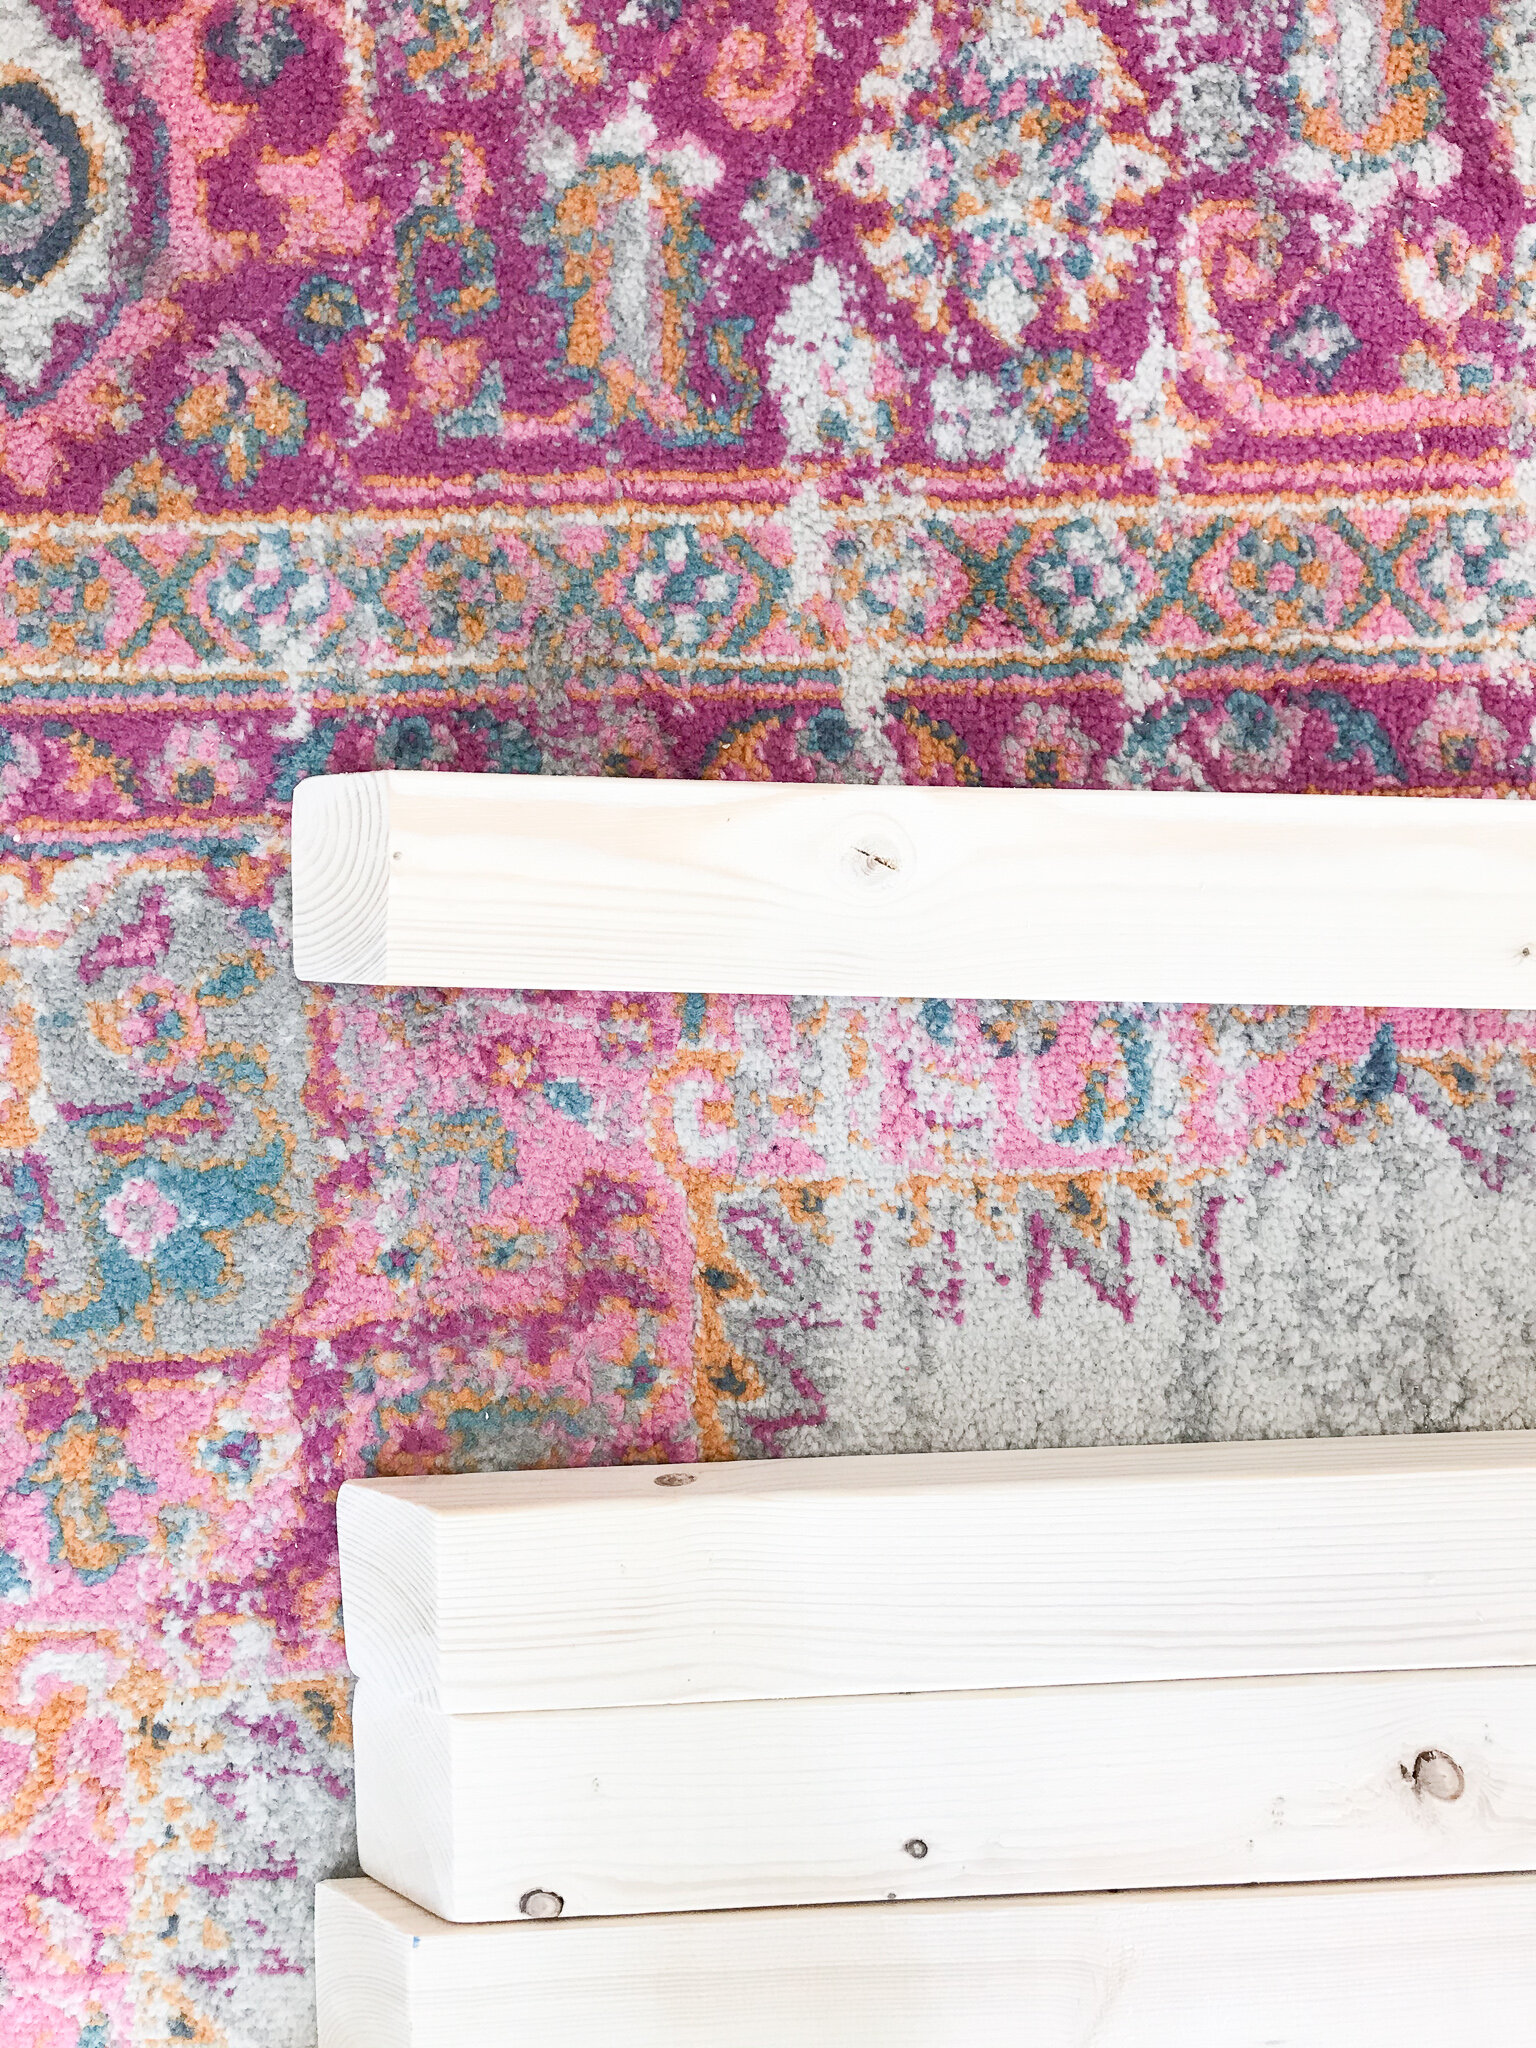
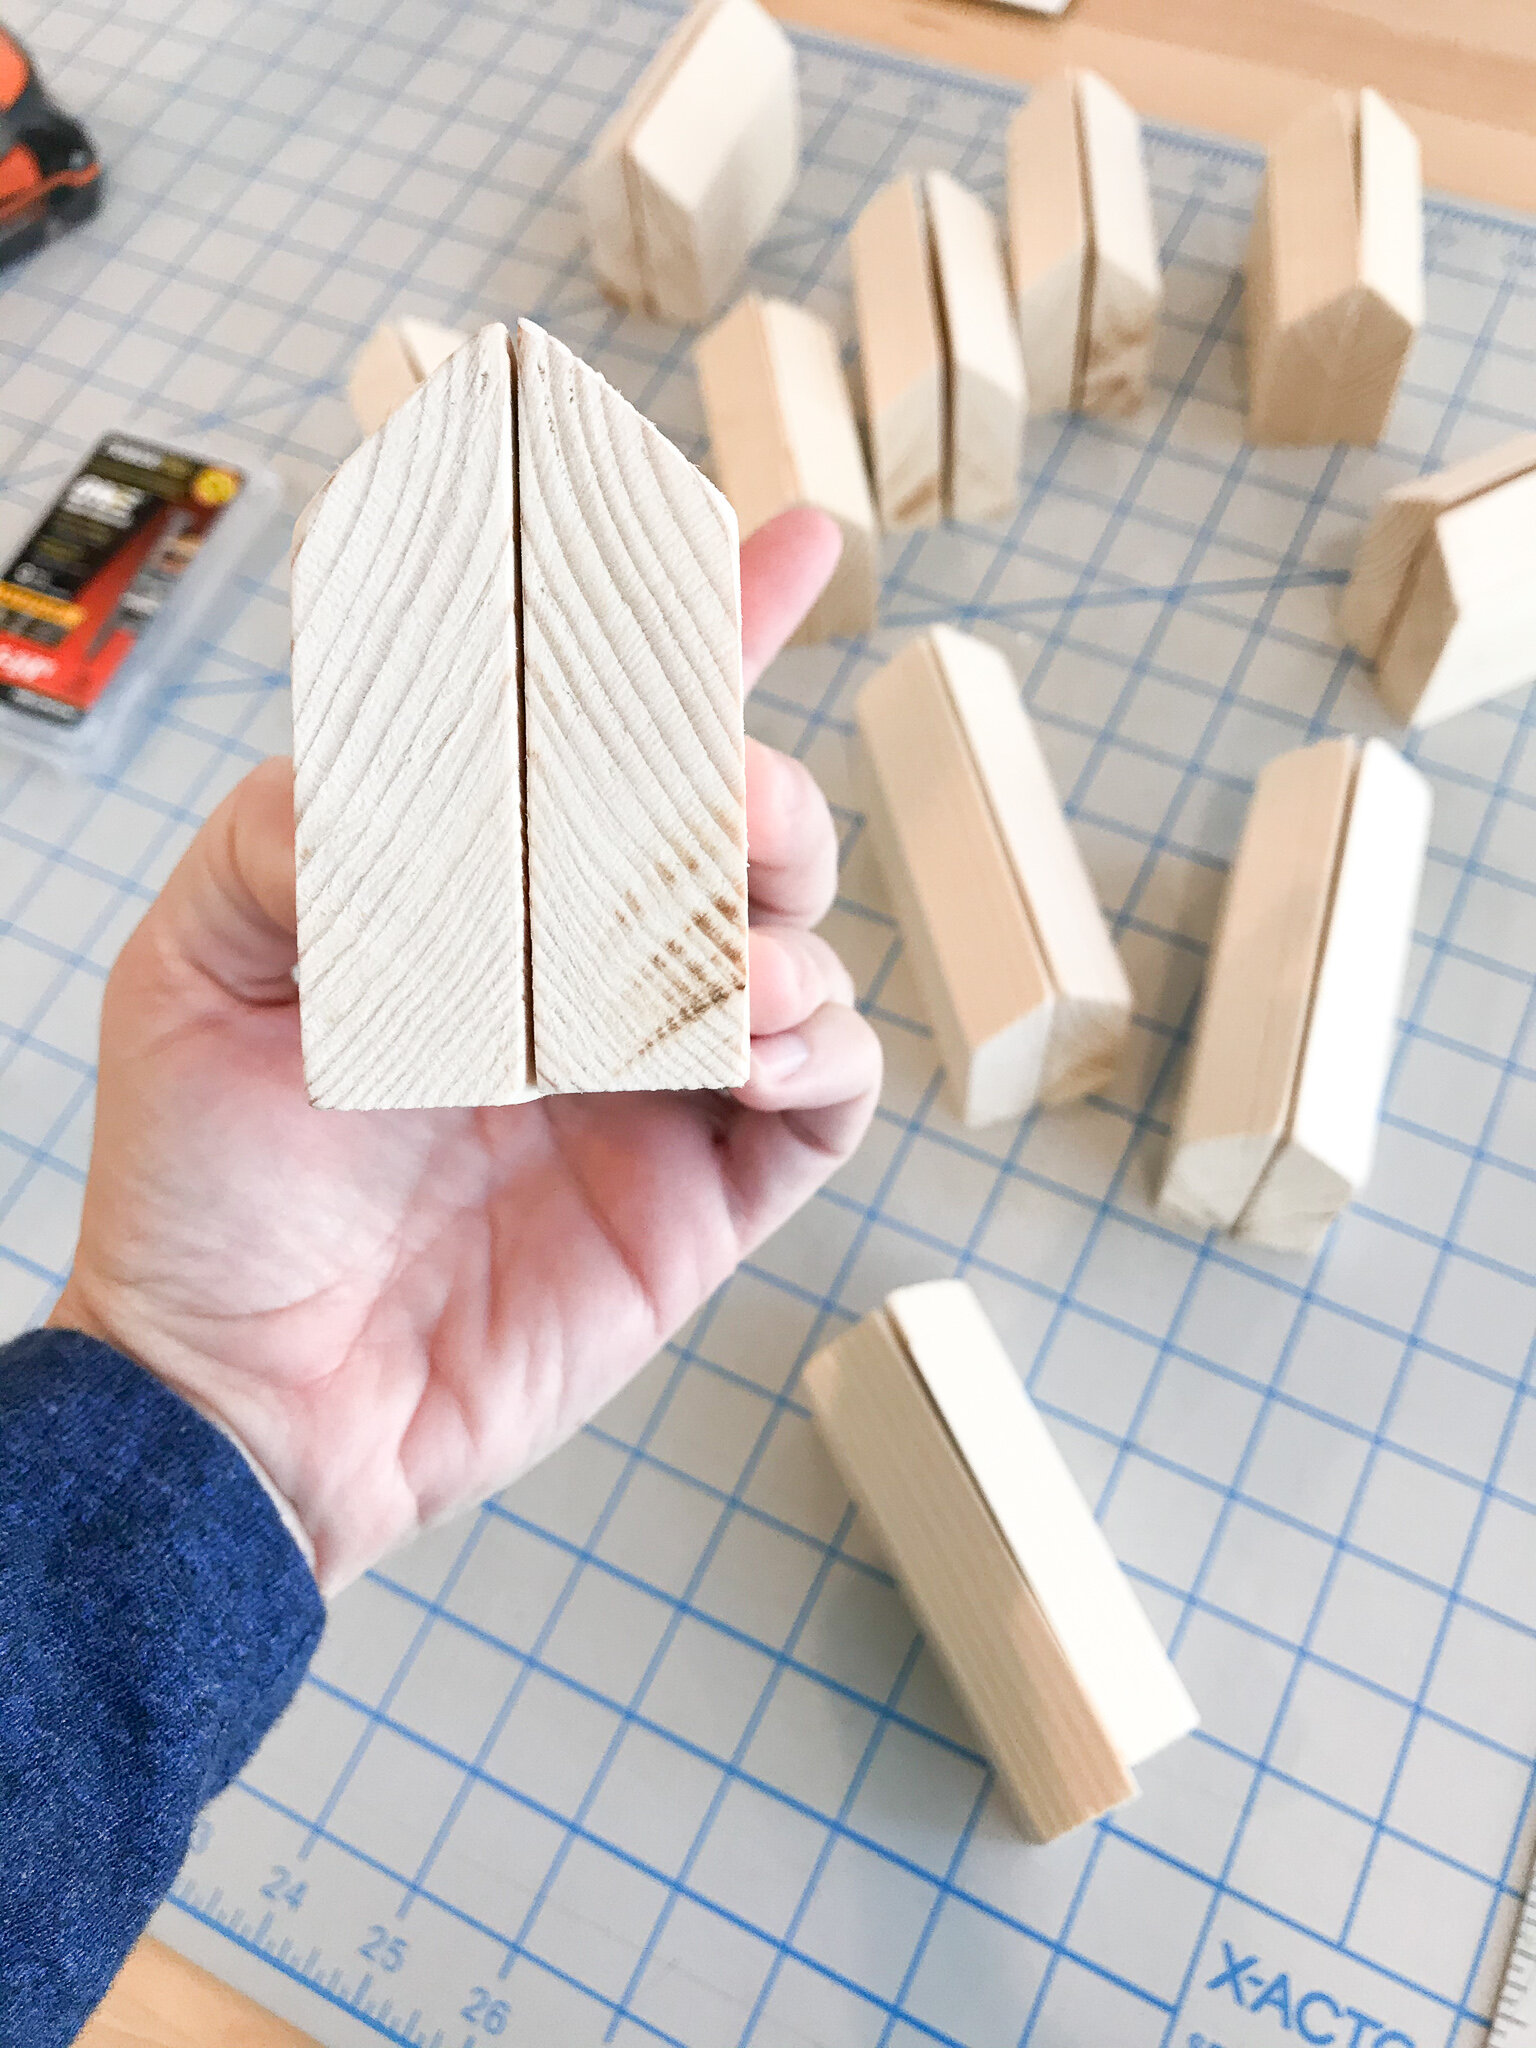
STEP 2: Making the horizontal cross bars. The original Youtube video we found said that there’s a piece of molding out there that has this 45 degree angle at the top but after scouring Lowes, Home Depot and Ace Hardware my husband couldn’t find anything so he made his own. This was the trickiest part of the project. He took 1x6s and cut them in half long ways and then made a 45 degree cut on the top edge to create this wedge shape…
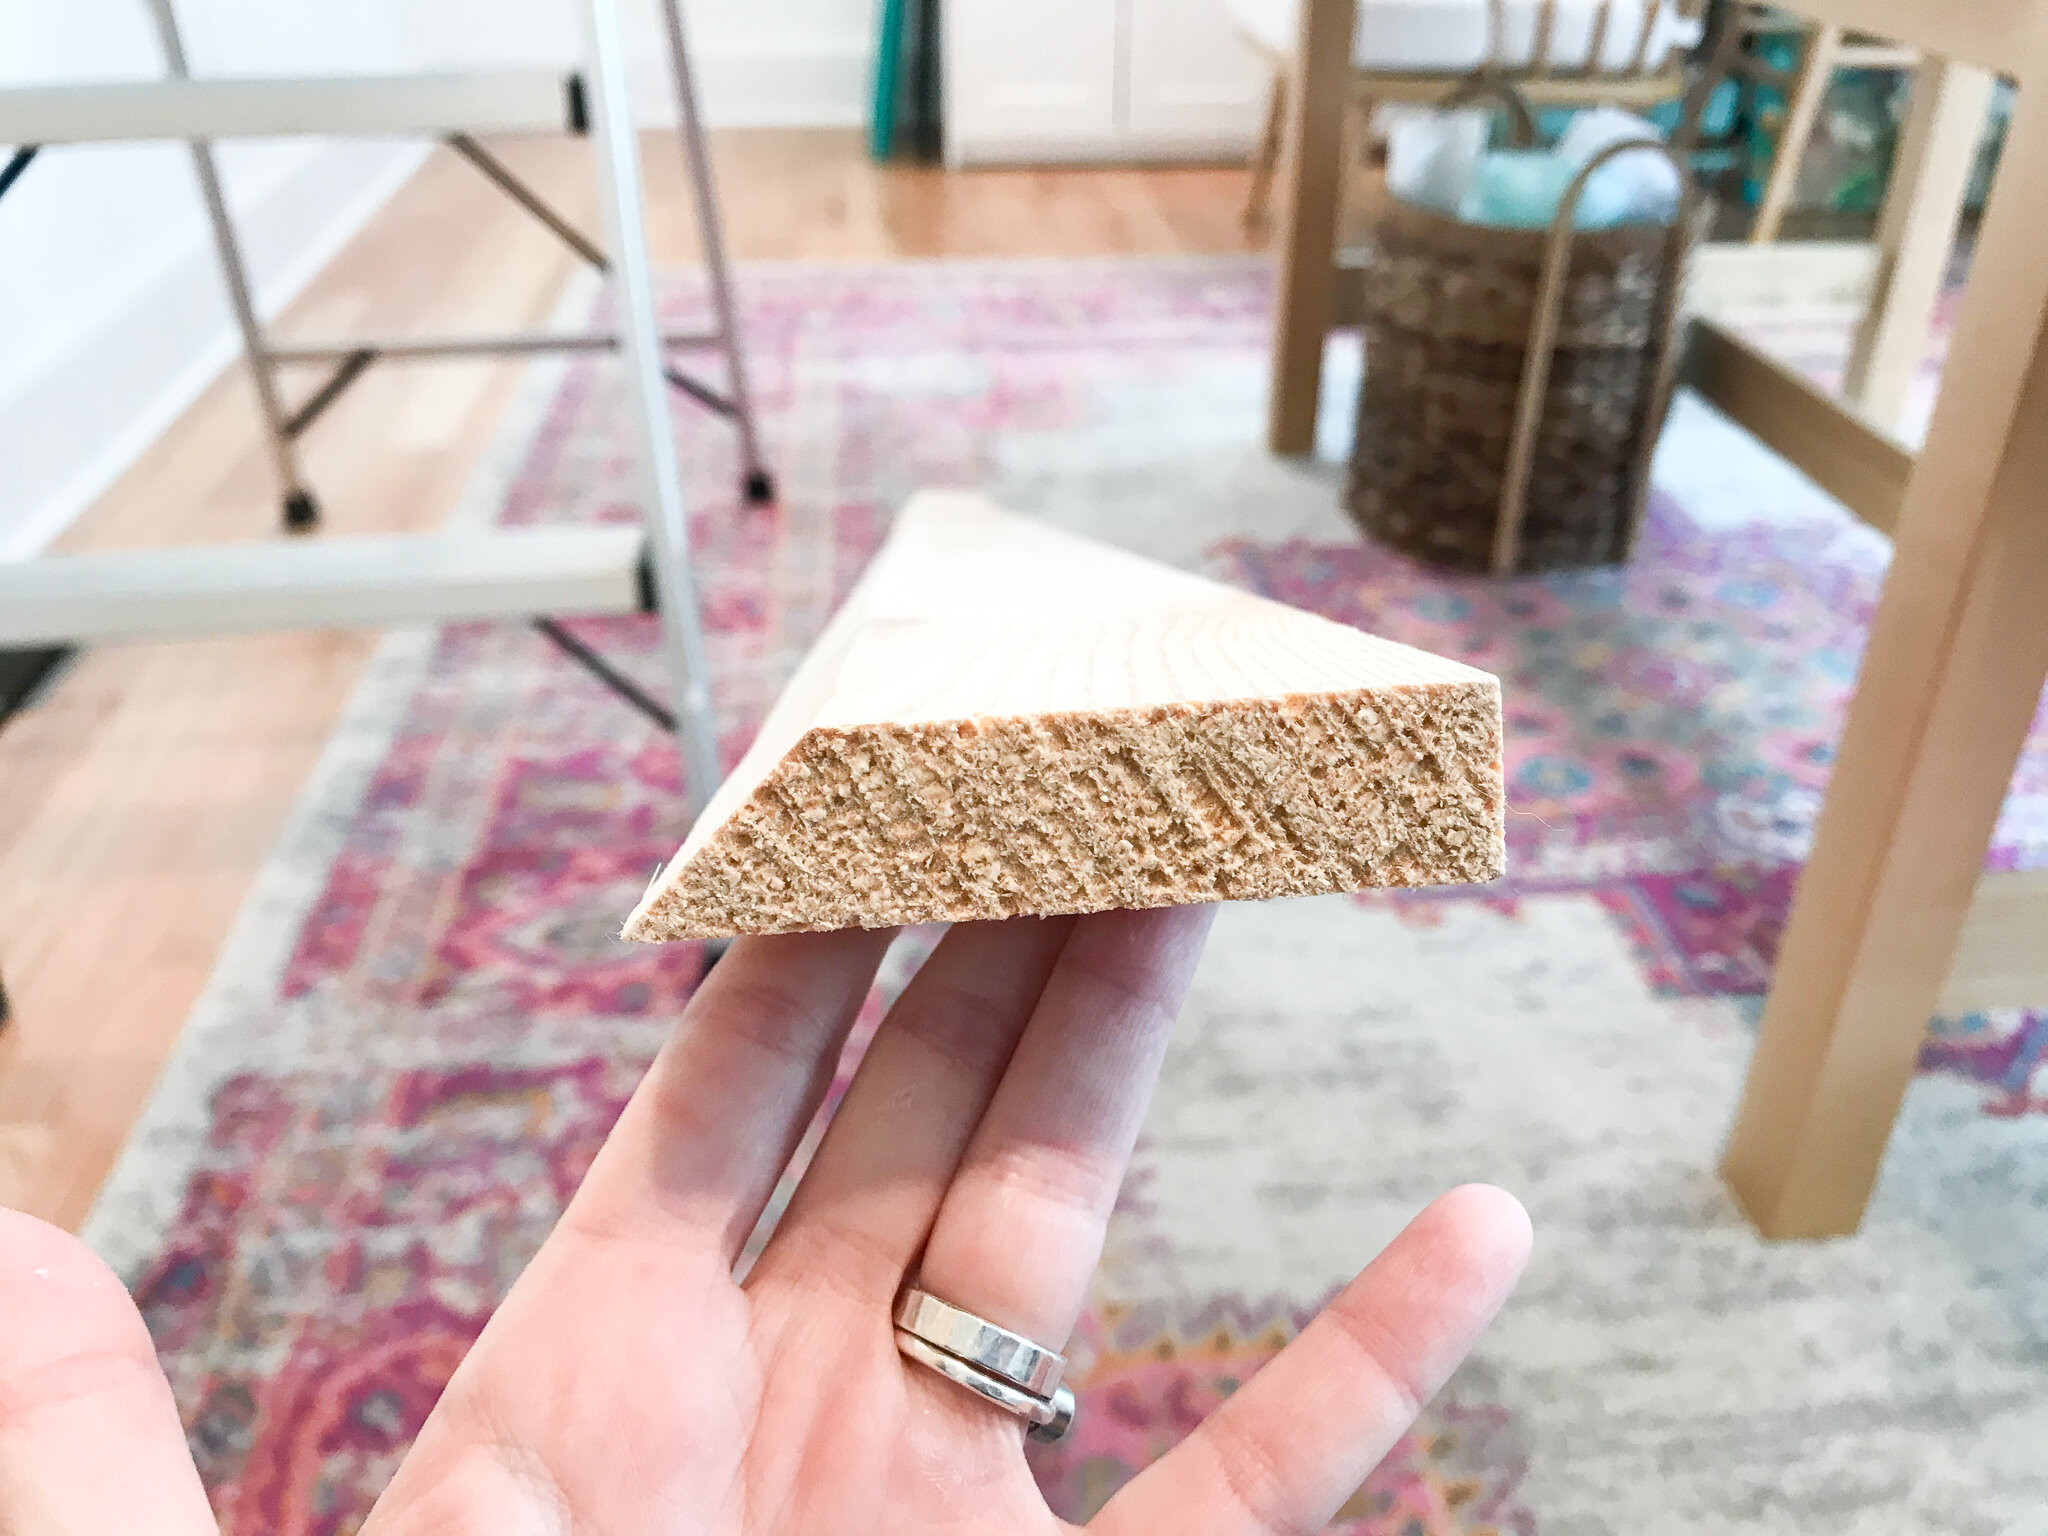
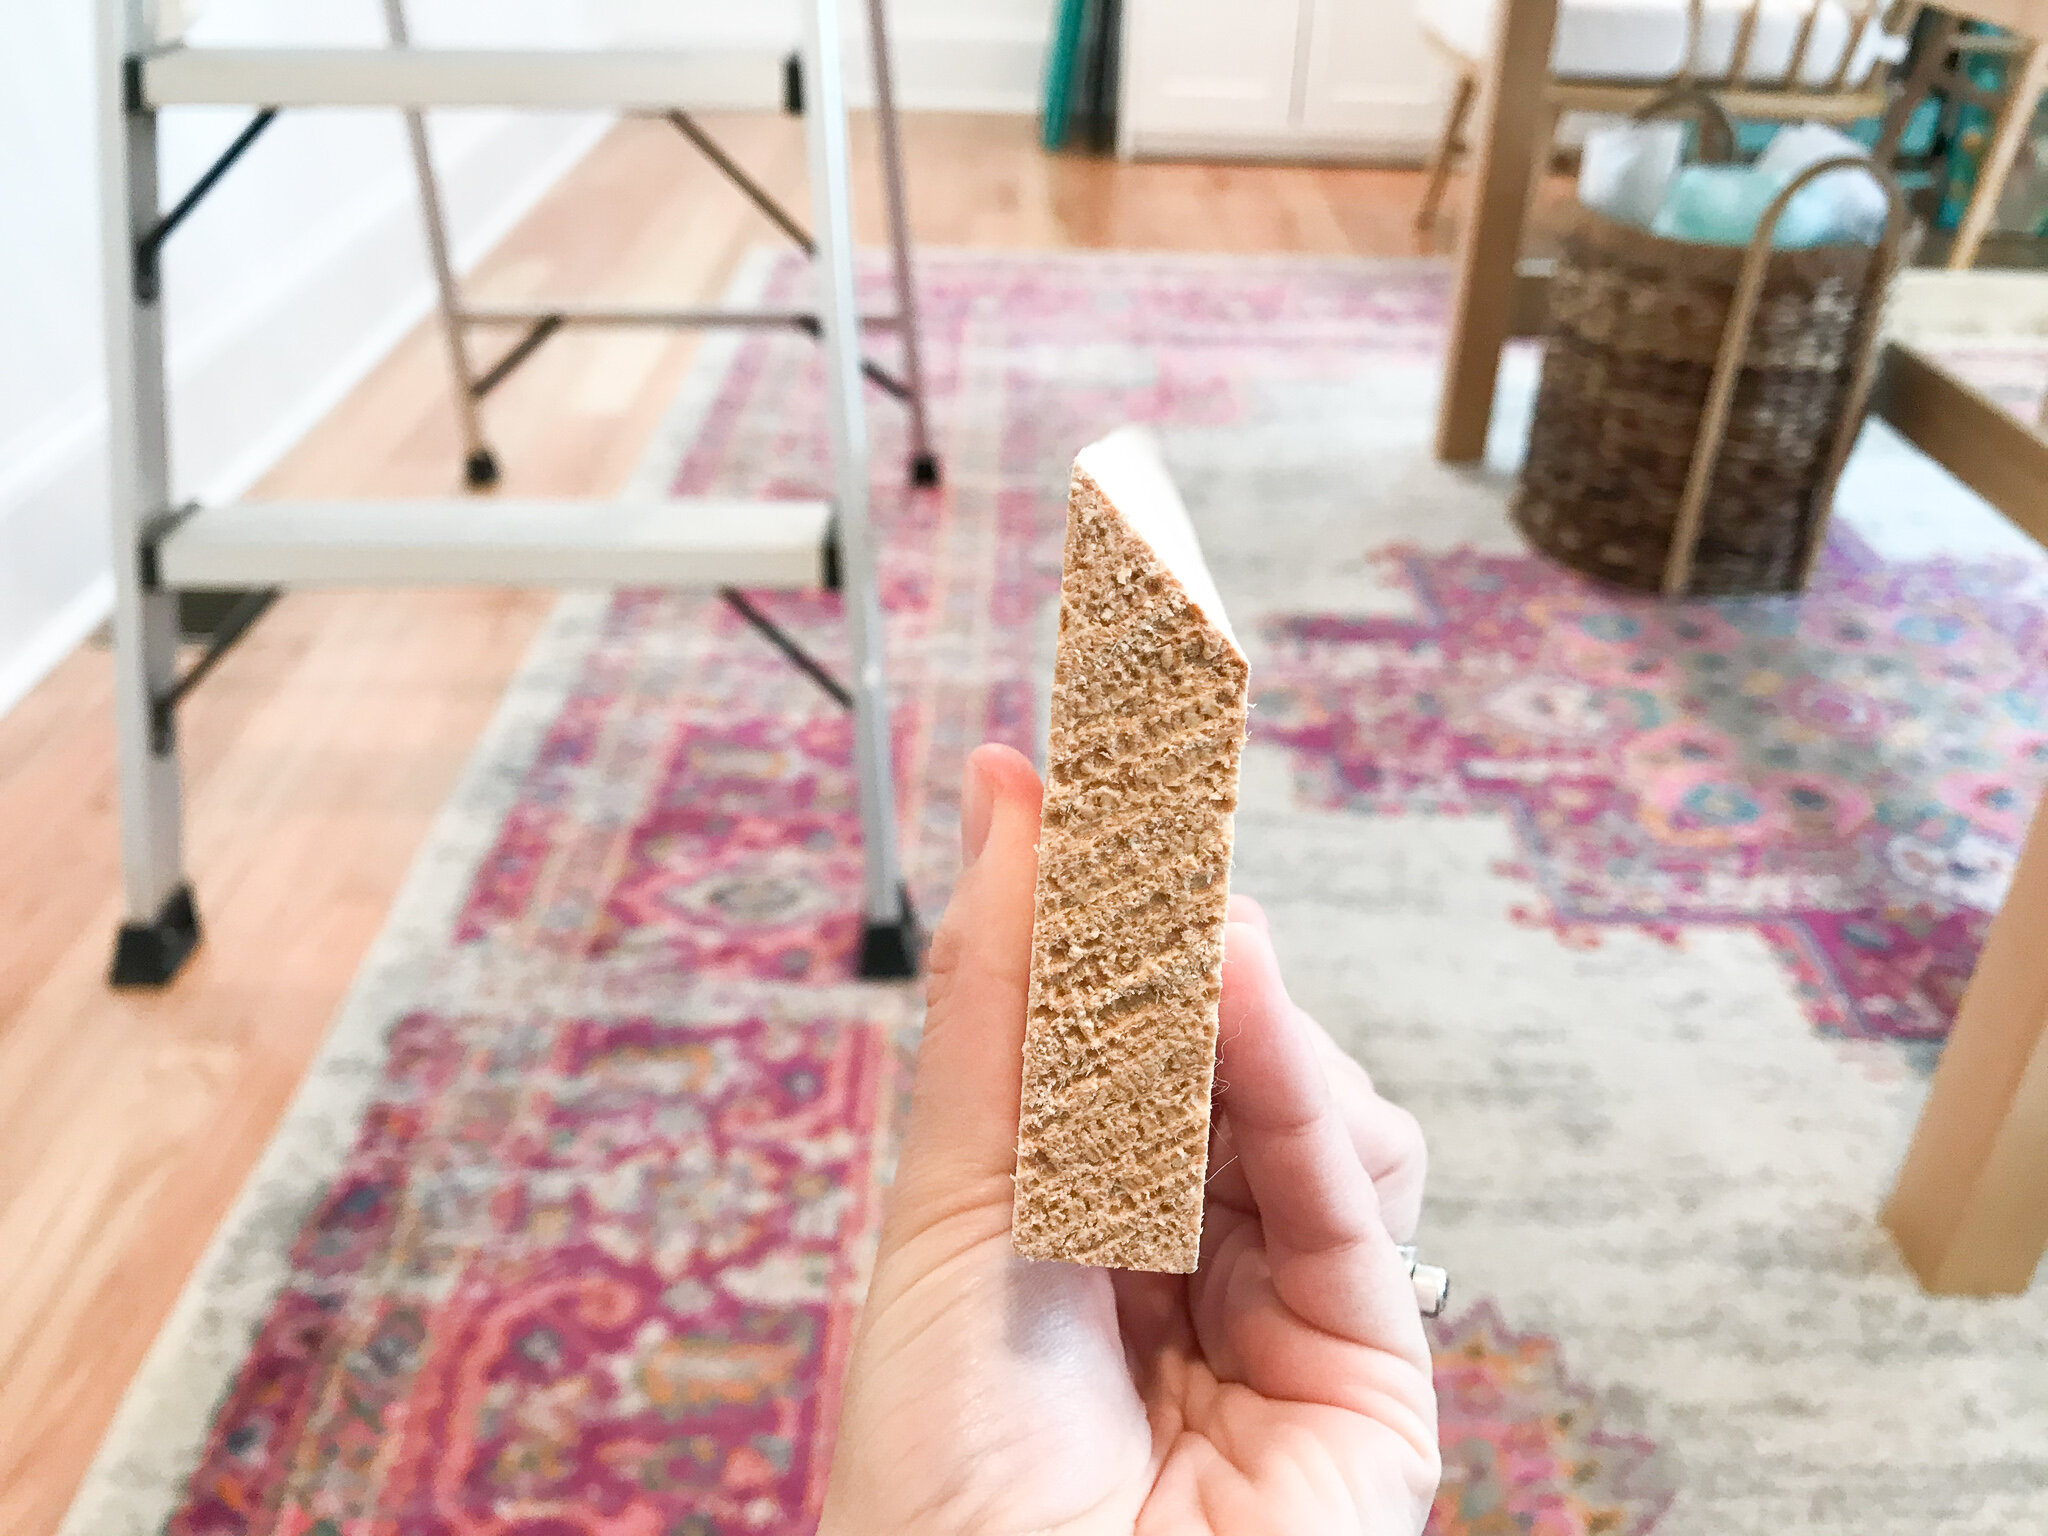
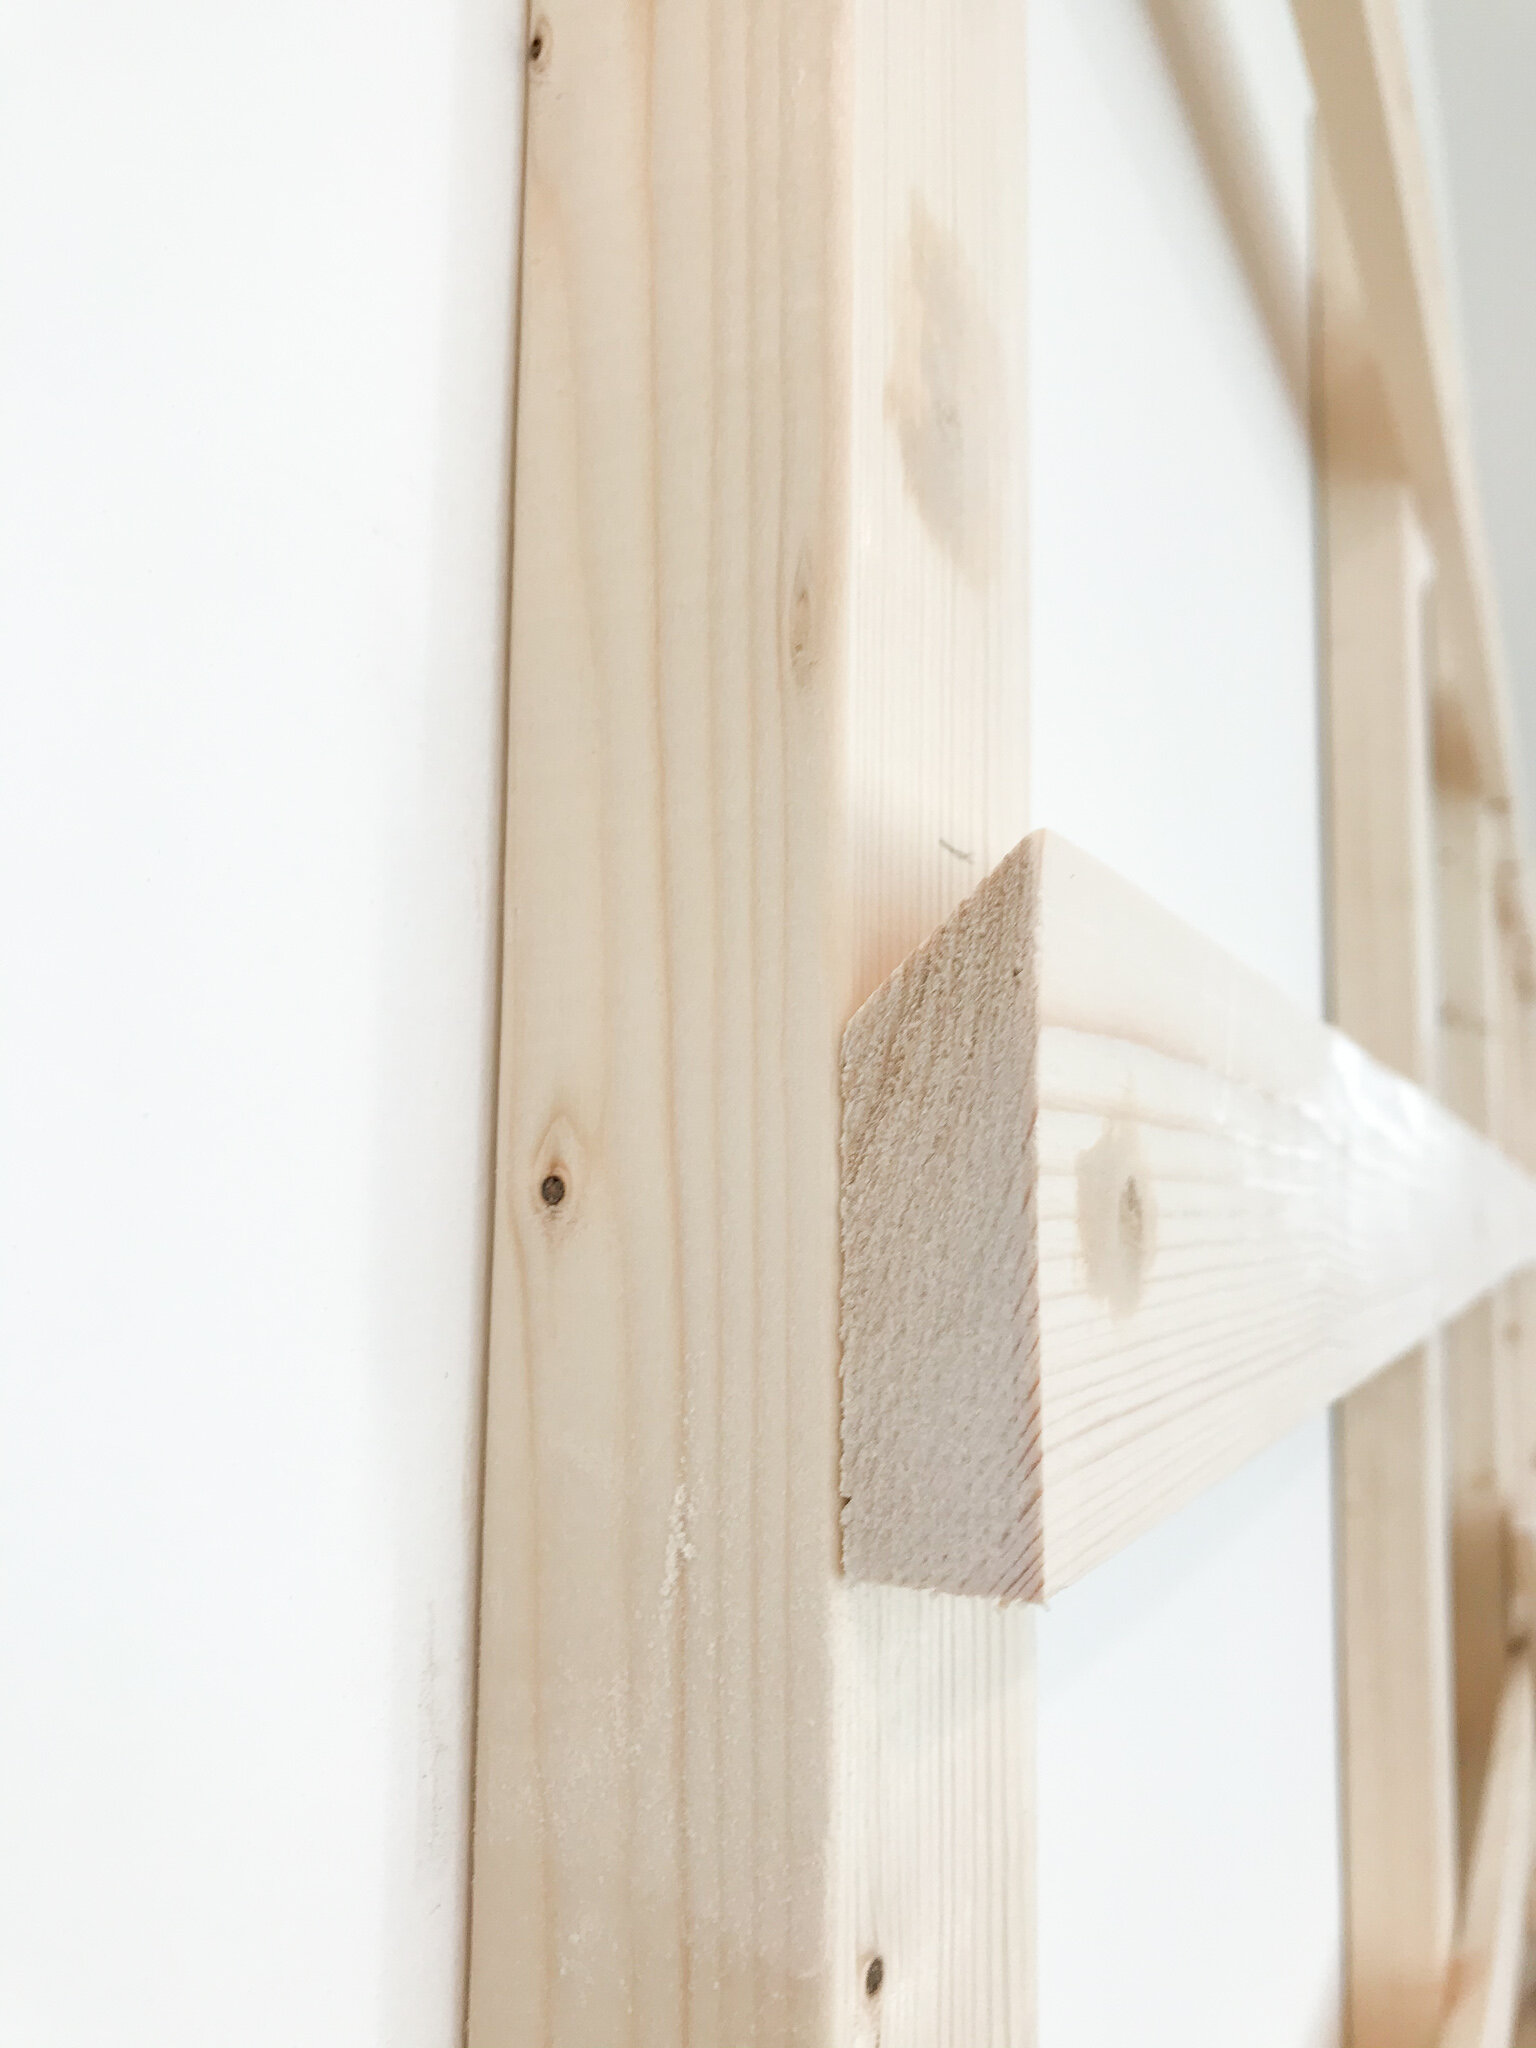
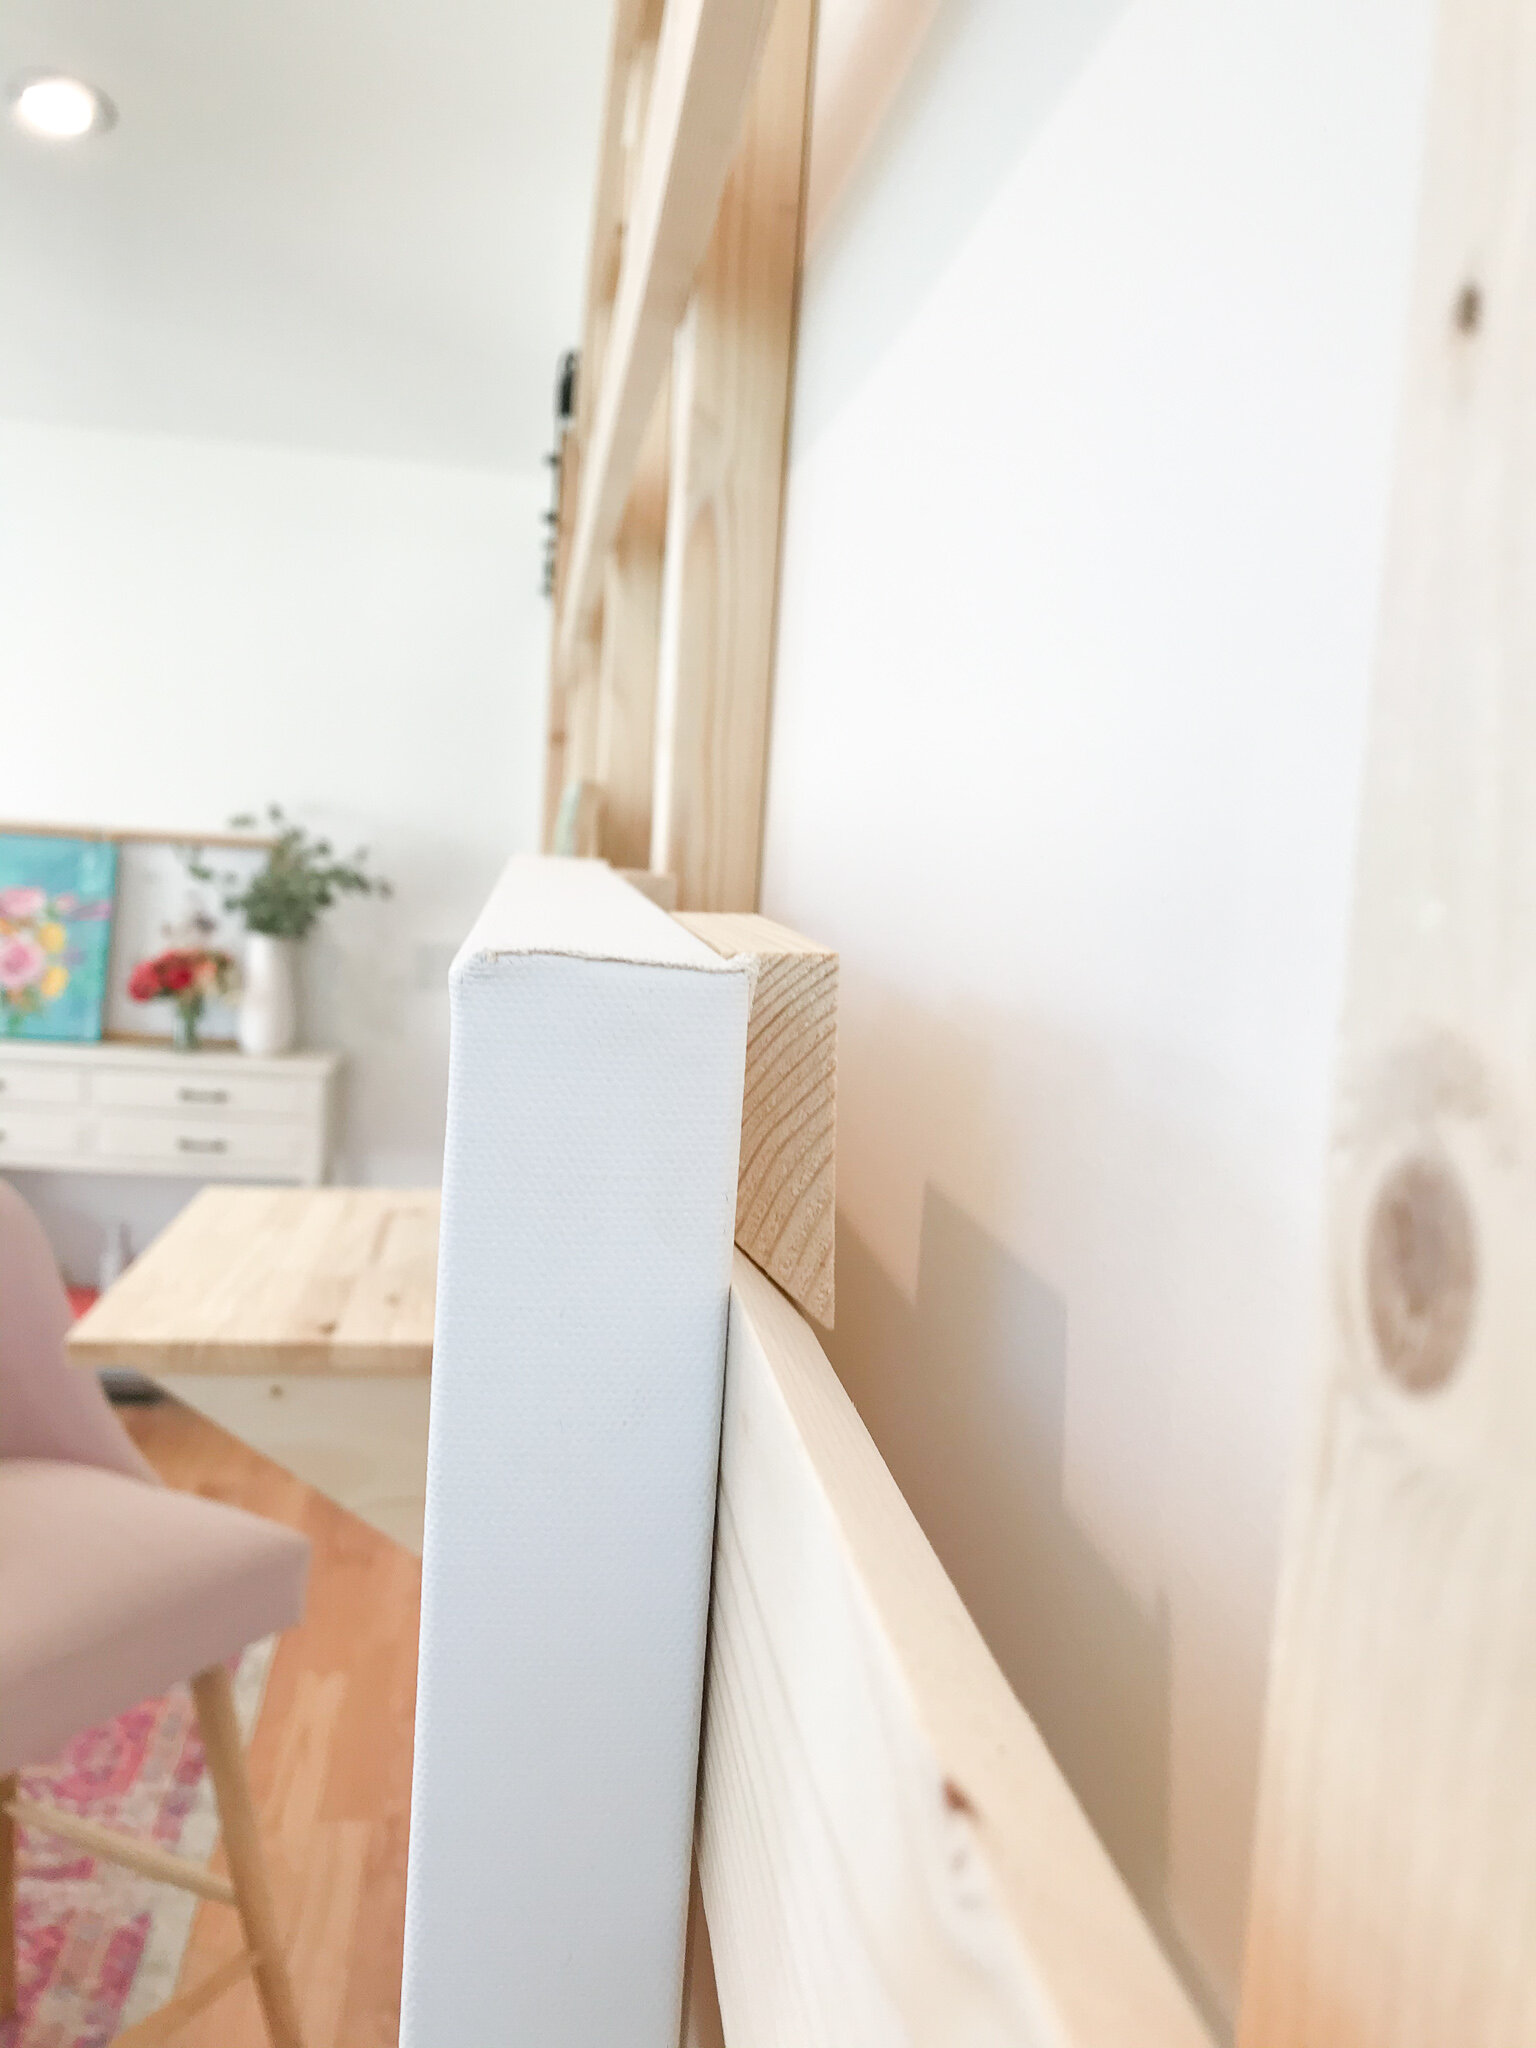
…this wedge shape piece of wood basically creates a “french cleat” so that a reverse 45 degree piece of wood can hang on it. Pretty smart, huh? So after he cut all the pieces of wood he started attaching the horizontal bars with the 45 degree angle facing upward. Again, we placed these bars 10 1/2” apart. The shorter part of the 45 degree angle goes against the wall. You can decide how many rows of horizontal bars you need.
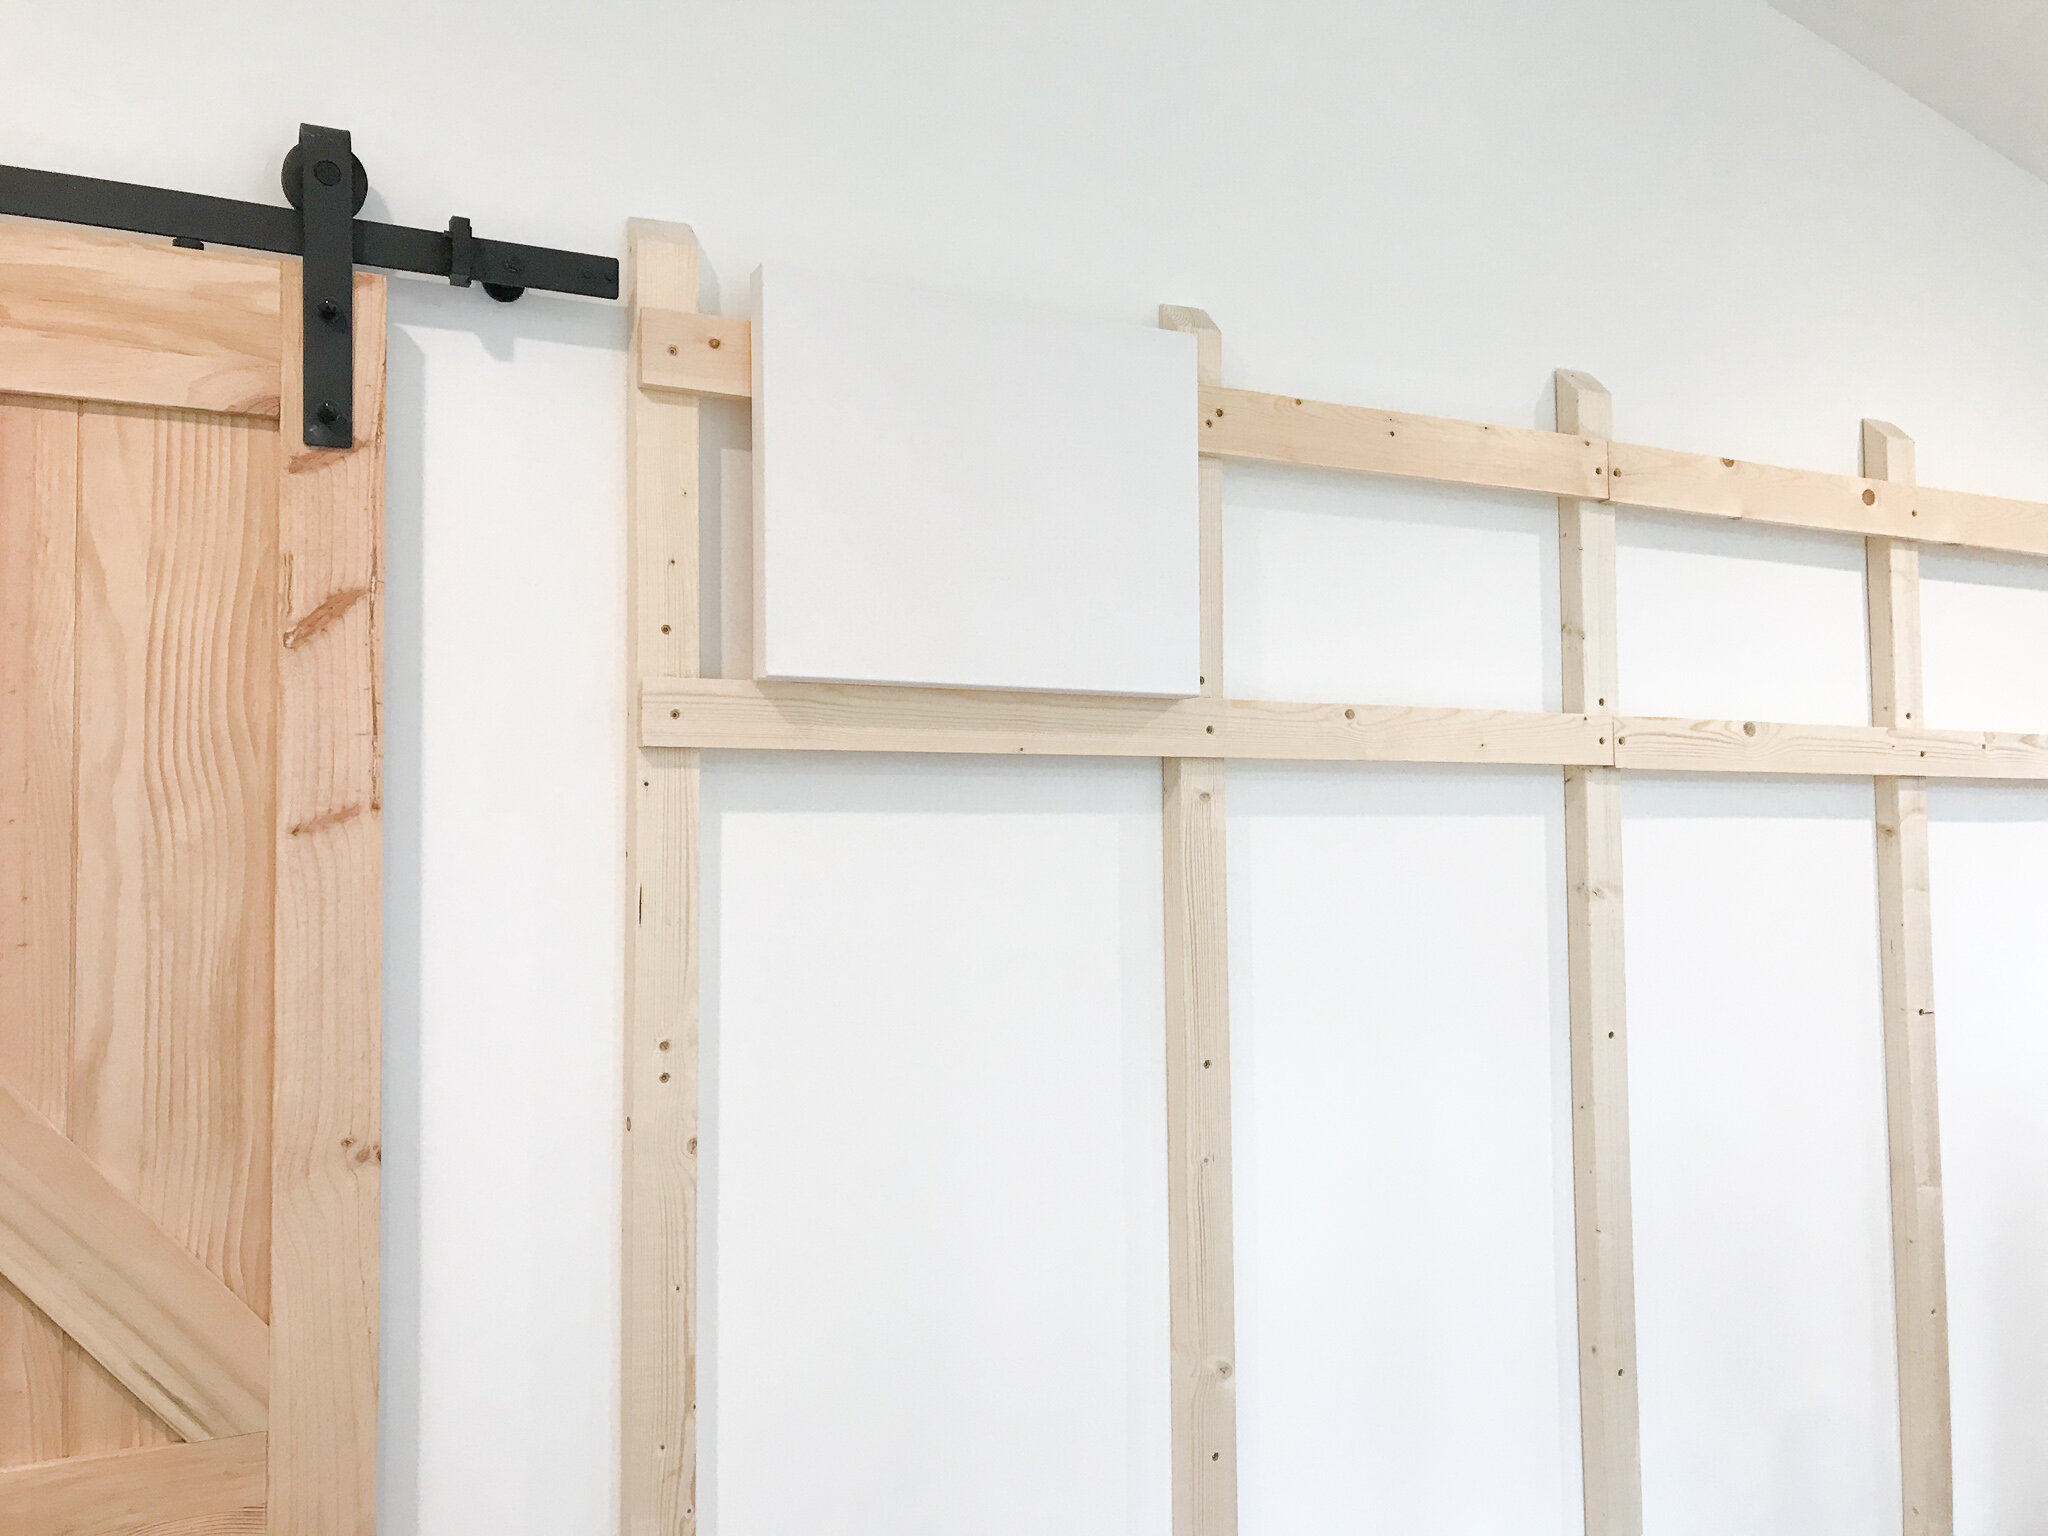


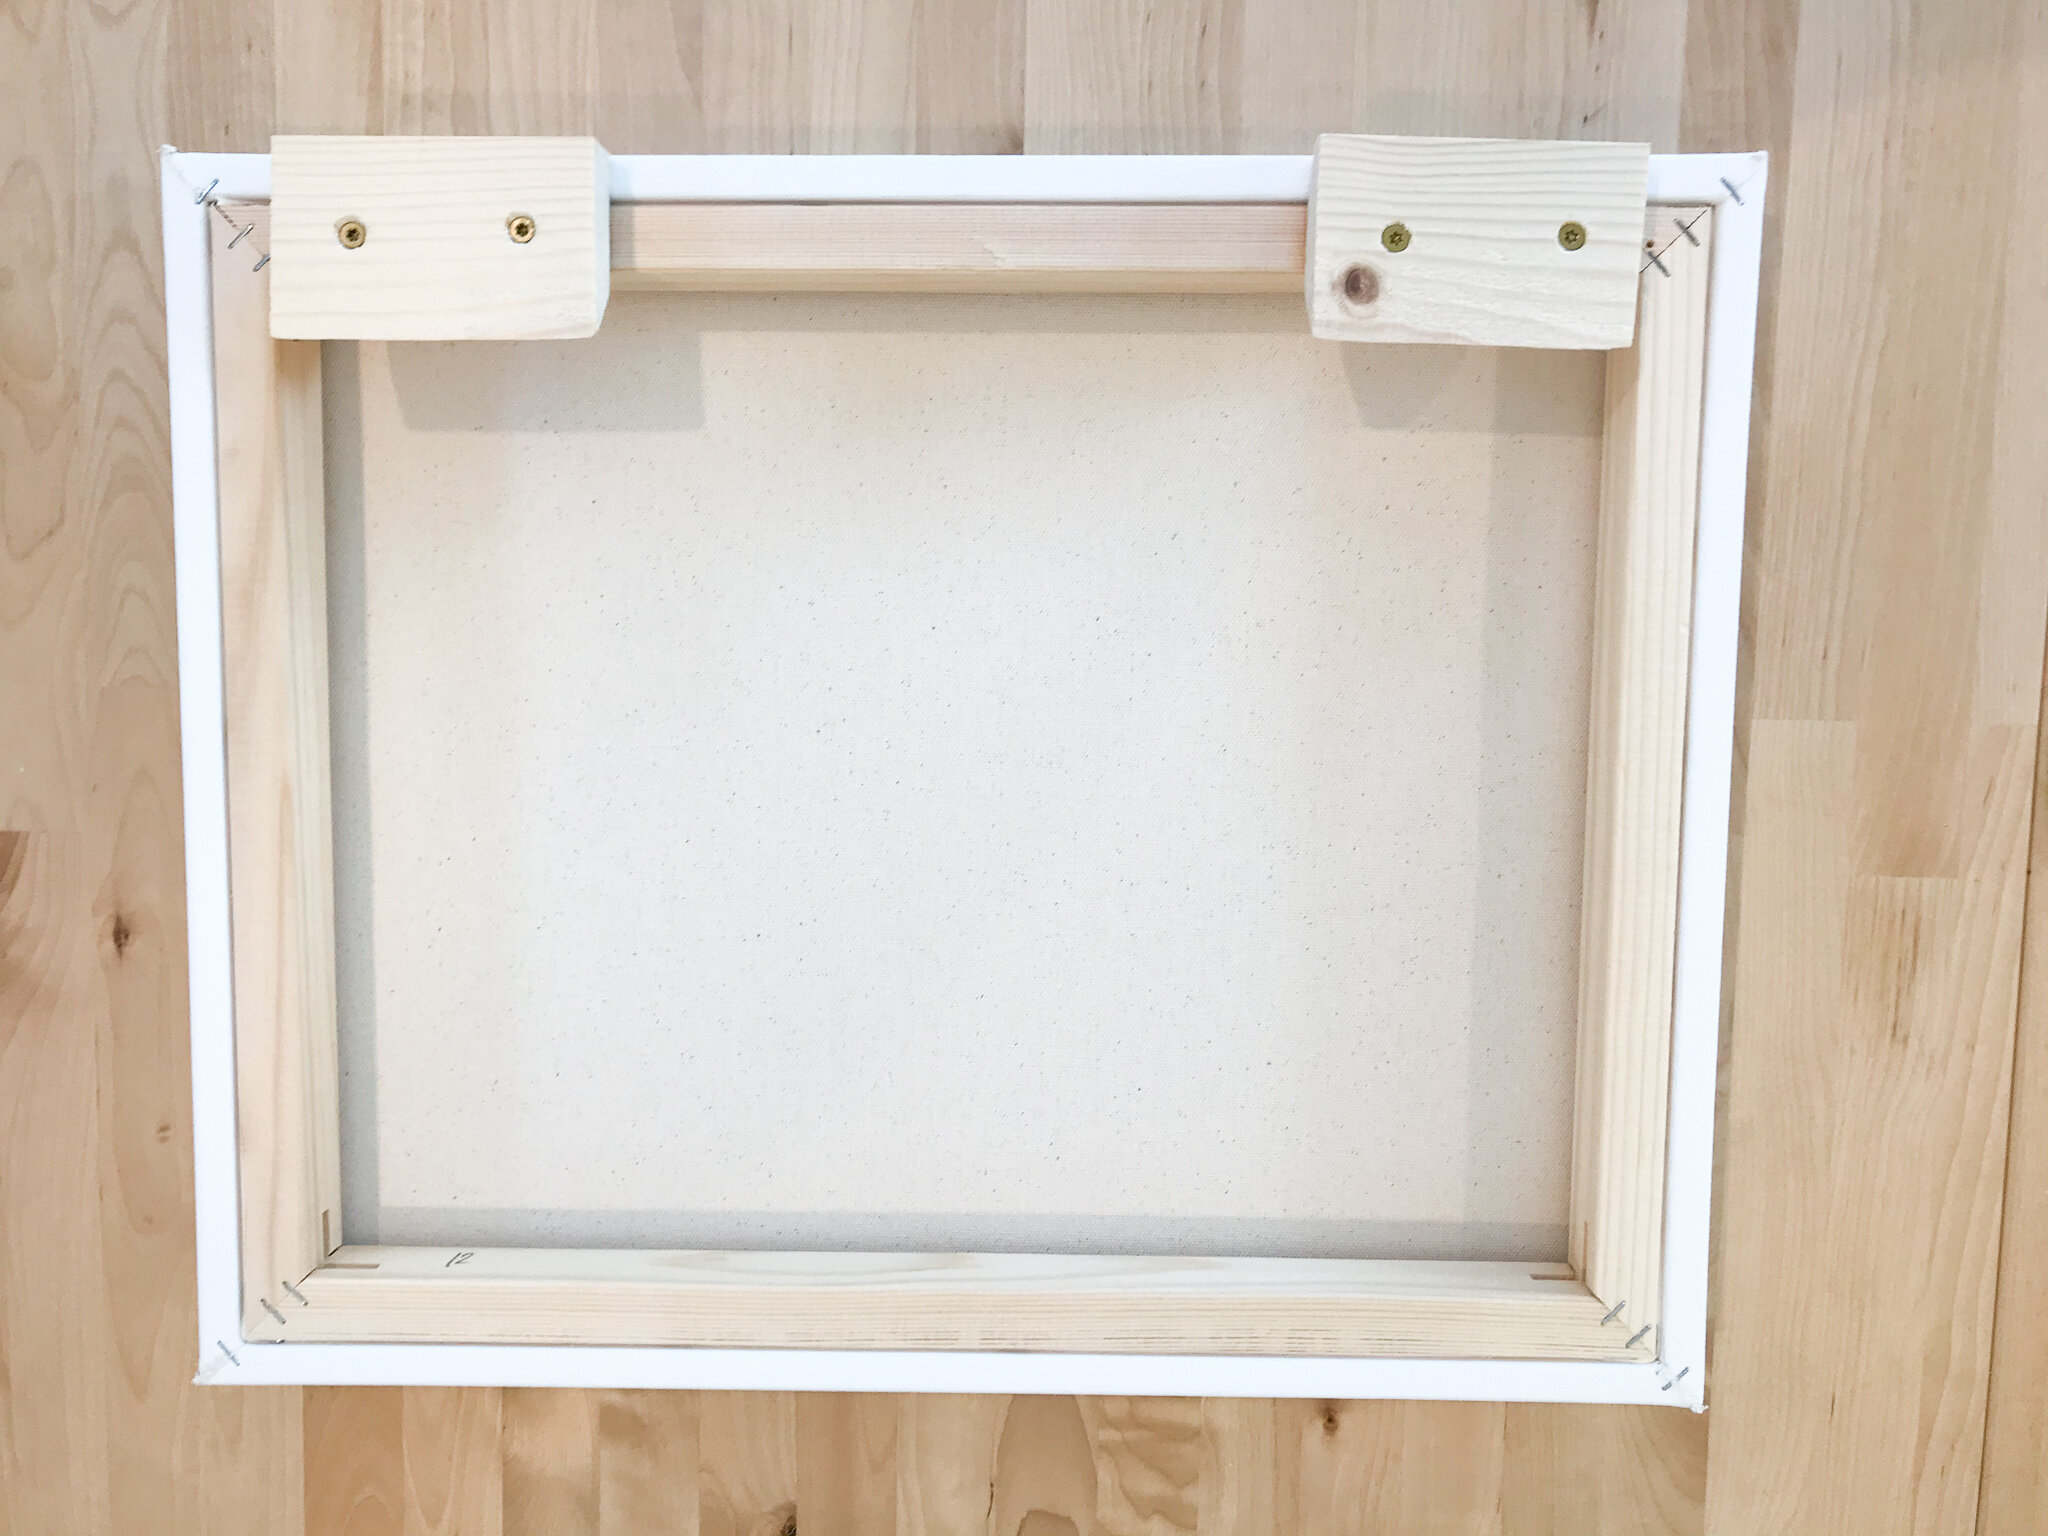
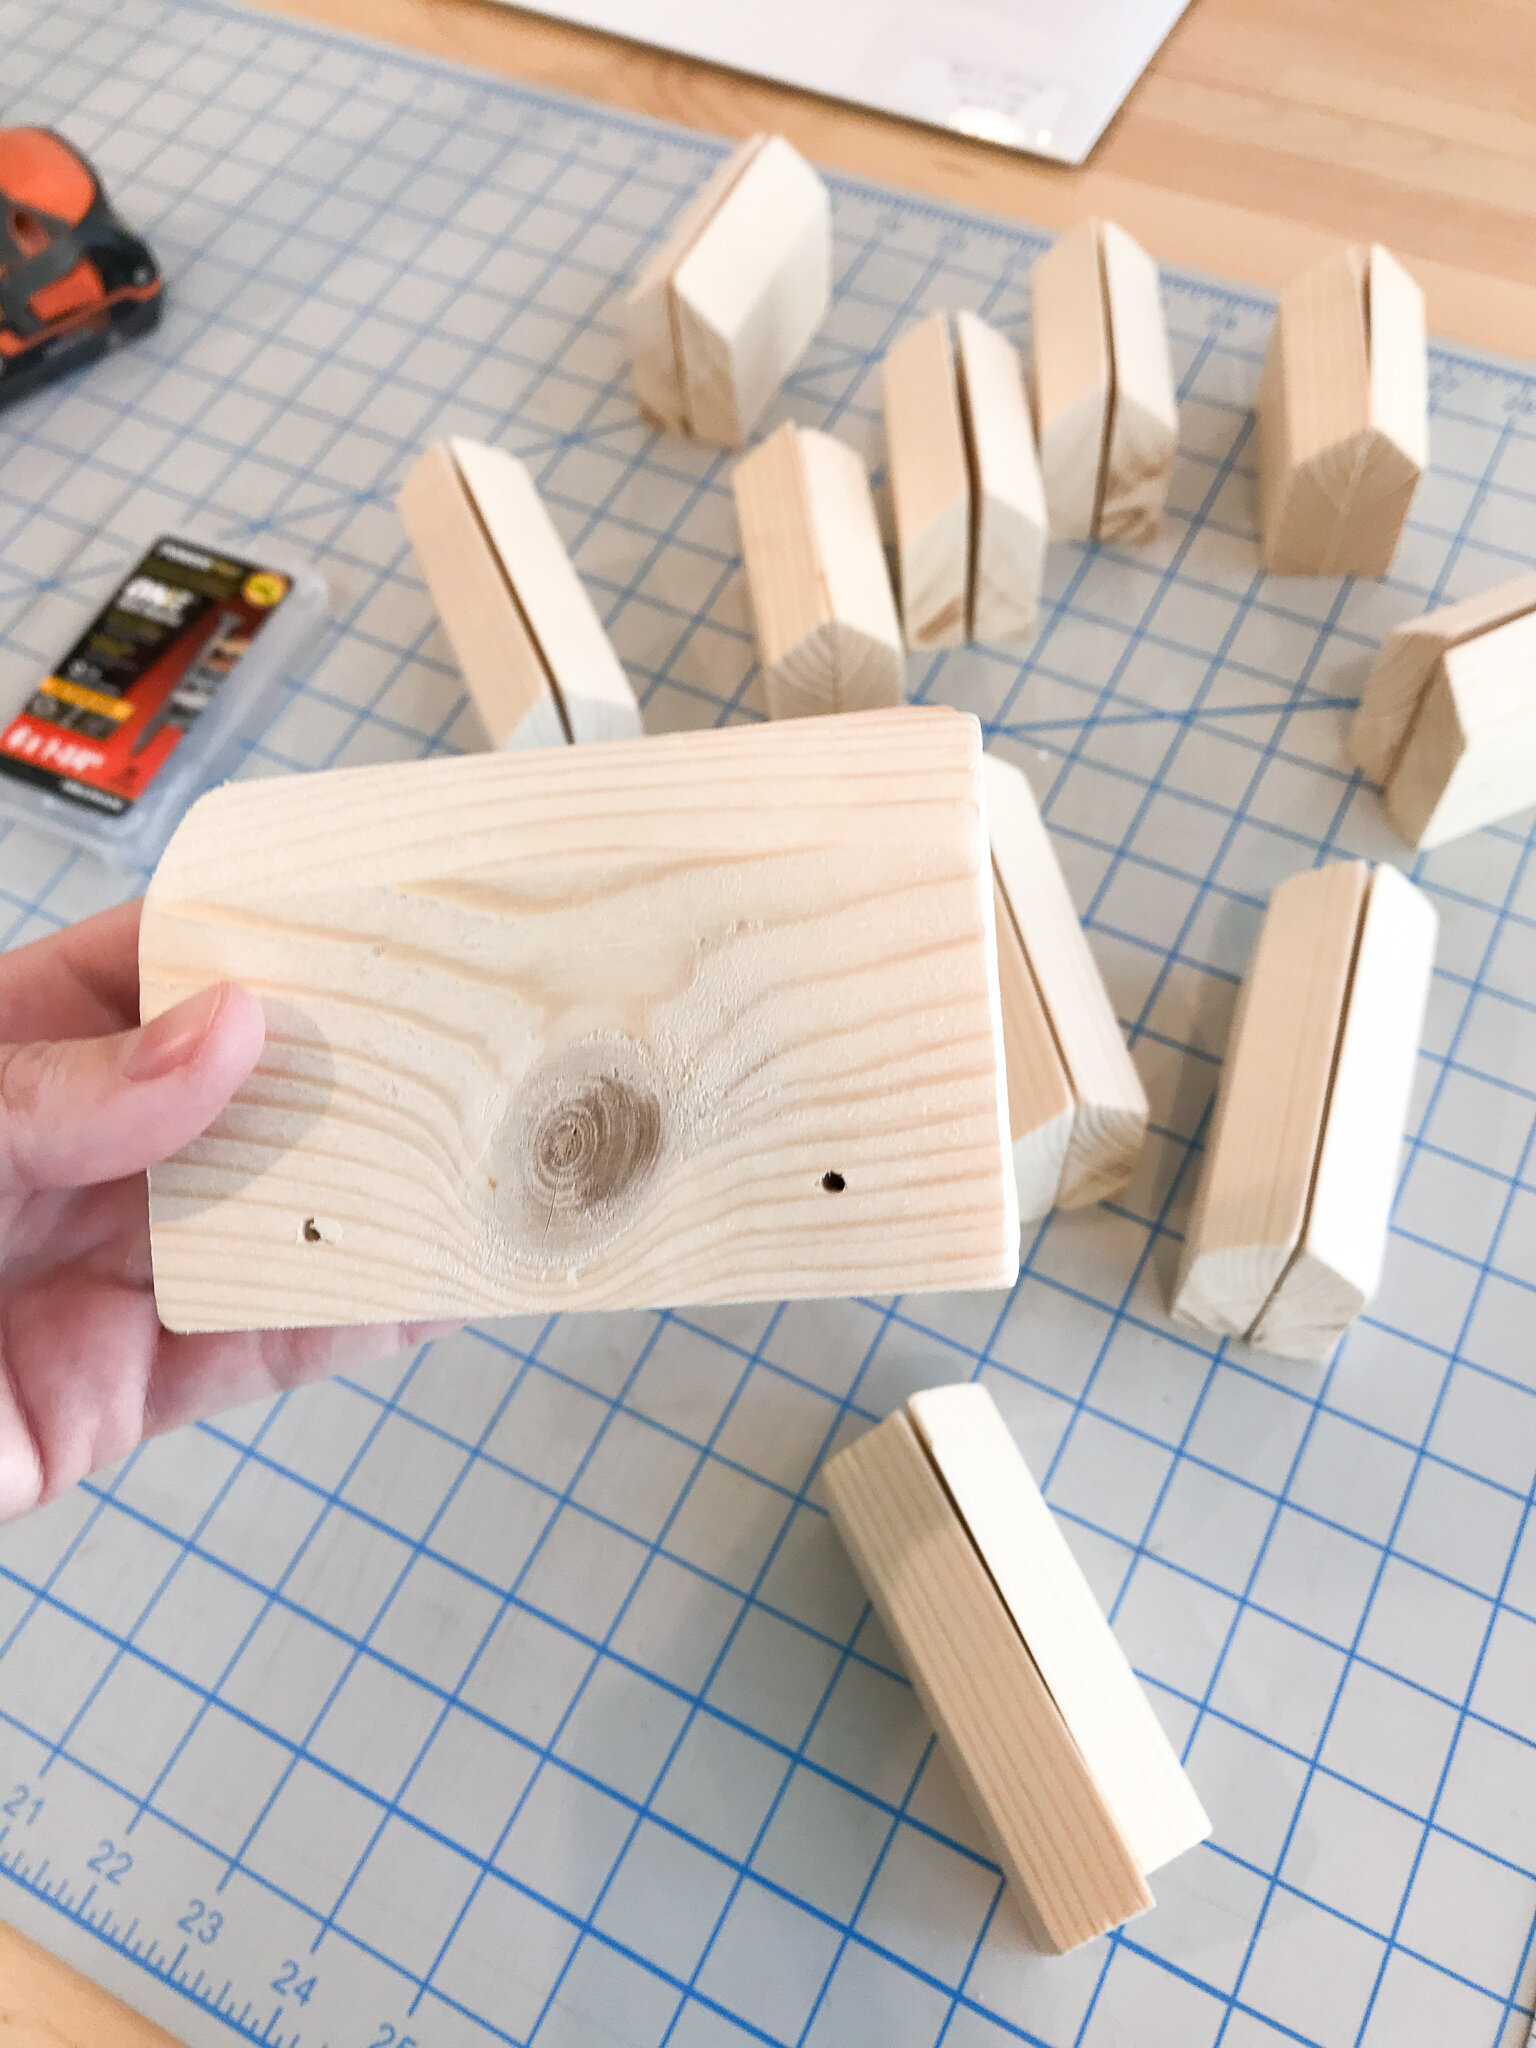
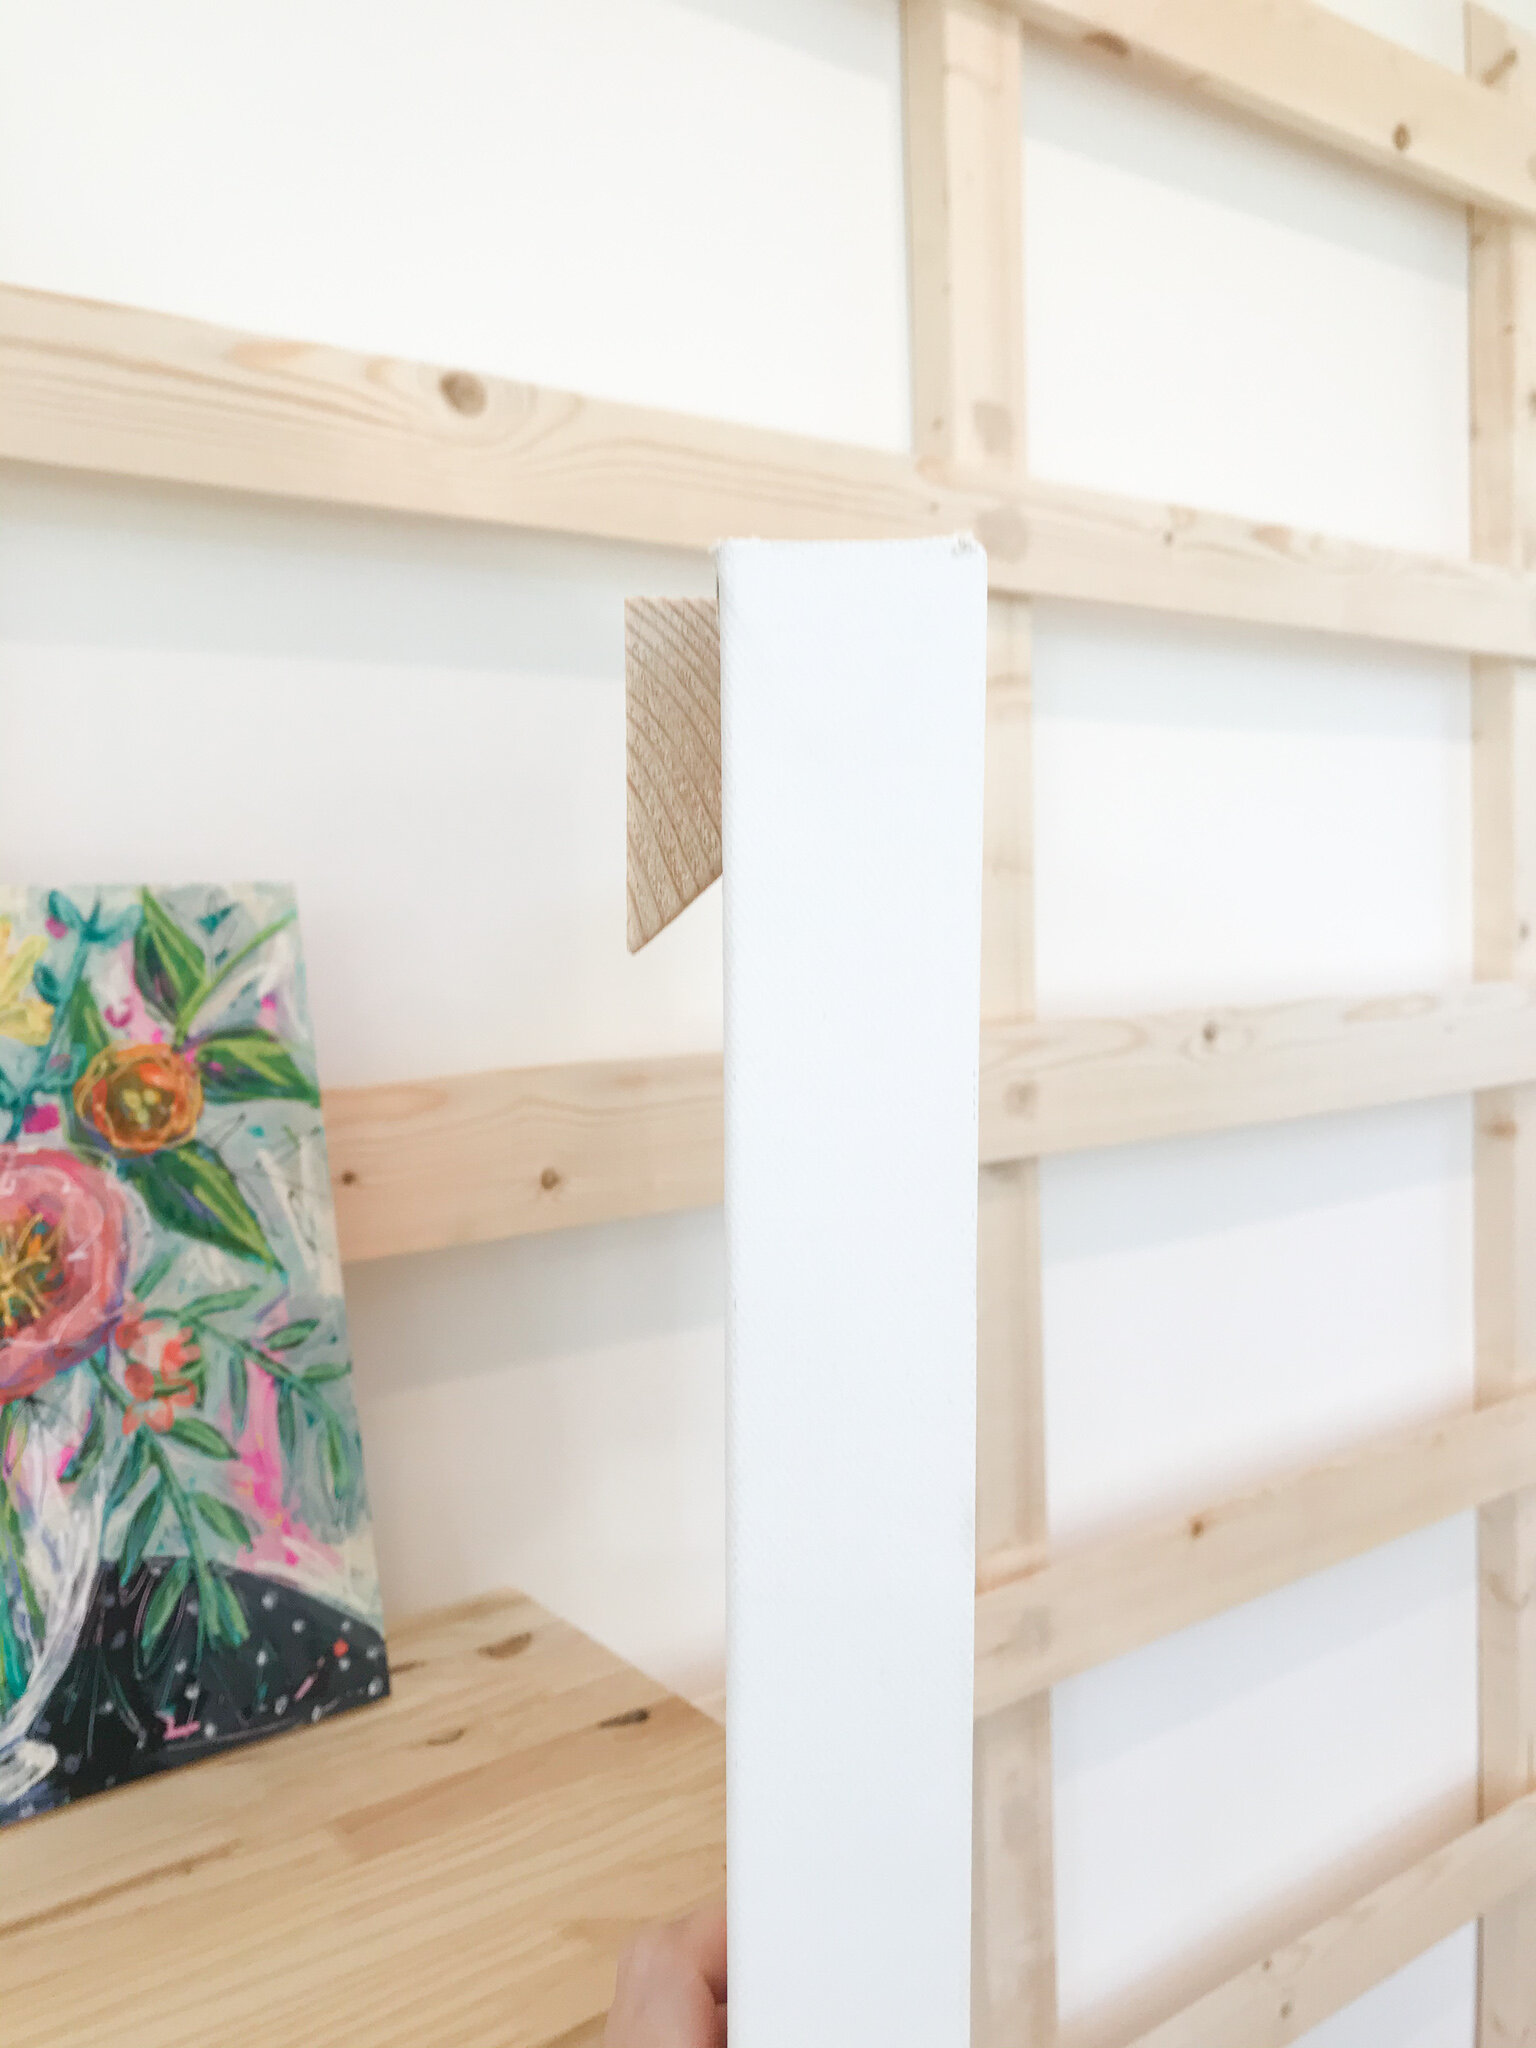
STEP 3: Now this is the part I wasn’t thrilled about but in terms of simplicity of design it was the best solution we found. To create the french cleat so that your painting can hang on the horizontal bar’s 45 degree angle you need another 45 degree angle to hook onto it. This second 45 degree angle has to be attached to your canvas so that it can hook and create the french cleat connection. So my husband made little attachments that screw onto my canvases (onto the wood of the stretcher bars). Once you have the attachment on your canvas it simple hooks onto the wall easel. Now the thing I was most worried about was that this would damage my canvases somehow but it only makes a few small holes that are barely noticeable on the back of the canvas (a small price to pay).
Important Note: When you are attaching your cleats on the back of each canvas be sure to drill a pilot hole for your screws before screwing in the screw. If you don’t do this you might split the stretcher bars on your canvas. Use a bit that’s a size smaller than the screw you use. We used the below screw which was a little less heavy duty than the ones that were put in the wall. Just make sure you don’t use a screw that’s too long for the cleat attachment + stretcher bar otherwise you’ll poke right through both which would be bad.
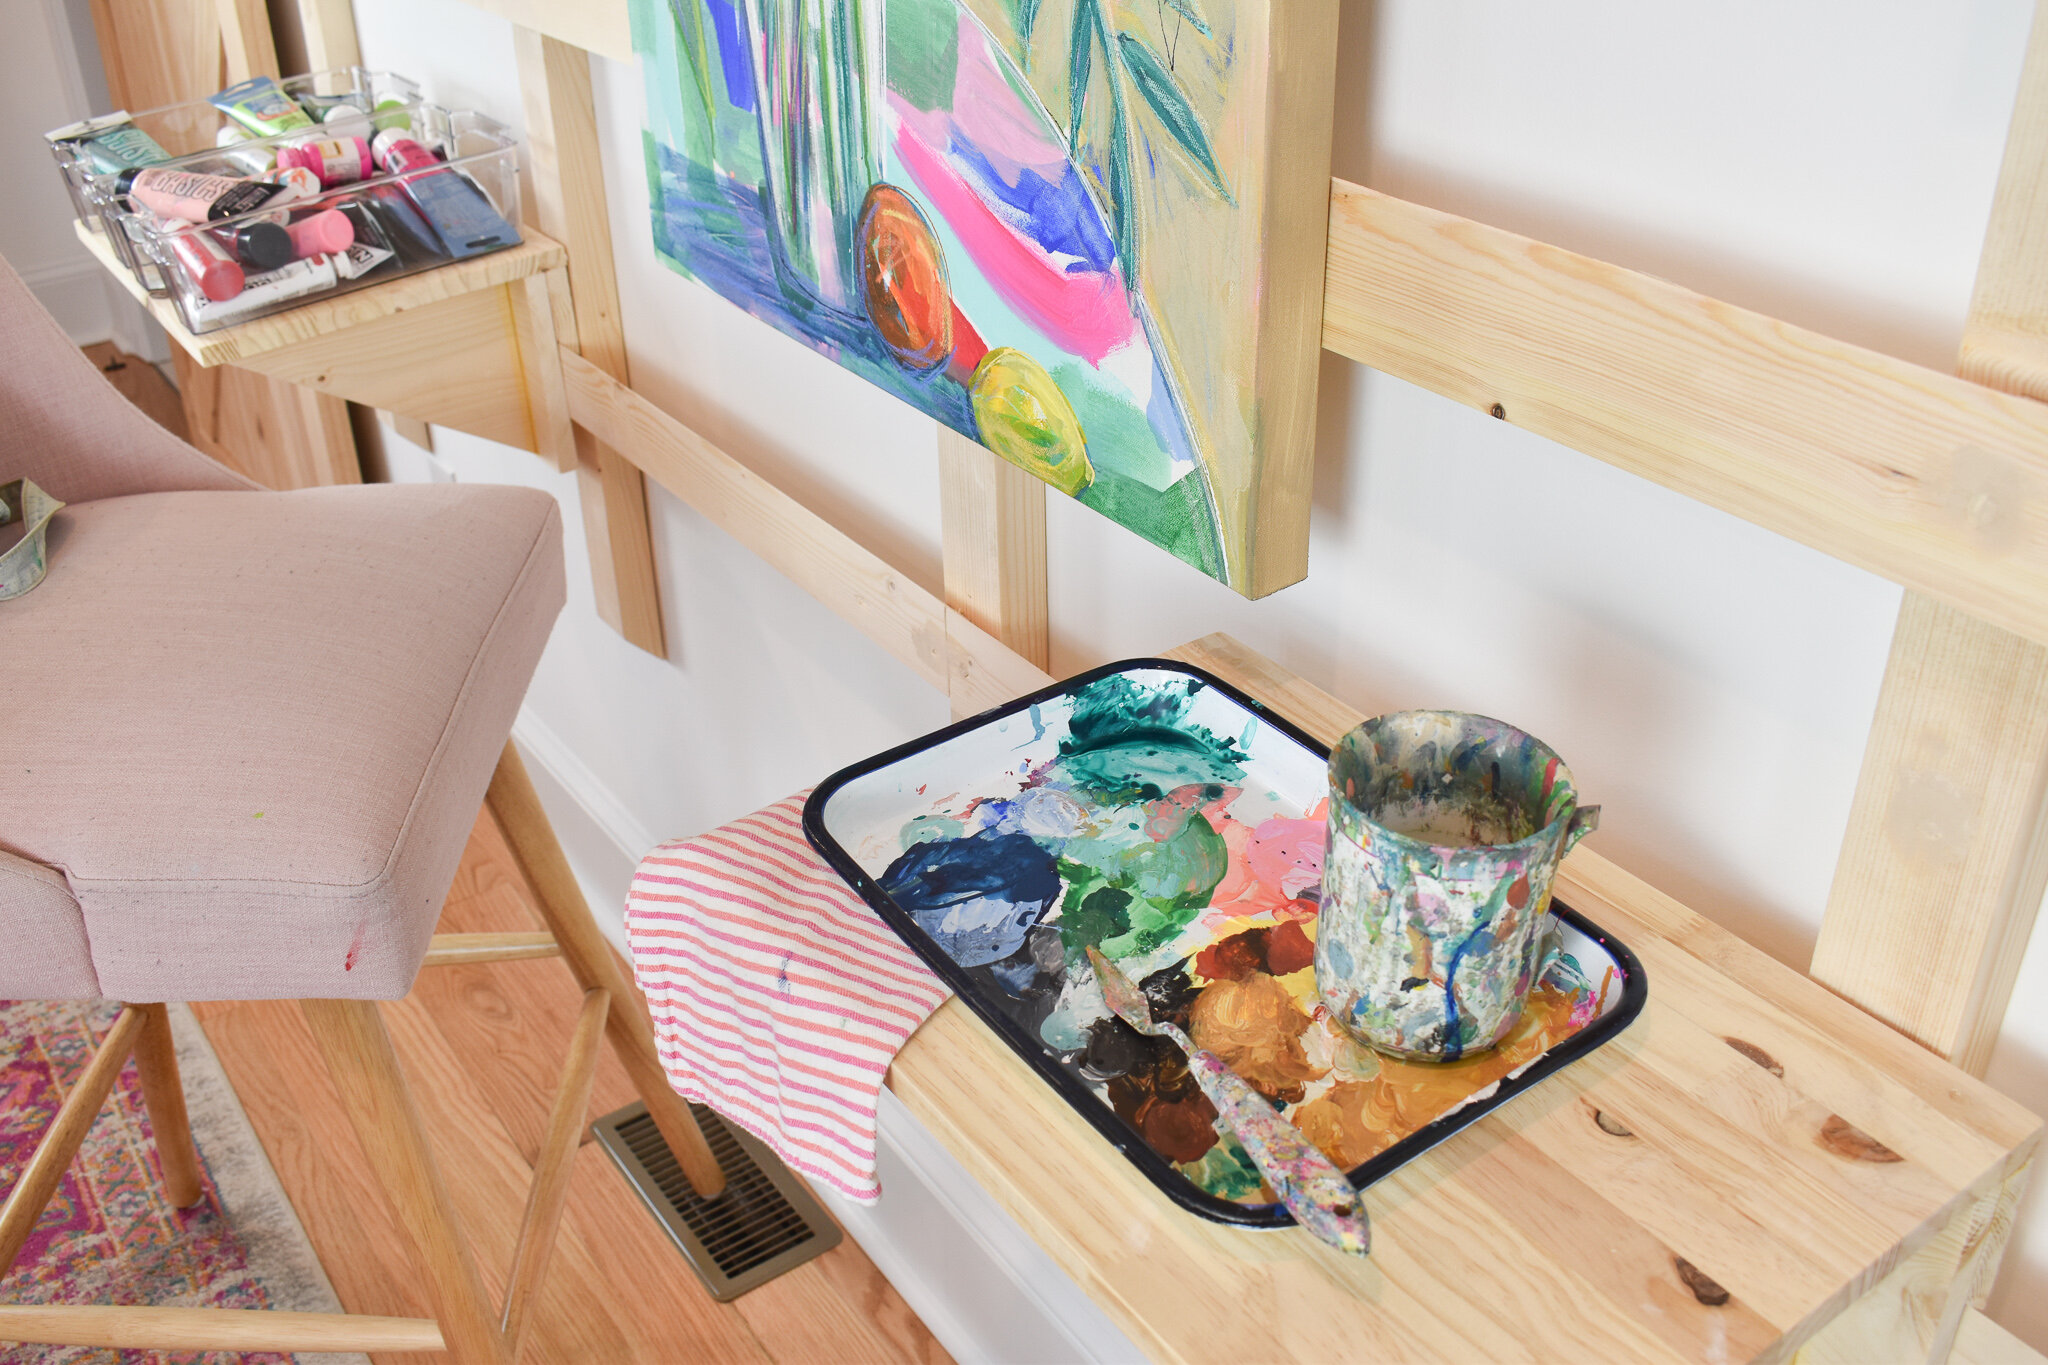
STEP 4: Extra Credit! Because my husband is an overachiever he decided to make me shelves for my painting supplies. I didn’t find this idea anywhere online so I was pretty impressed with his ingenuity. He bought a 12” piece of wood and created the french cleat attachment. He made sure to create triangular brackets to support the width of the shelf and he inset these from the shelf side edges to create a place to grab the shelf on each side for easy moving. What’s cool about these is they can be moved all around depending on what size canvas I’m painting on. A+ for hubby on this one!


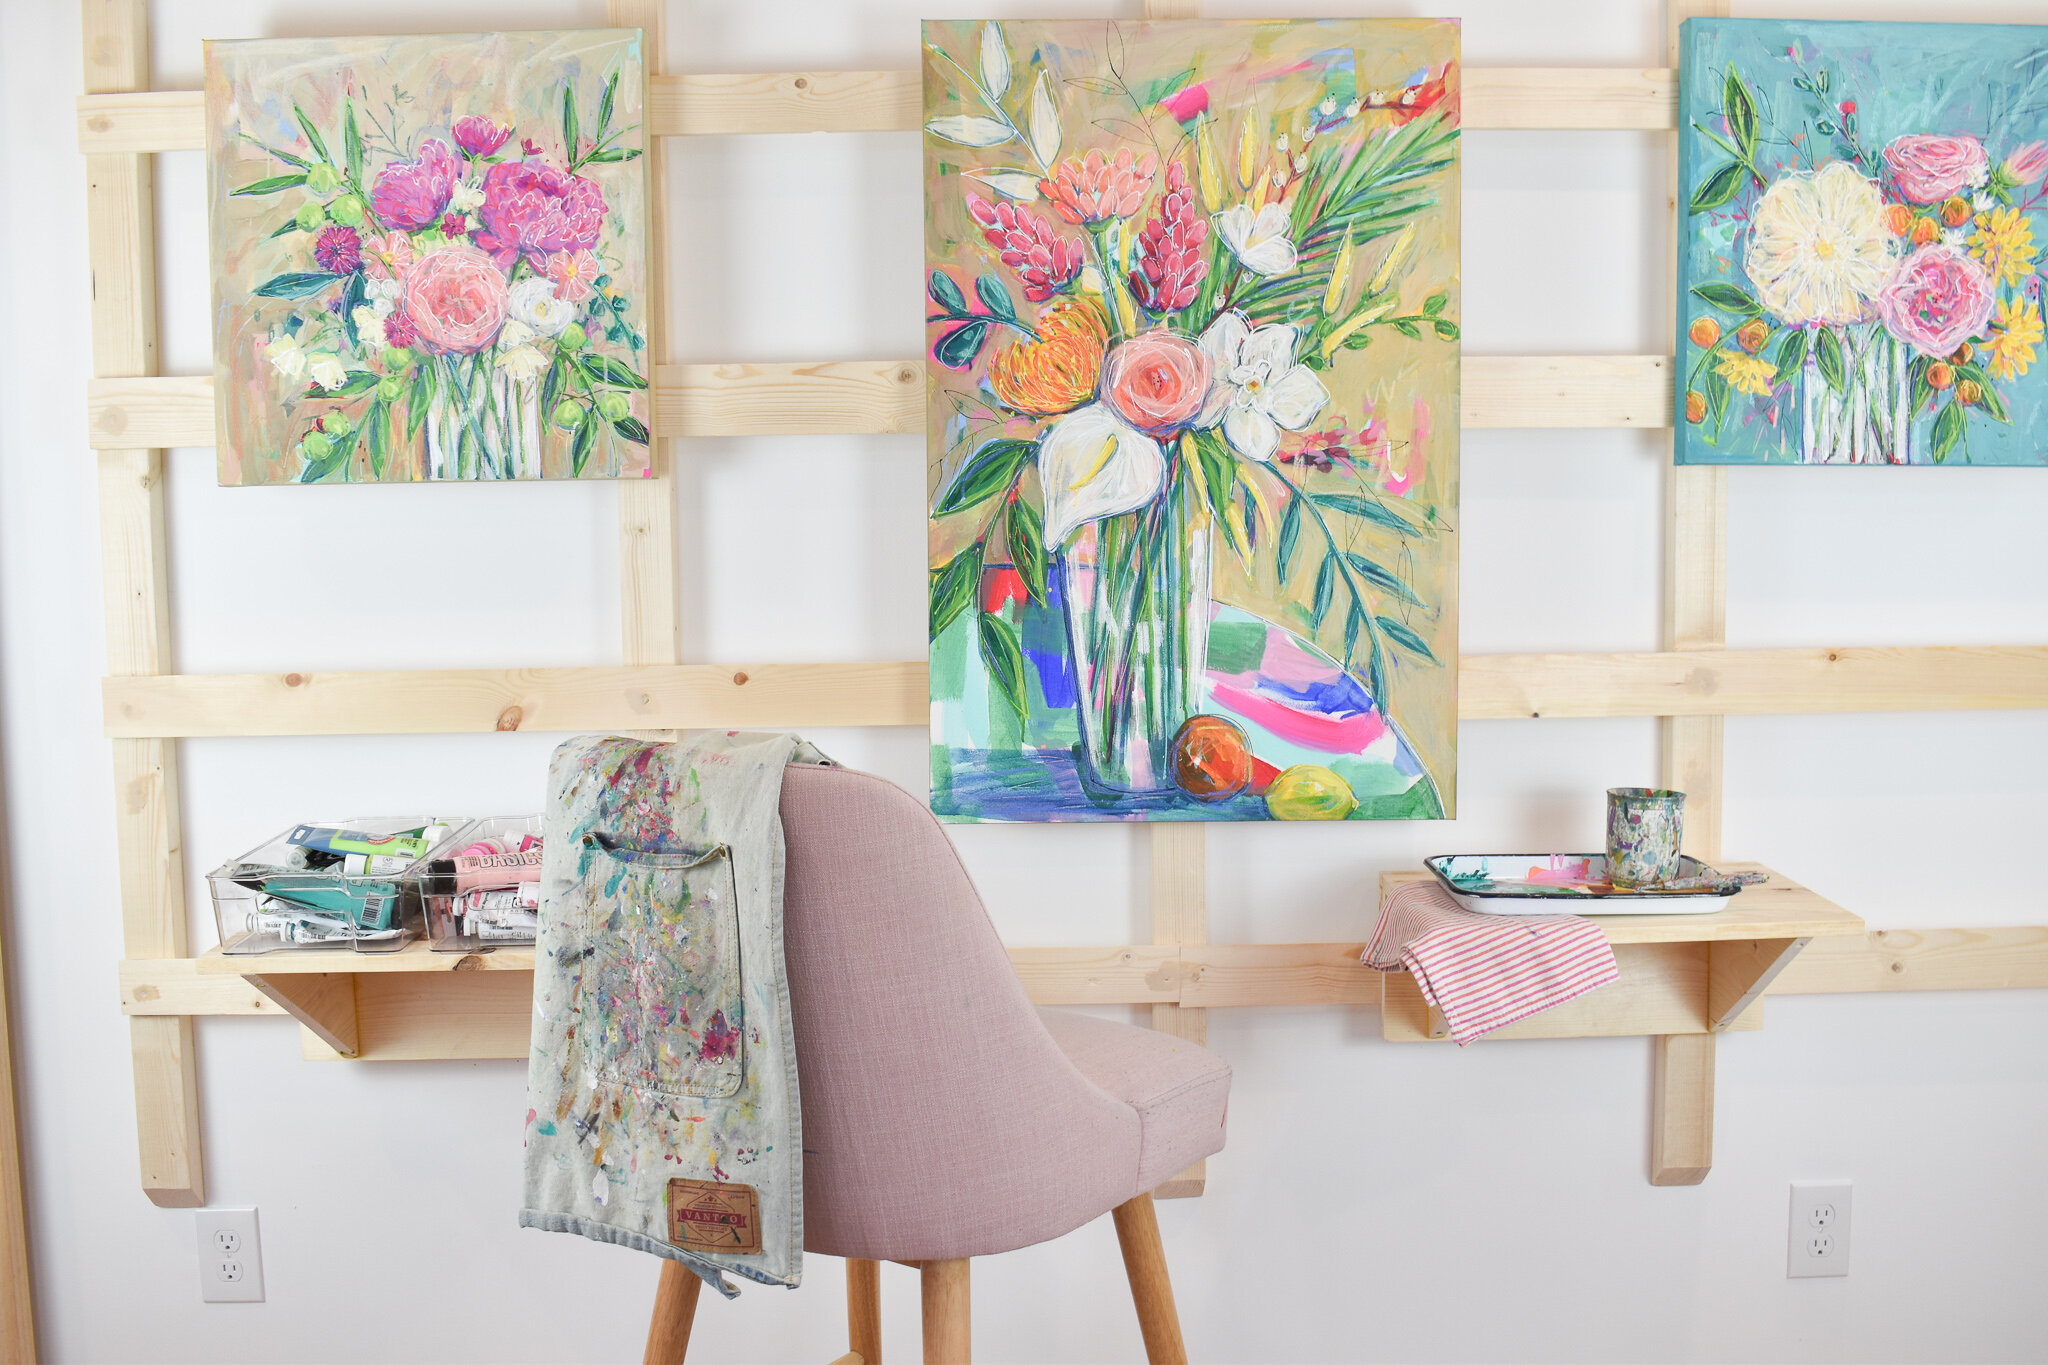
I’m so happy with how this easel turned out! Can’t wait to use this to paint my new collections on and use it for display purposes as well.

